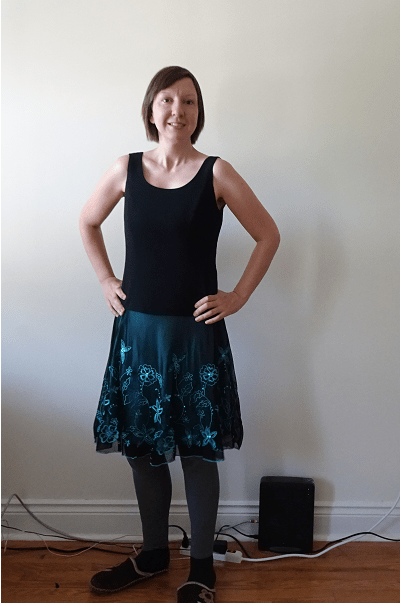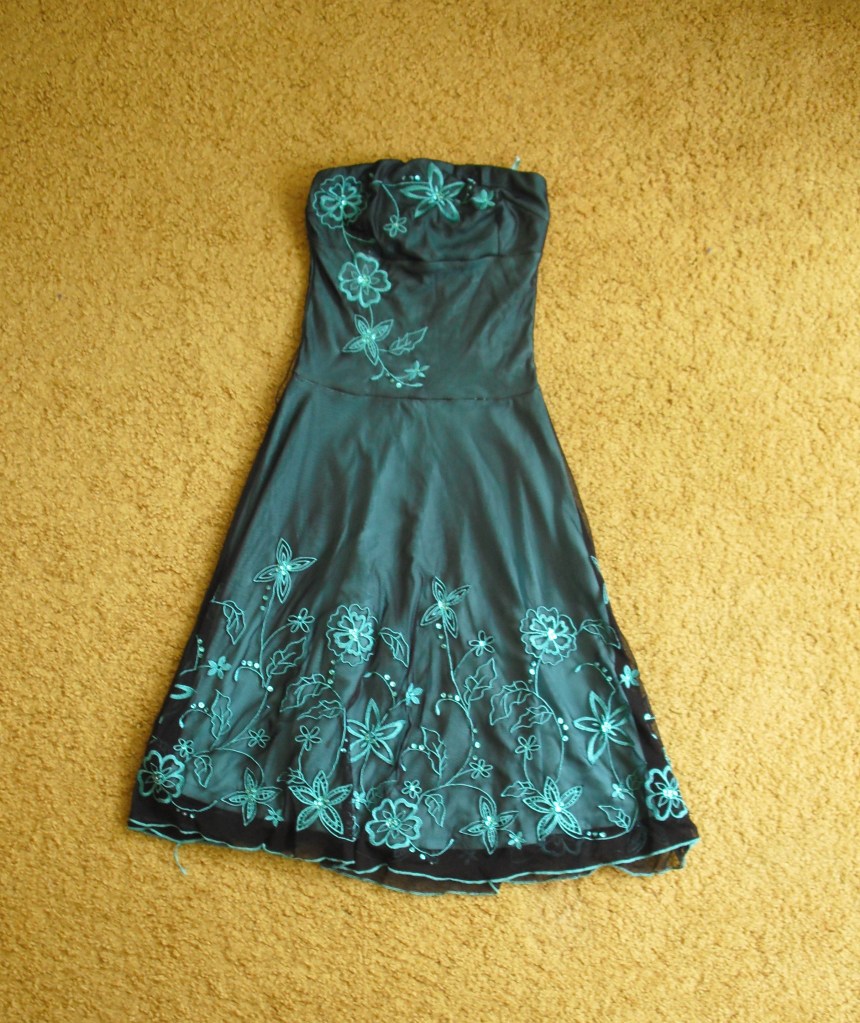
This is a Jane Norman dress (strapless, with an elasticated tube top) that I found at a charity shop in England in the summer of 2018 for £15; if I’m remembering correctly, this came from the Mind shop by Shepherd’s Bush Green in London. I’m thrilled to have found it. The metallic aquamarine embroidery (with incorporated sequins) is done on a layer of fine black mesh, and the whole thing sits against a polyester aquamarine lining. I adore these colours and the exuberant embroidery. However, I am ambivalent about the cut of the top, and am considering removing it. And either way, the skirt portion needs some work. The problems are all minor, but there are a whole bunch of them.
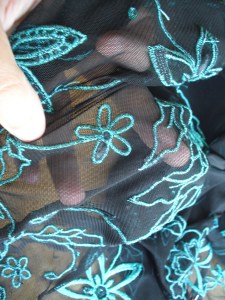
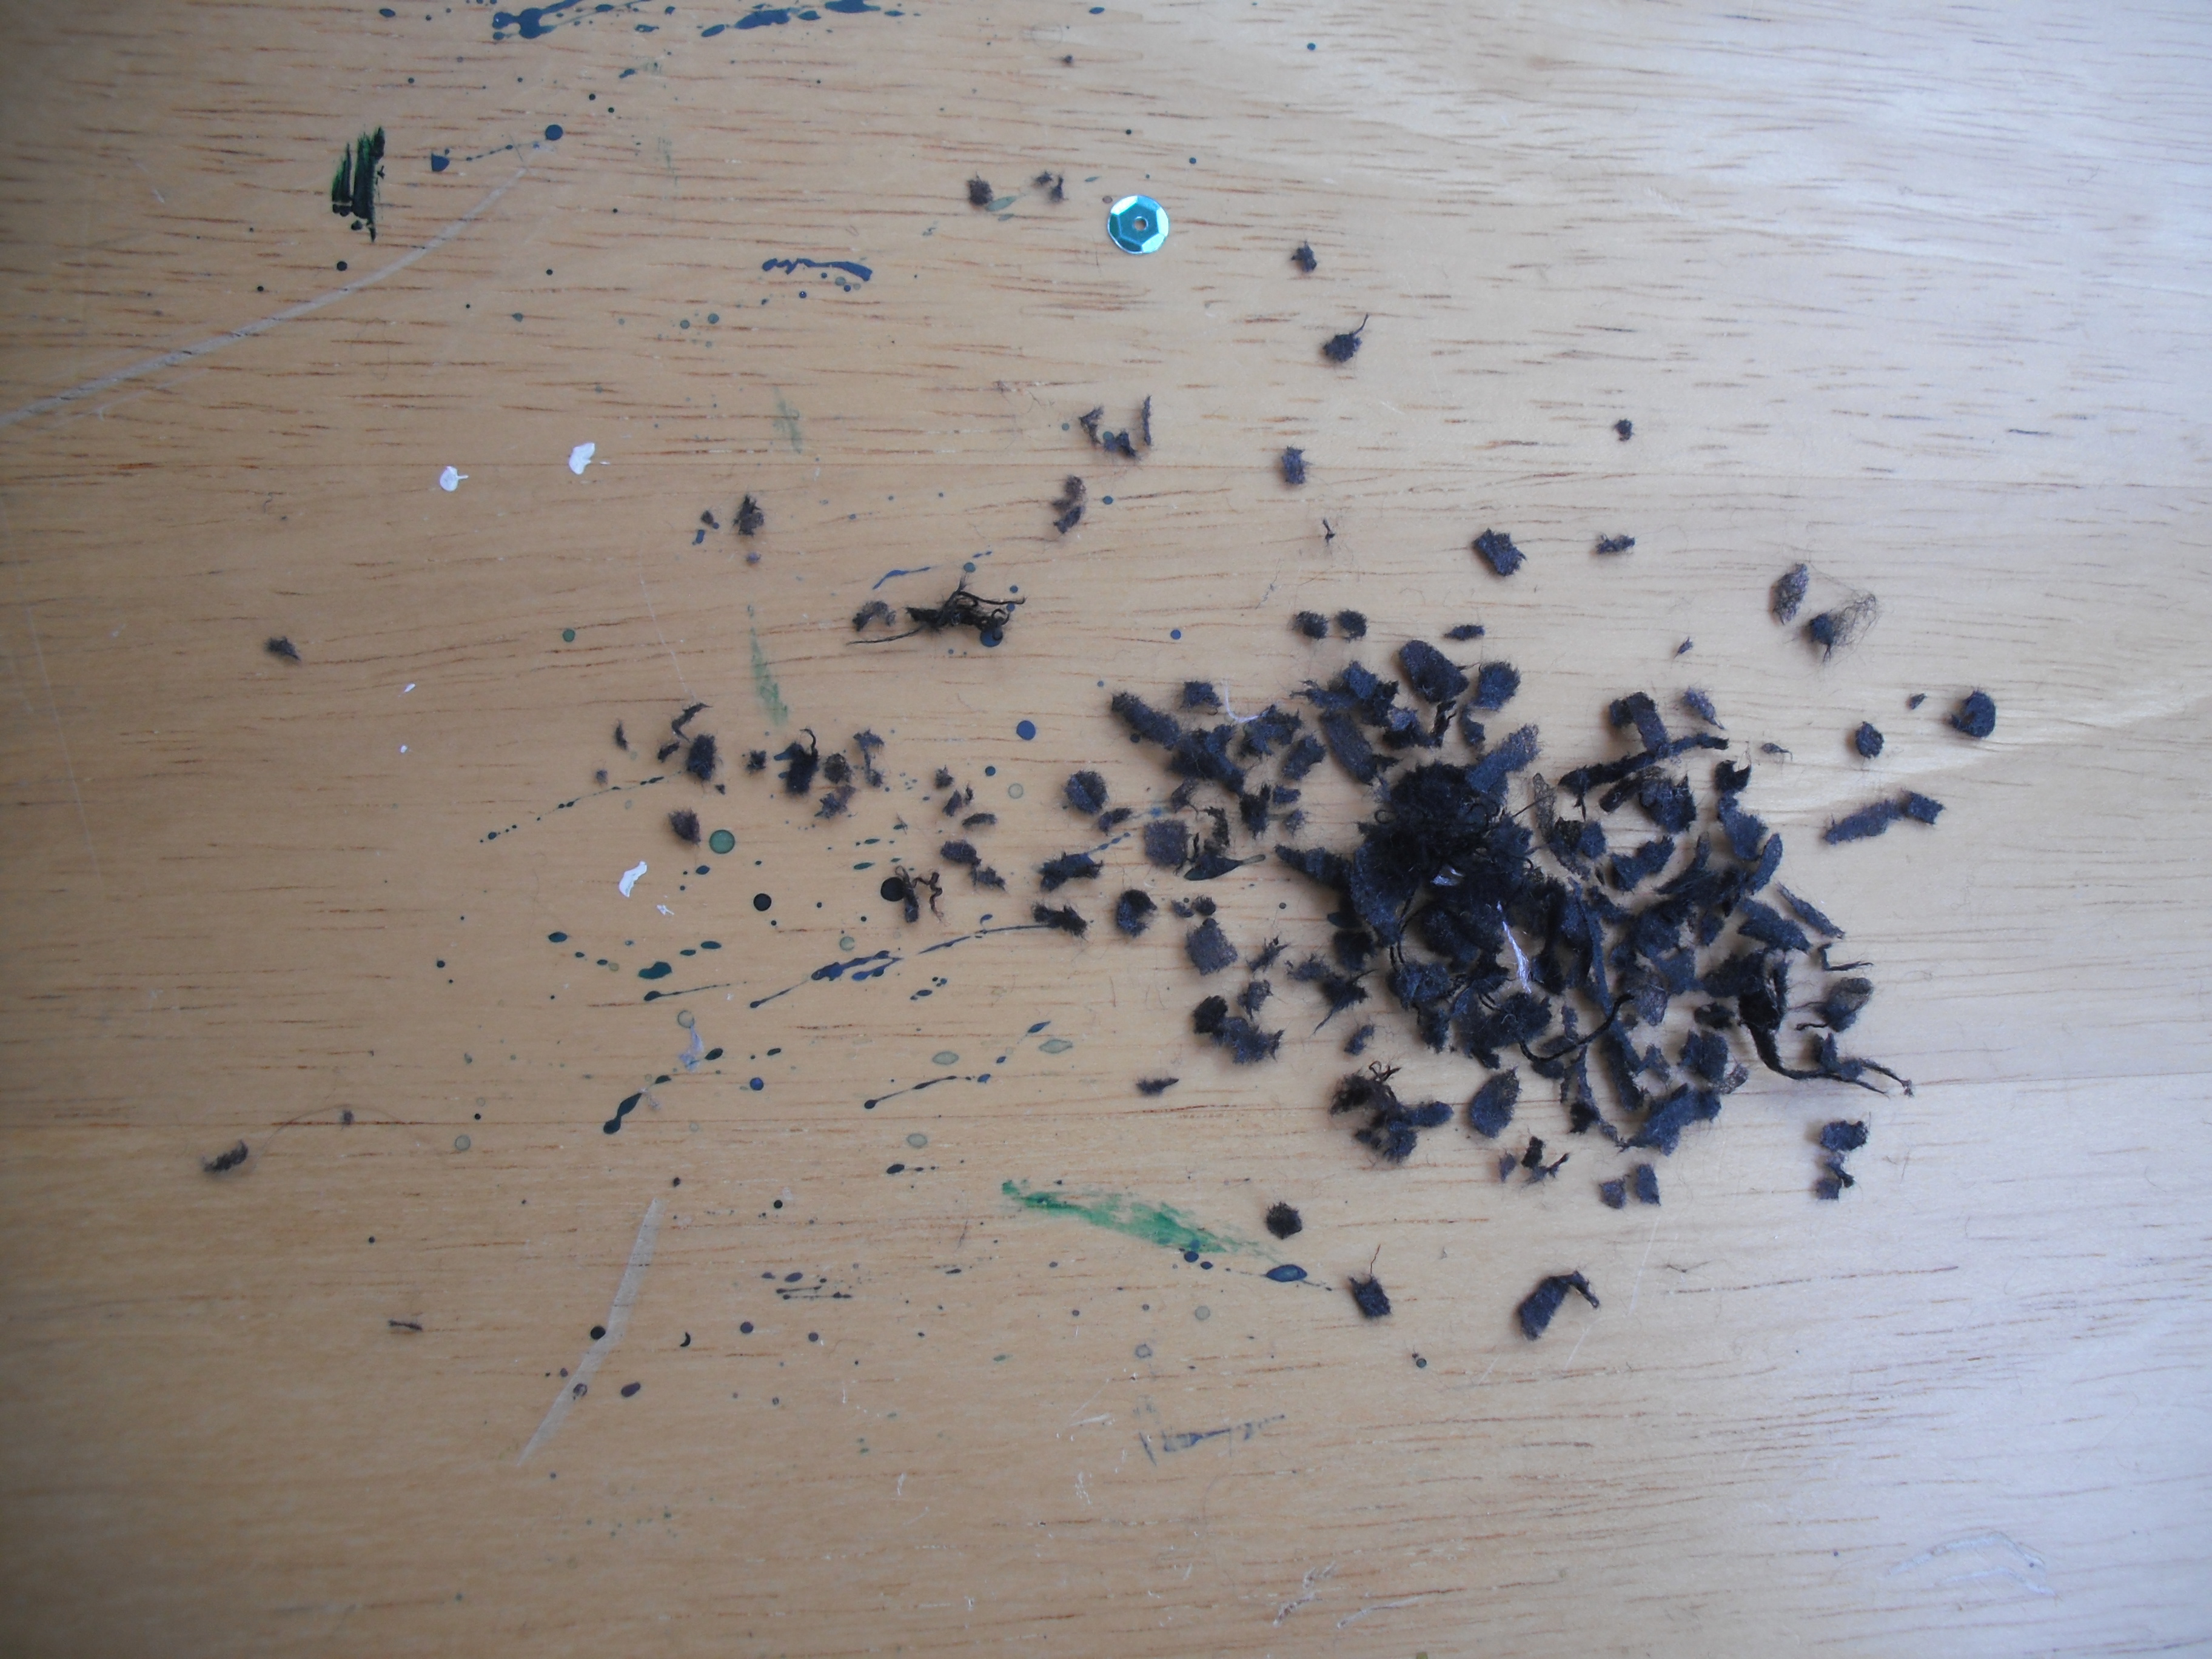
Small problem #1: Most of the embroidery was done through a layer of dark-grey interfacing/stabilizer, as could be expected – but there are many stray pieces of it, perforated by inside edges of the embroidery, that are still sort of attached to the skirt (e.g. in the middles of enclosed shapes). Look at the bottom-left petal on the flower between a couple of my fingers in this photo, for instance:
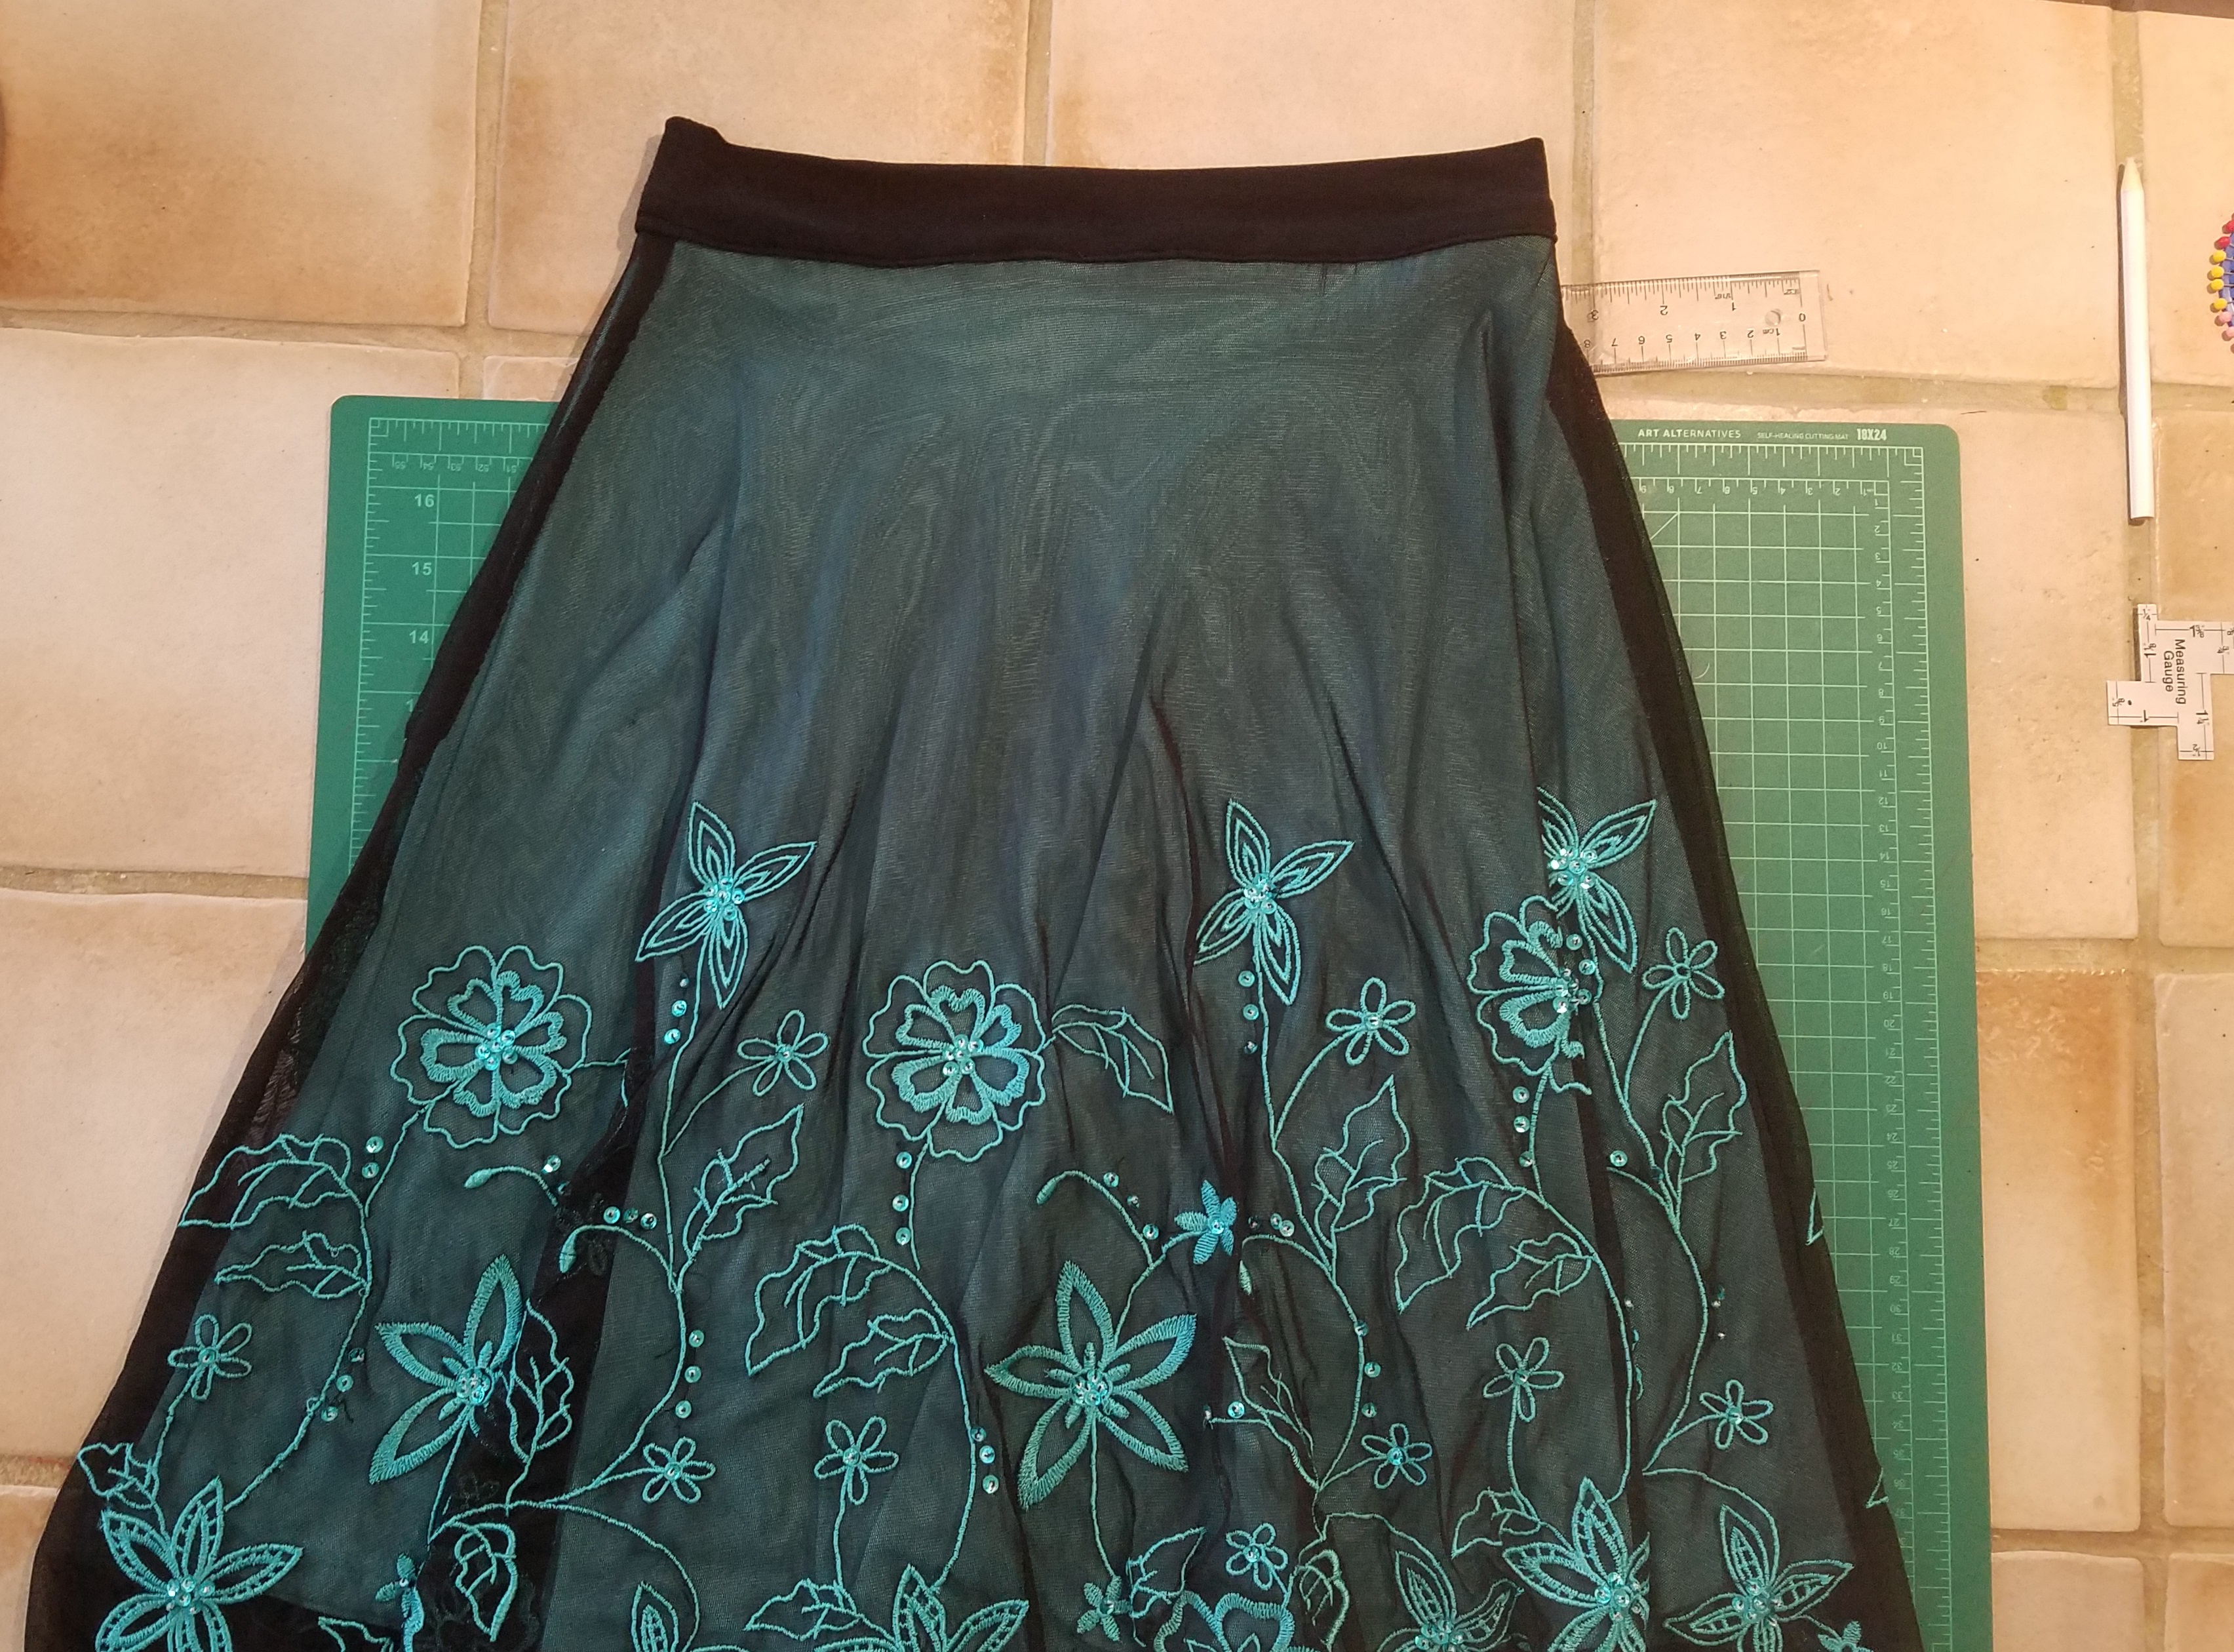
Small problem #2: A stubborn sticker is attached to the mesh on the back.

Small problem #3: The polyester lining layer is not very clean. It’s covered in small stains and dust marks (photo not present, because not taken in the first place, in turn because eww).
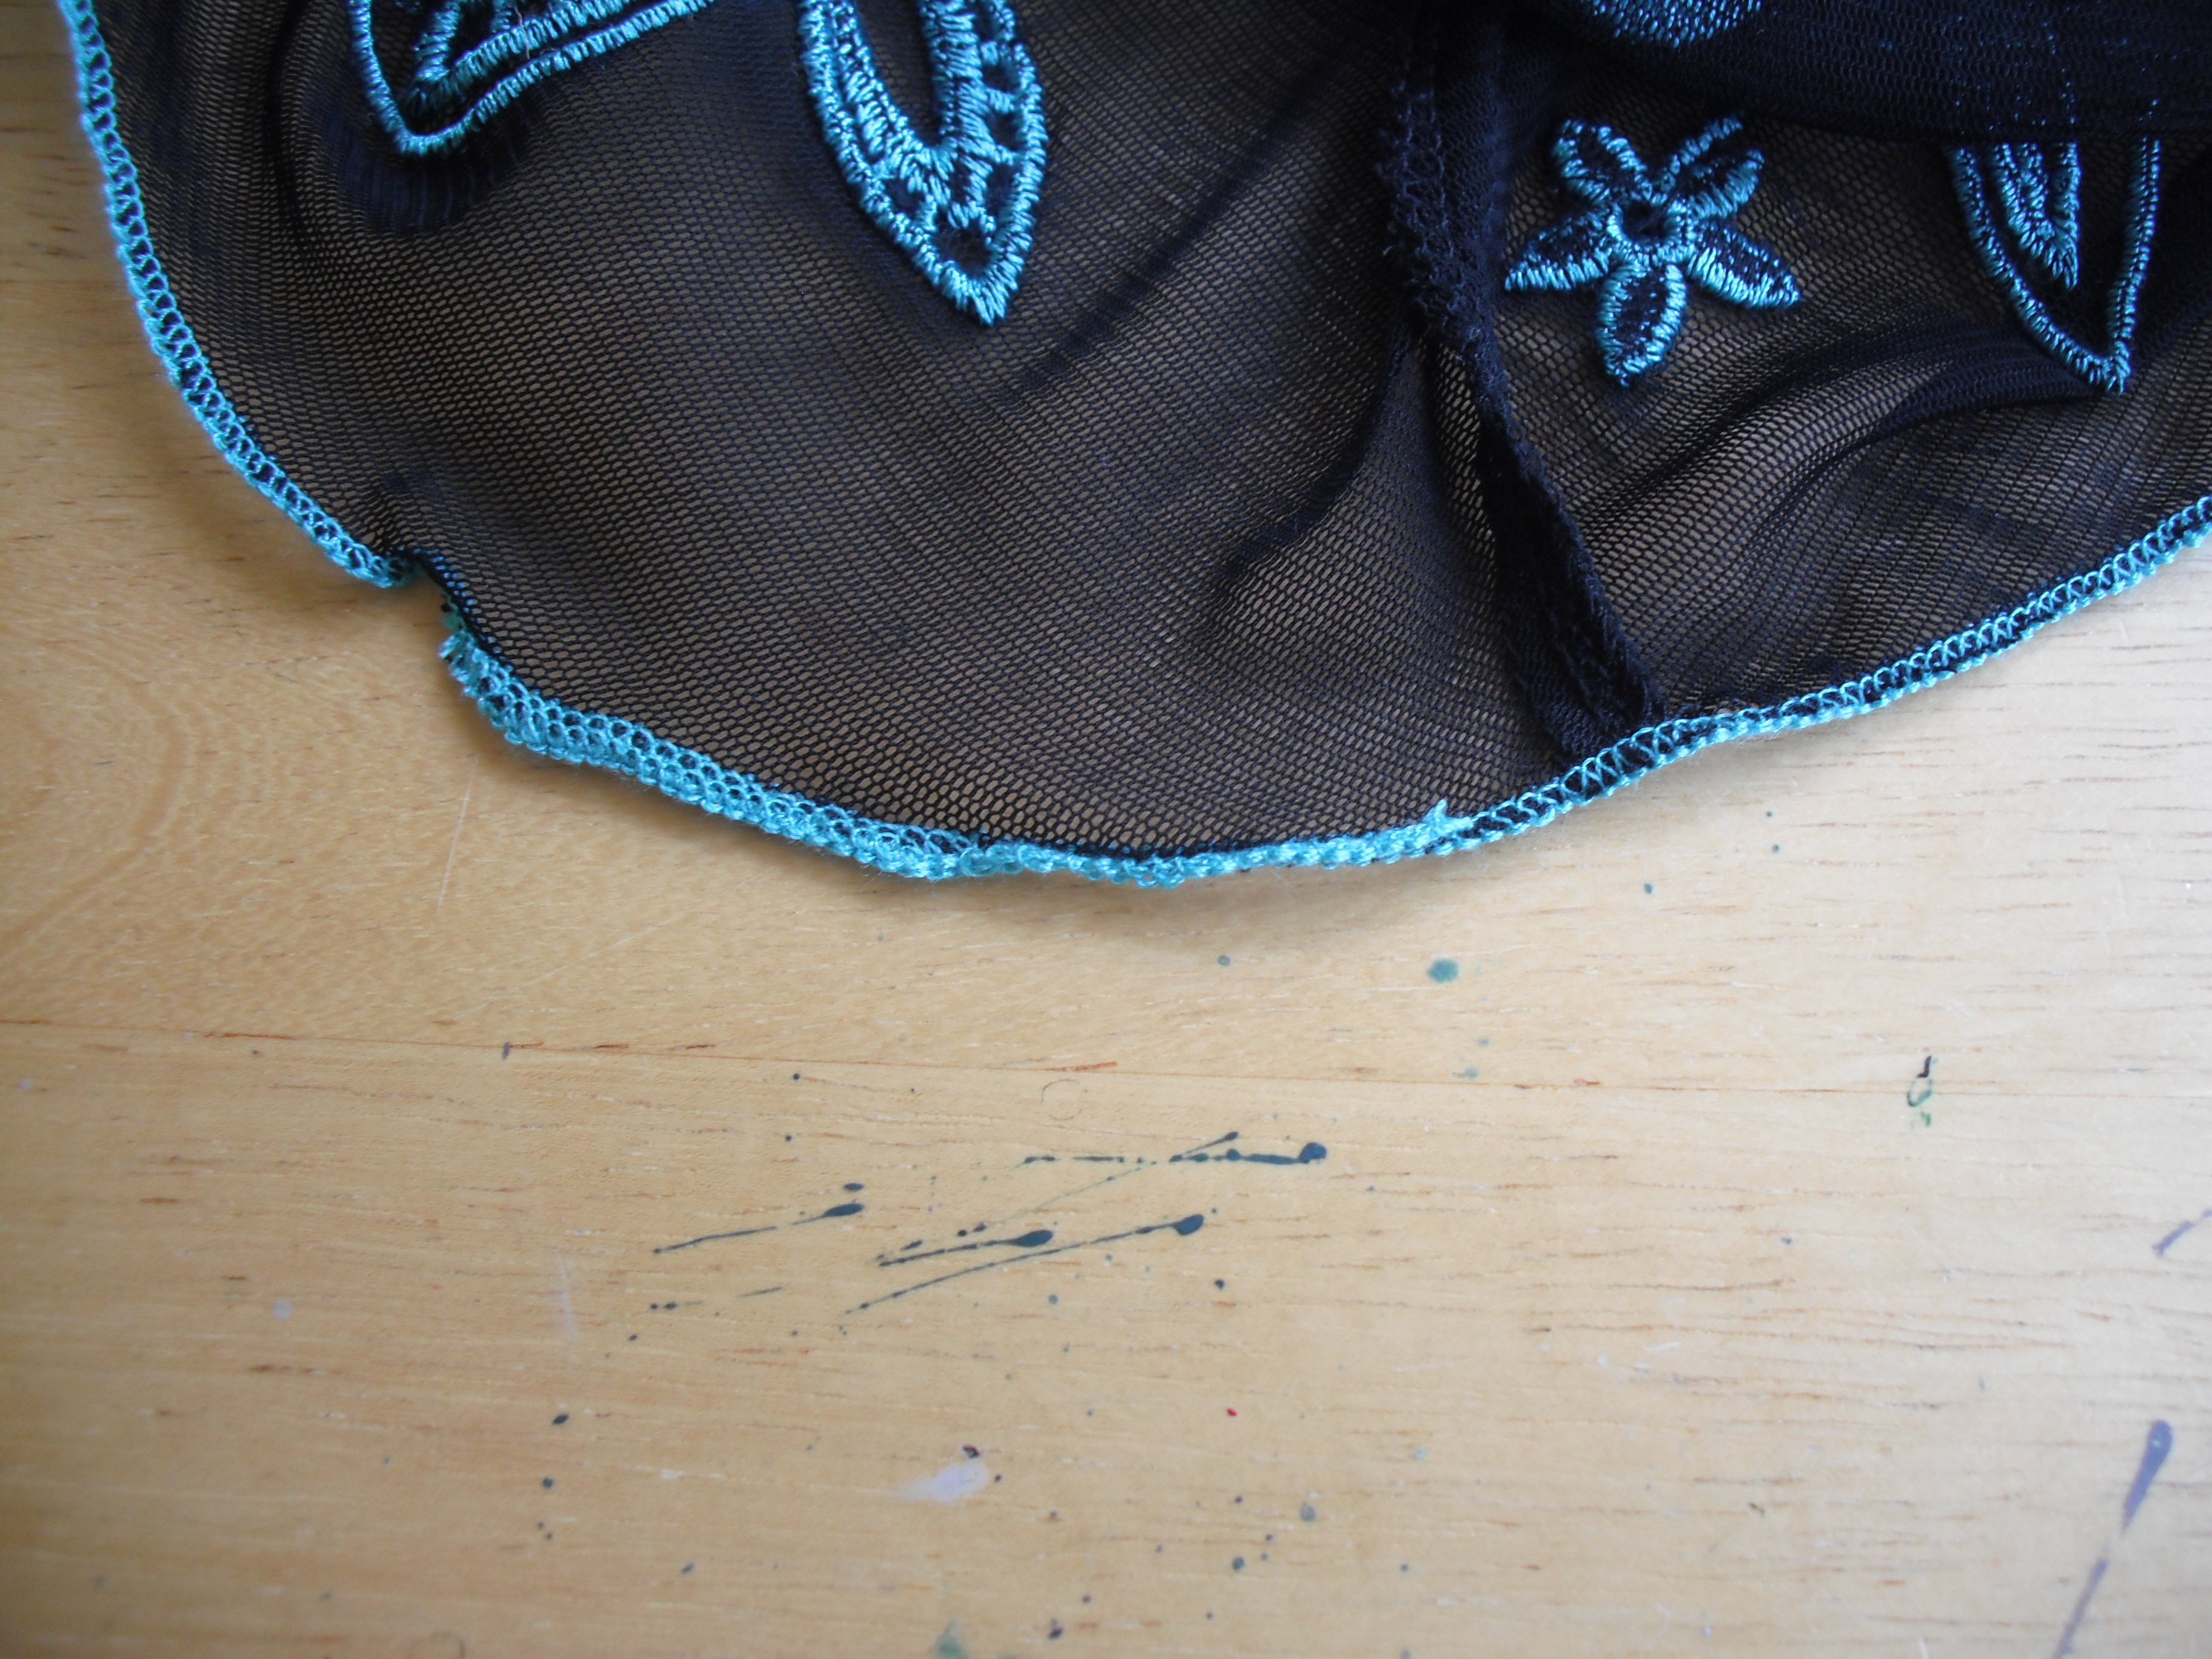
Small problem #4: The end of the serged hem just veers off and hangs there unsecured.
Small problem #5: The original belt or sash is long gone, leaving long braided belt loops hanging out of the side seams.
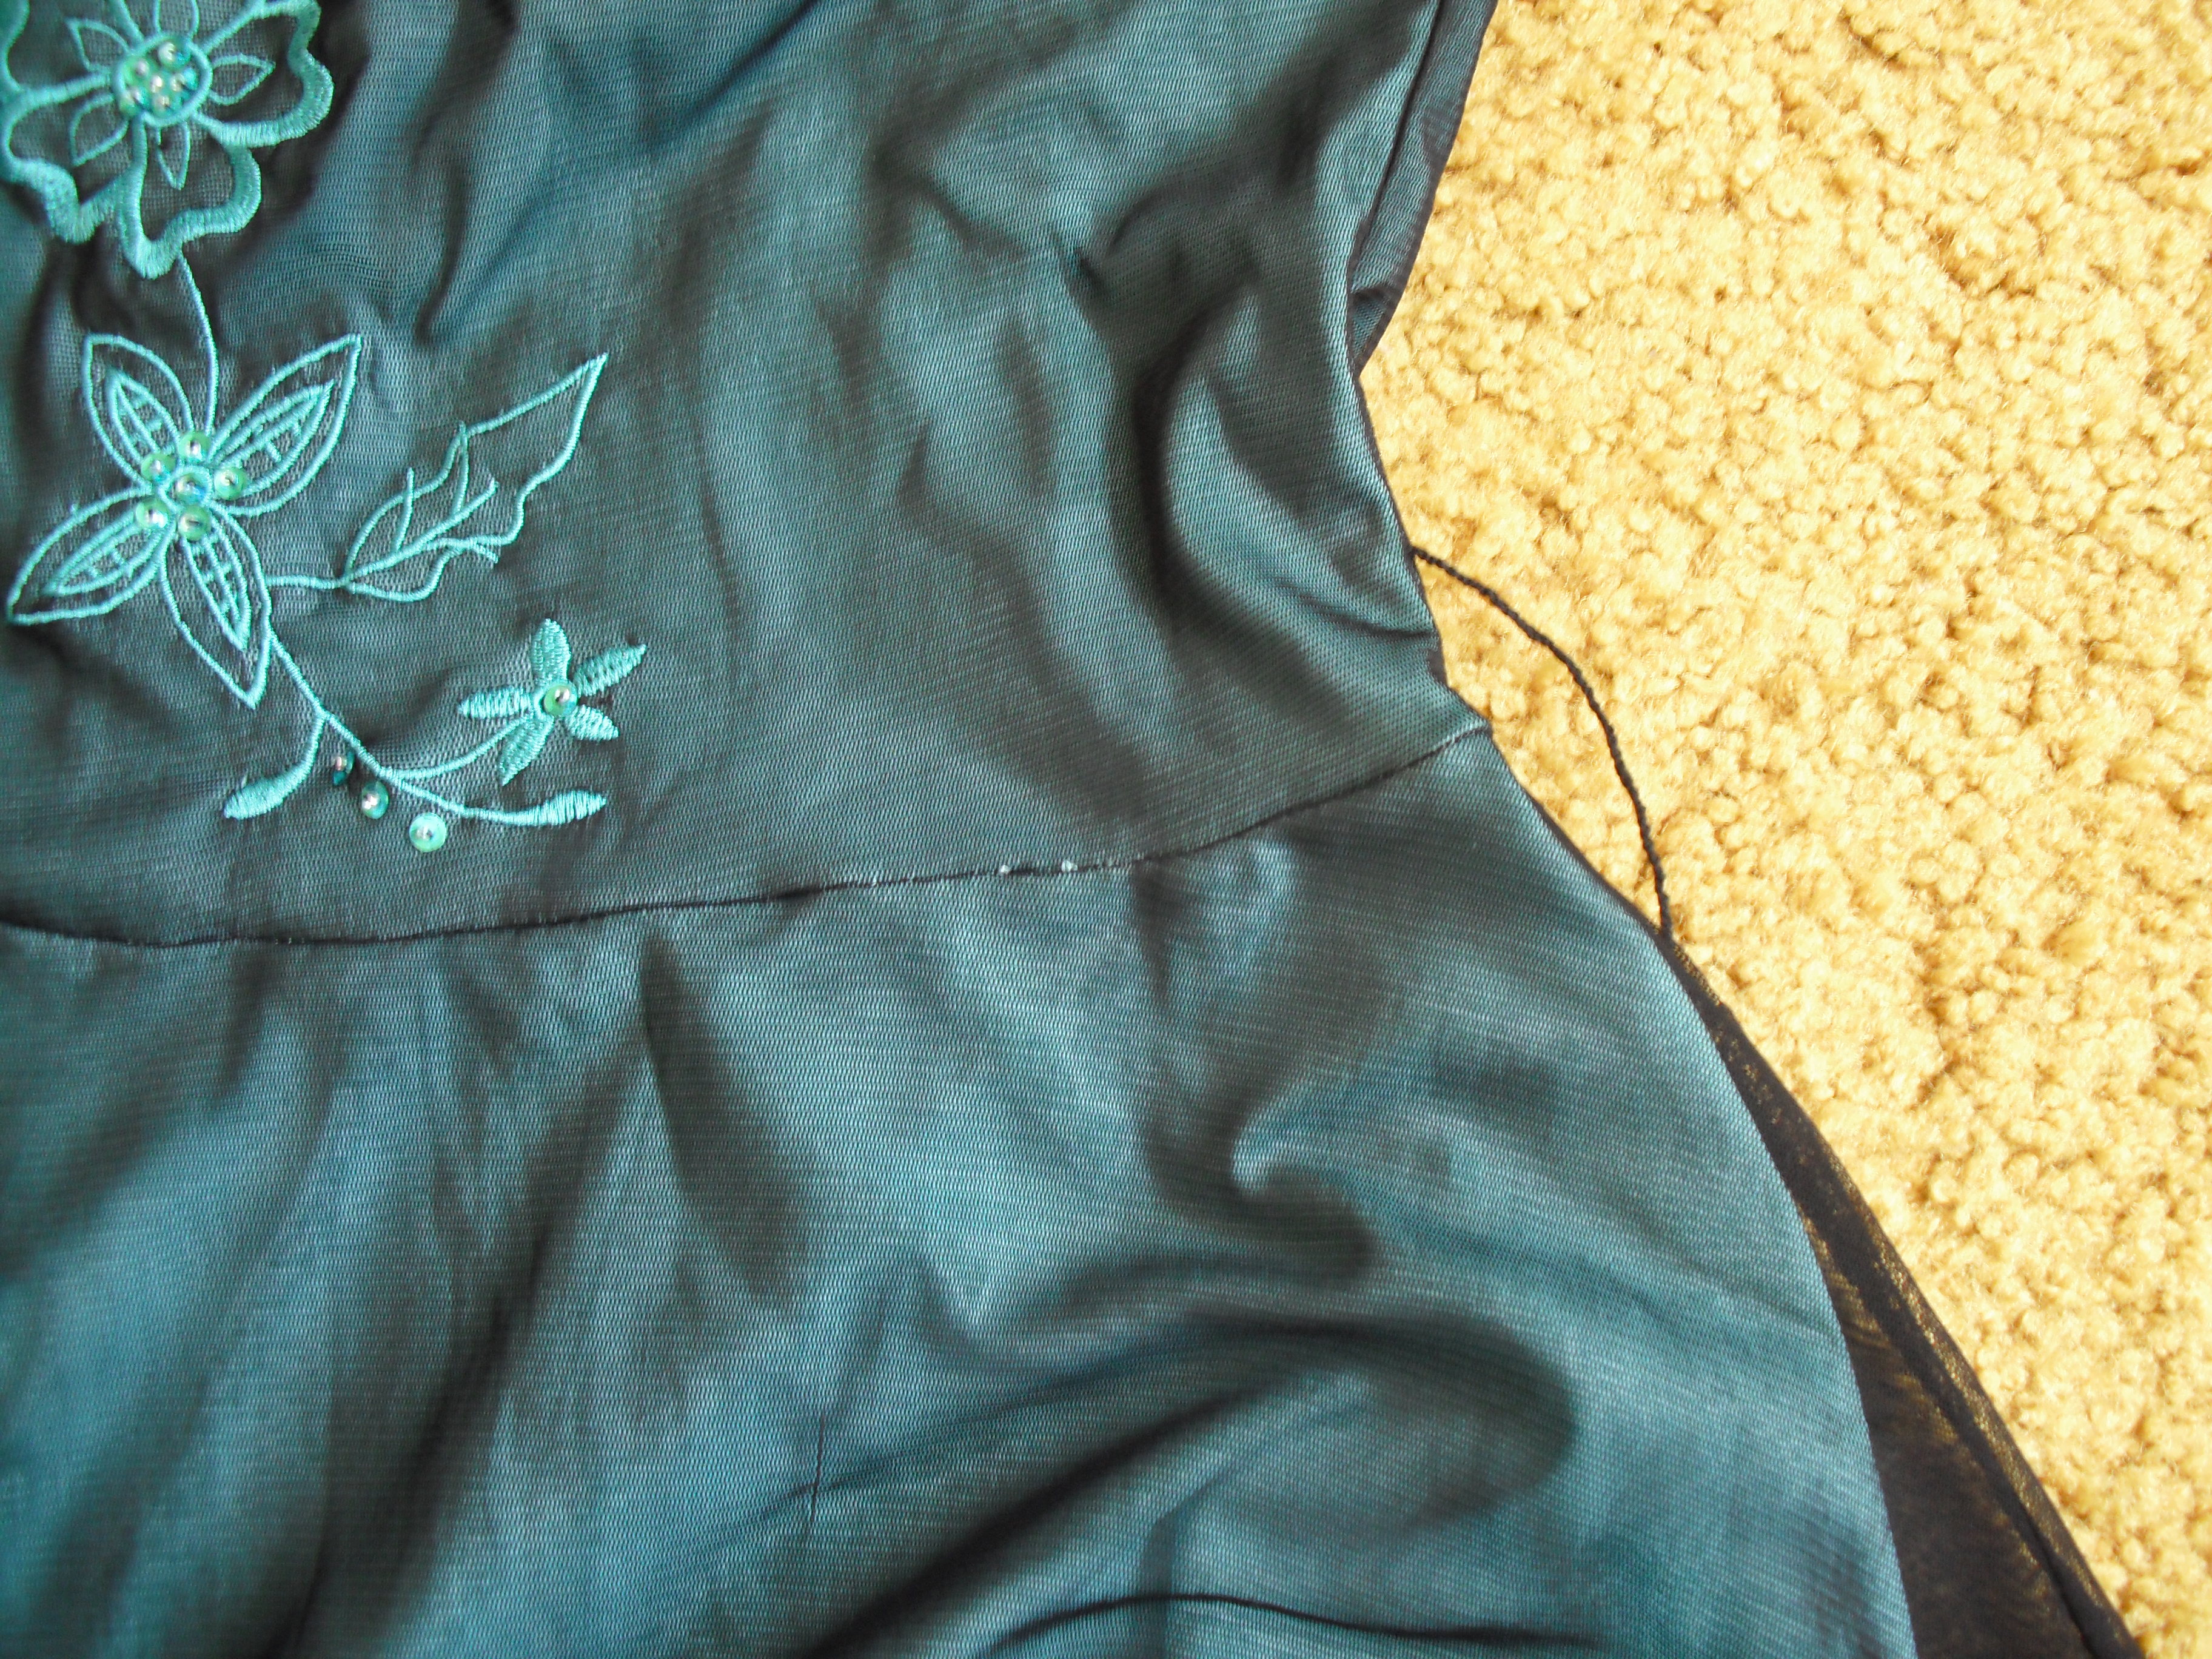
Small problem #6: Some of the stitches at the waist near the left hip have come undone. Now, this seam is also serged, about 1/4″ behind that seam, so there isn’t about to be a hole there or anything – but it’s noticeable, and would be difficult to repair (requiring e.g. a ladder stitch by hand, which I’ve only tried a few times).
Okay, one thing at a time.
Solution to #1: I find an old seam ripper and use it to spear and remove each little piece of interfacing hanging off the dress until I have a whole pile, barely distinguishable from dryer lint. This takes a long time, but proves to be worth it. More emerges from shaking the thing vigorously. Only one sequin is lost to the effort.
Solution to #2: I pry the sticker off very slowly. It leaves some residue, but I need to clean the whole thing anyway.
Solution to #3: I consider, consult the washing label, and decide to throw the thing into the washing machine on delicate and see what happens. Amazingly, that was all it needed! Stains are gone and I can no longer spot where the sticker was. One advantage of polyester, I guess.
Solution to #4: I find a tapestry needle (plentiful, because I am also into knitting) and weave in the loose serged hem. Much better.
As for #5 and #6, these depend on whether I want to retain the top. I go back and forth on this one for some time. It does fit me – if barely – and I love the additional embroidery it brings to the table, but I can’t get enthusiastic about the whole strapless look. Or maybe it’s that I really like straps and necklines, so going without might feel too much like defeating the purpose? That calls for an experiment! As a first try, I sew velvet-ribbon straps onto it, throw a final piece of the same ribbon around the waist to hide the broken stitches, and wear it to a couple of parties like that as a dress. However, I notice I still don’t love it; this is a Band-Aid solution at best. Eventually I realise that pretty much every time I wear it, I stick a teal or aquamarine blouse on top and button it – which clearly indicates that I treat this thing as a skirt.
(Images are going to be few and possibly mediocre for the rest of this post because my camera has stopped recharging and needs a trip to the repair shop; meanwhile, my phone really doesn’t want to have to talk to Google Photos or otherwise release its grip easily on any pictures I take. It does sometimes talk to Gmail or Google Drive, but only when it feels like it.)
I remove the top and the old belt-loops with my seam-ripper, then baste by hand to hold the mesh and the lining together around the waistline. That is as far as I get by the point at which I’ve already decided to wear this skirt to the opera in the autumn of 2019. (I’m not much of a procrastinator, but my day-job in academia really keeps me on my toes and has a way of being all-encompassing.) The backup plan: two safety-pins and a waist-hip ratio of less than 1.0. Fortunately, it works. Ahem.
After that, the unfinished skirt lives in the project box for a few months, until I clean out my scrap bin and decide to play around with adding a waistband in black. My first attempt is made from a thicker polyester resulting from converting a pair of pants to shorts, which turns out not to be a good bet. This is almost backpack-strap fabric, and loses most of its stretch when folded. I need something much stretchier in order to match the skirt. However, this try gives me a good sense of the sizing to aim for. I’m keeping it in my scrap-bin as a future waistband guide.

Second attempt is going to use a piece of very soft, very stretchy jersey fabric that I have lying around because of a nightdress I converted into a top.
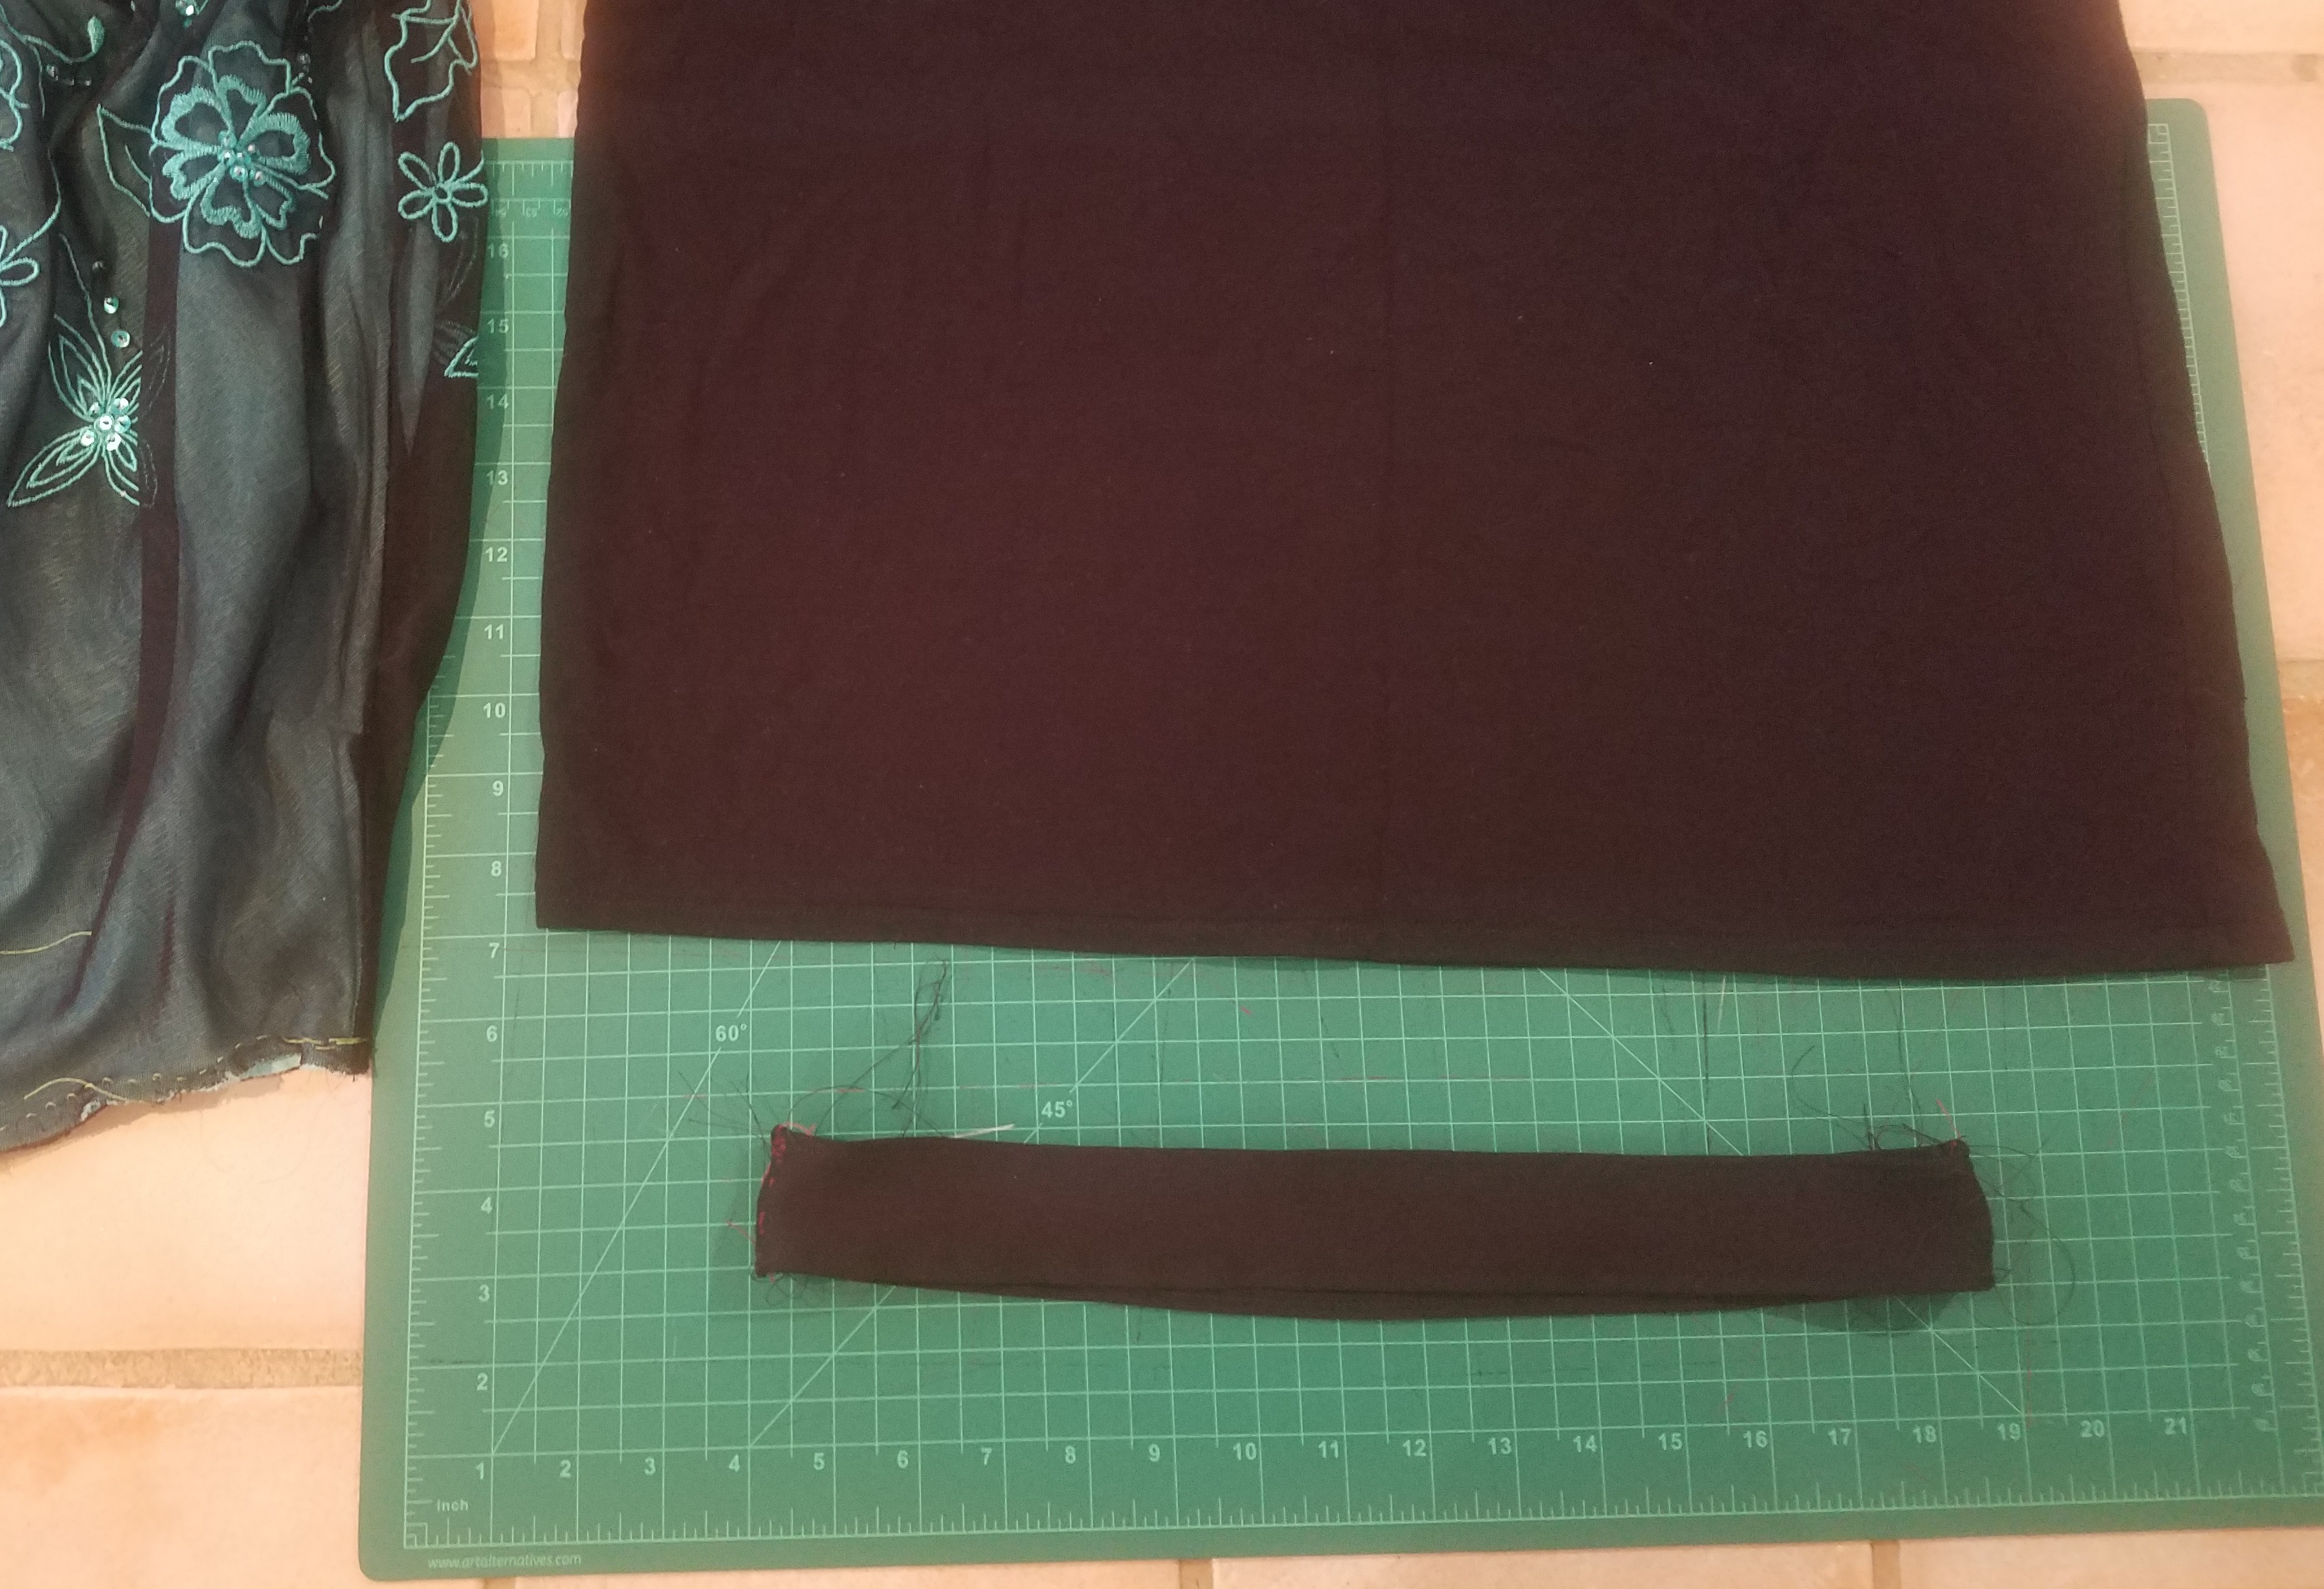
This is not the most cooperative fabric in the world. Ironing it doesn’t really do anything, nor trying to mark it with chalk. It’s so limp and stretchy that it’s hard to measure and cut evenly – especially since I uncharacteristically misplaced my rotary cutter. It also doesn’t play well with the serger. However, I reuse the original twin-needle bottom hem to help me out, and once I get going, it’s clear that it’ll stretch well with the skirt.
I’m basically treating this like double-fold bias tape. I measure and sew the sides together, then fold the outer raw edge under and anchor it to the outer side-seams of the skirt with a bunch of basting stitches. Then I go around twice – once with a blind-hem whipstitch to hold the raw edge up against the waistband (without sacrificing stretchiness) and once as a line of basting stitches to hold the raw edge to the skirt beyond the side-seams. So far so good.
Then I put the thing back on my sewing table and realise I should have zig-zagged the edge underneath to hold the layers together – that’s tidier and stronger given that everything inside here will be hidden later! I remove the entire whipstitch and put in a zig-zag instead, then opt to topstitch the bottom edge while holding the fabric taut, which is an attempt on my part to keep it from compromising the stretchiness. I haven’t yet folded the waistband in half downwards towards the inside – so the raw edges are all still exposed on the inside – but for now I pause and try on the skirt to make sure things are working.
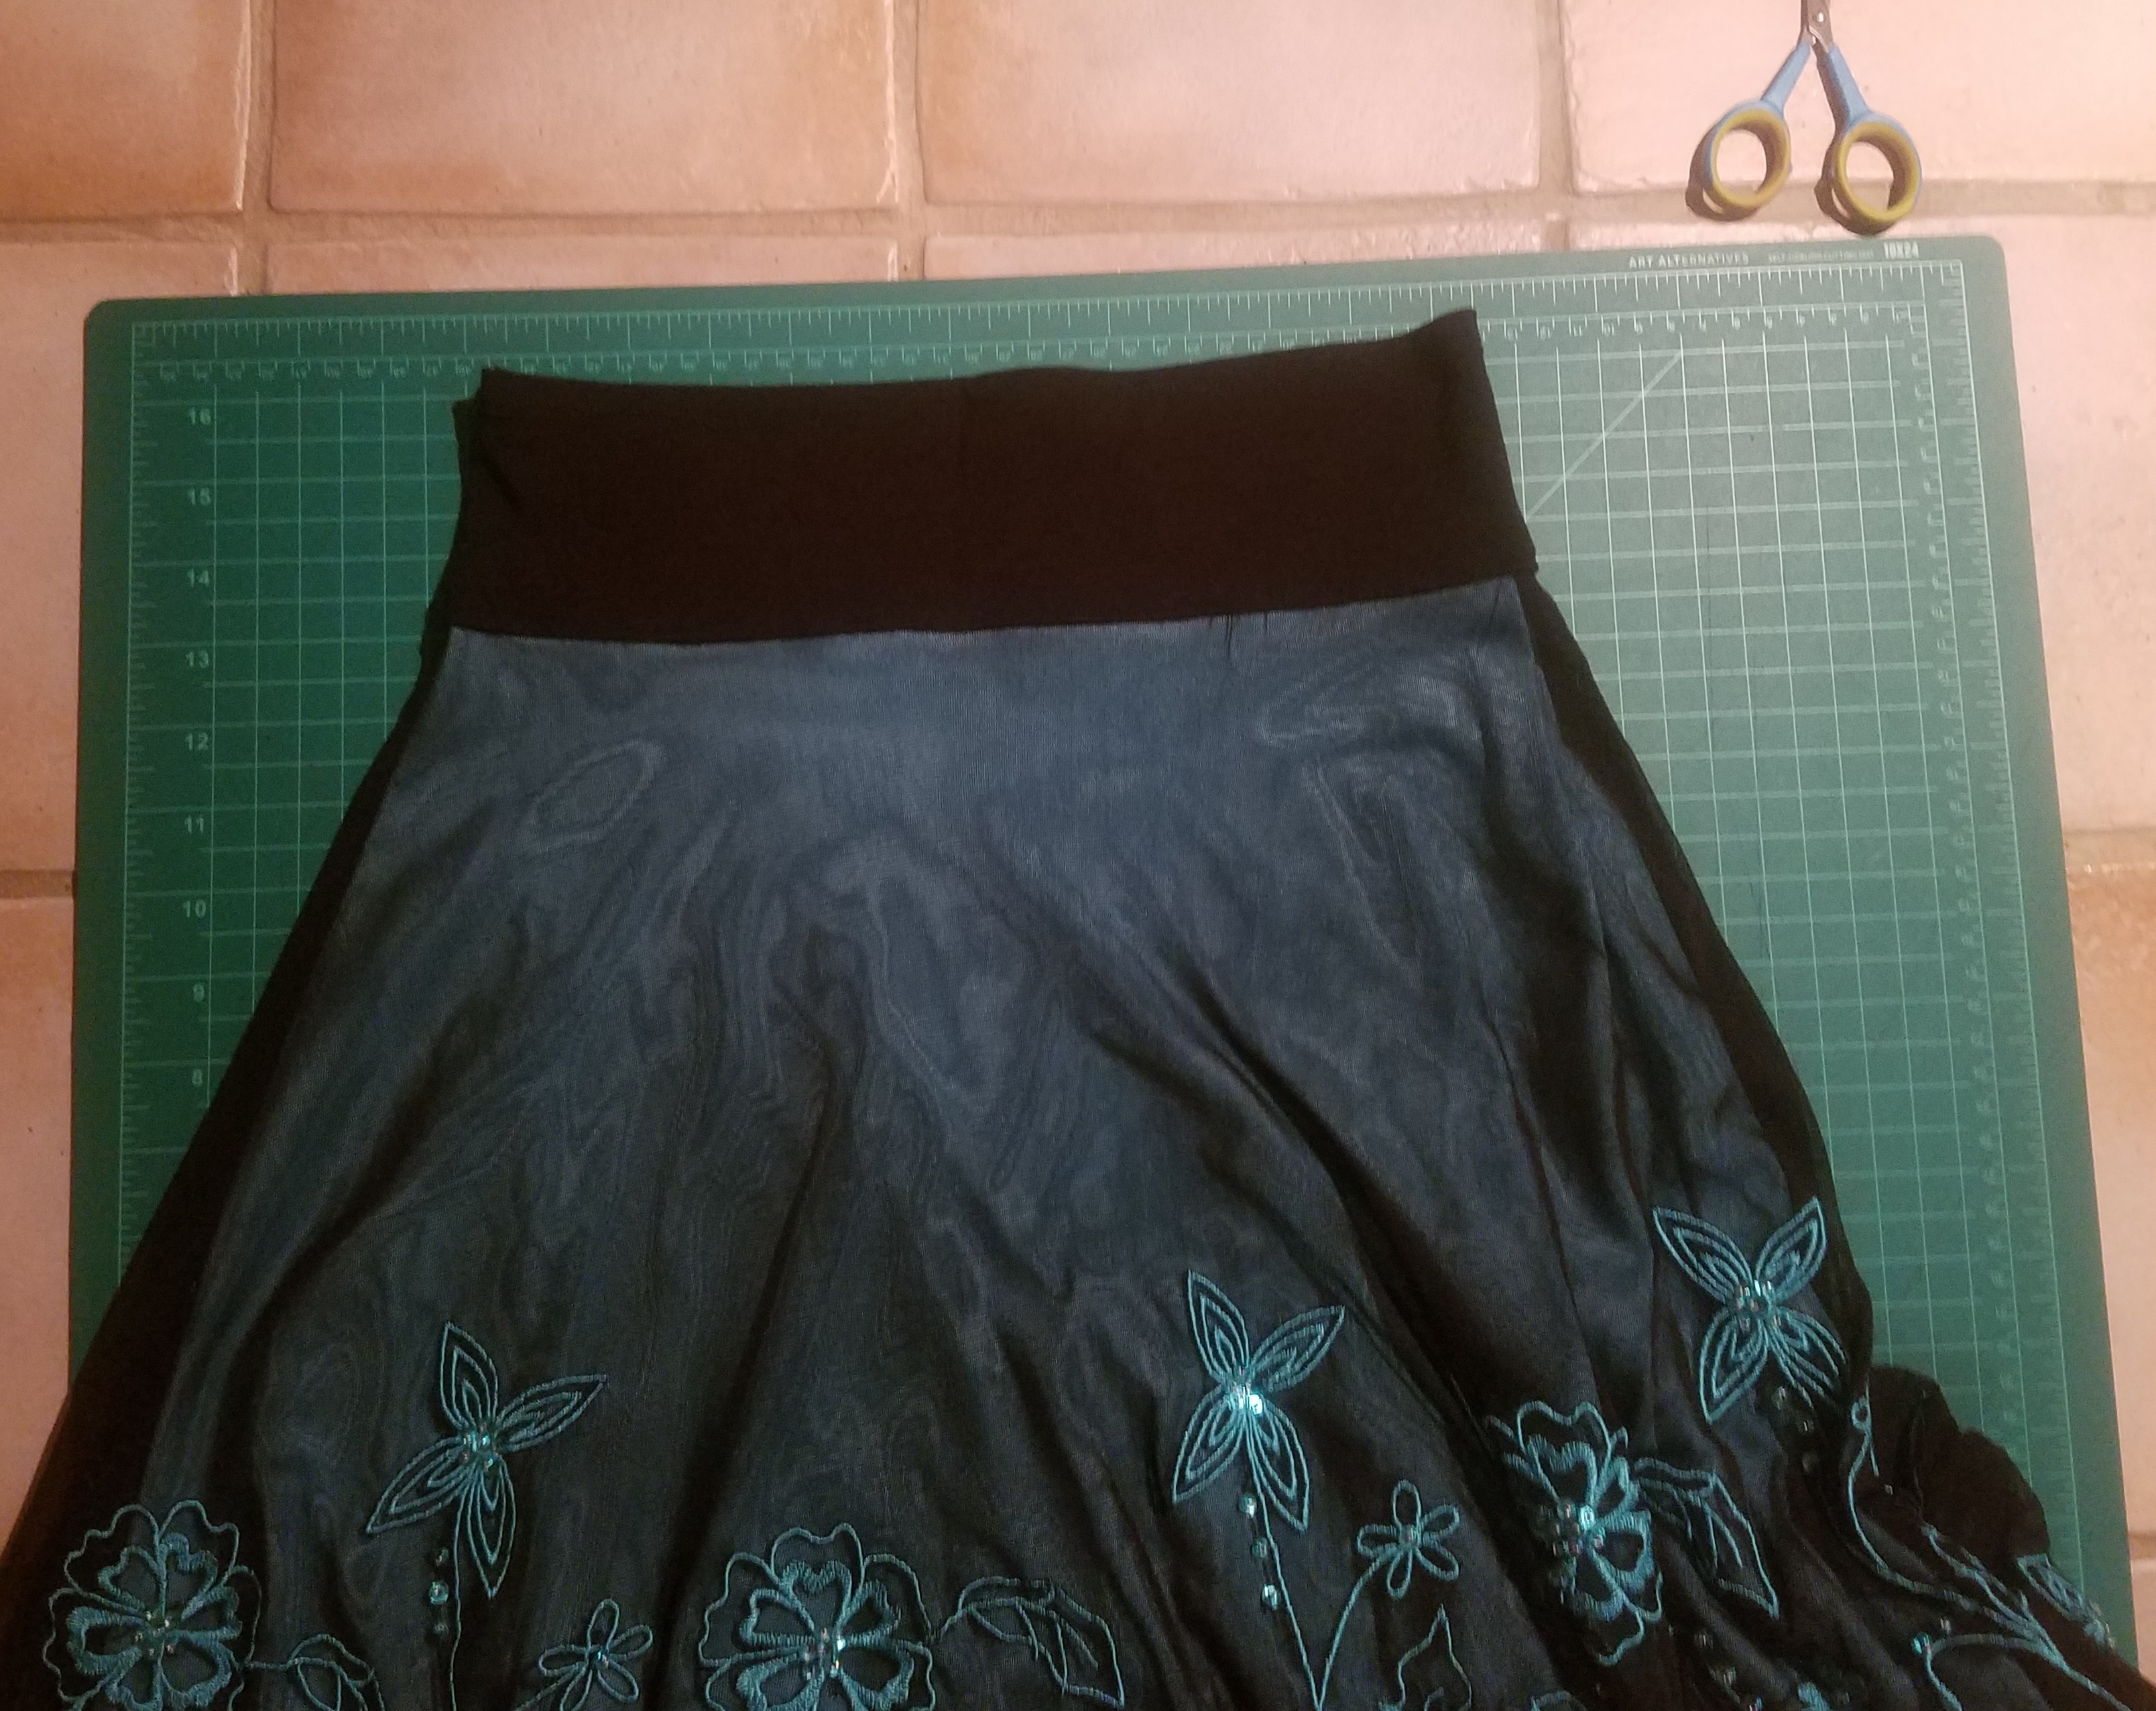
Happy with the results. The fabric is thin enough that the side seams are nearly invisible and nothing compromises the stretchiness more than a little bit.
After that I just need to fold the waistband down and secure it around the inside. First I baste it to make sure it’s lined up with the outside, then from the outside go over the topstitching line again as closely as possible to catch the back. After removing the basting and cleaning up the ends, we’re done.
The results are pretty good. The stretchiness is excellent. The double line of topstitching is a little bit uneven relative to the horizontal, but that’s barely noticeable. The biggest problem is one place where the amount of stretching on the outside and the amount on the inside were offset enough to create a bit of a diagonal wrinkle, which is getting on my nerves. However, it’s not obvious while wearing it, and doesn’t compromise the comfort level. The skirt has passed the more-wearable-than-when-I-found-it test.
Self-portraits to return – and to be edited back in where necessary – once I take my camera in and get it recharging. And also once I get over a cold and finish moving again (something I’ll now have done every summer for five years in a row – but hey, my life is portable and can take it).
Edited to add: Okay, posing along the one blank wall with the modem!