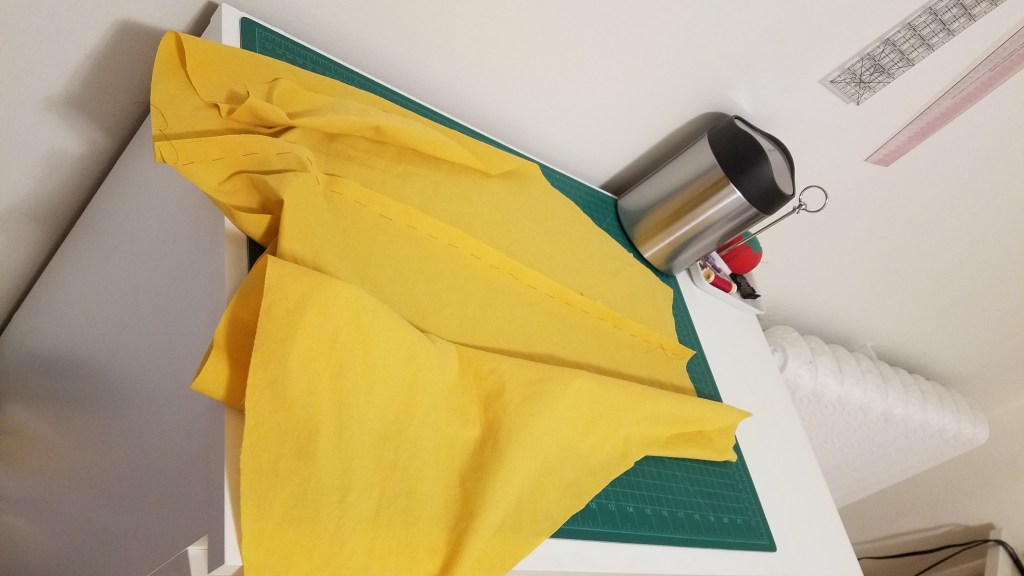
This is a European-style duvet cover that I got at the Value Village on Islington Avenue in February 2022 for $11.49, 100% cotton. (Better yet, the original retailer was La Maison Simons, which is a favourite chain of mine.) One side is a golden-yellow, and the other side is a tweedier but softer gold/white mix. I like the colours and immediately want to use them together in an interesting way. Only a few days later I’ve figured out what I’m aiming for: a yellow sailor dress. I am unreasonably fond of sailor dresses, especially in unconventional colours, and I’ve been inspired by how Sewstine recently knocked it out of the park in this regard with a Simplicity pattern from 1954. I’m aiming for something a little different, but that’s the basic idea. Let’s do it!
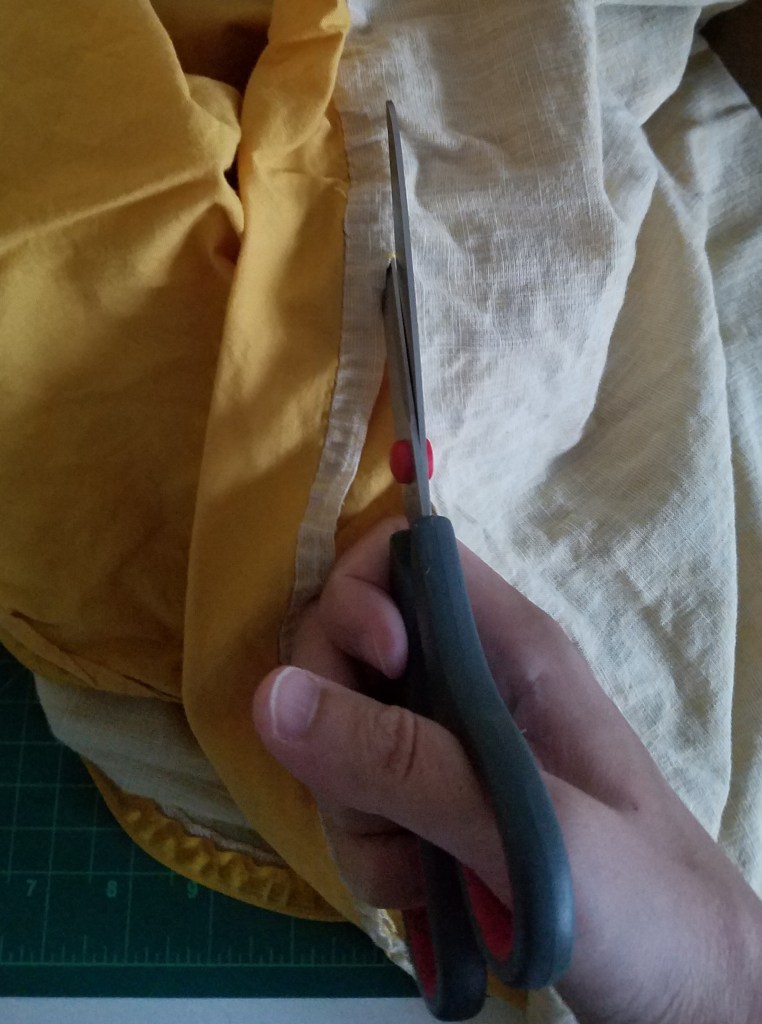
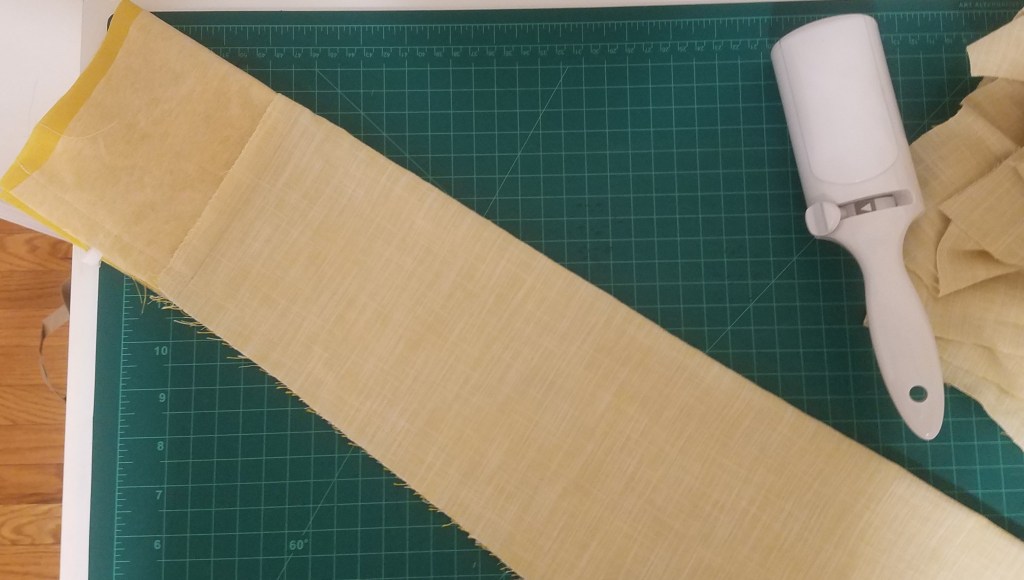
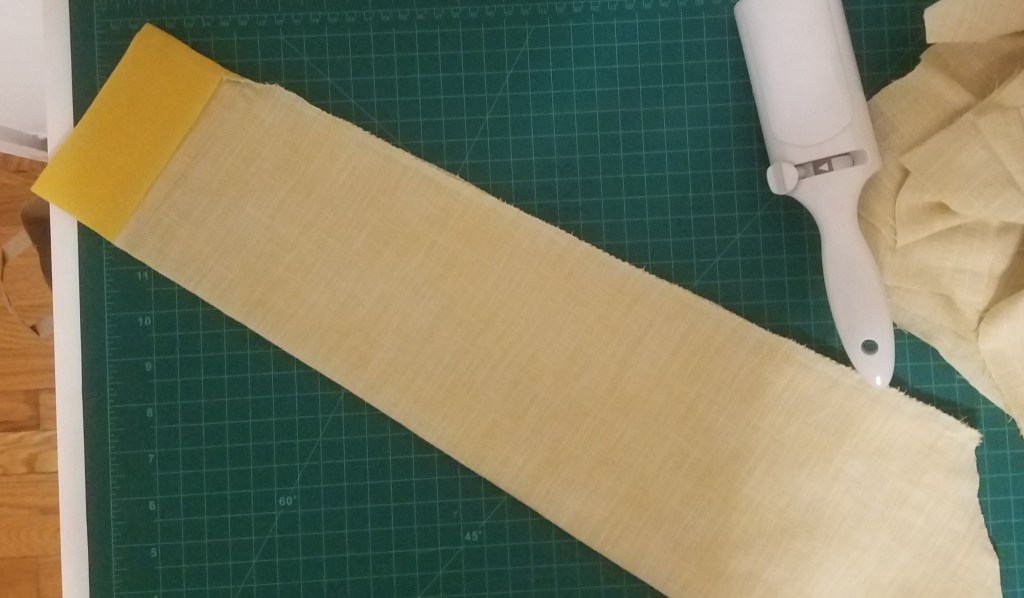
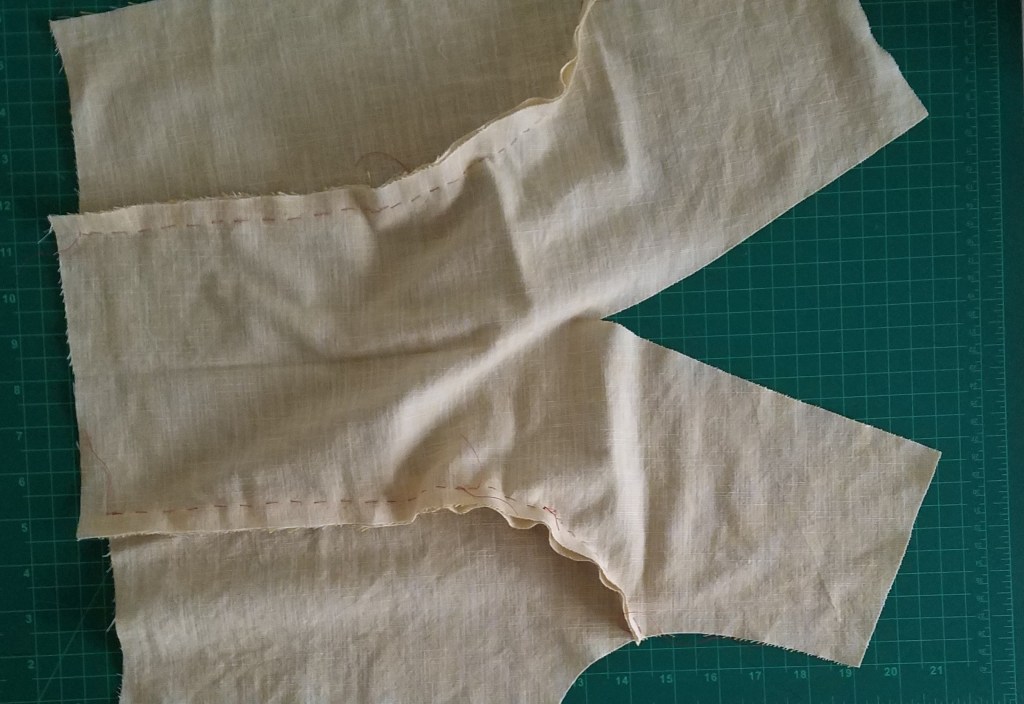
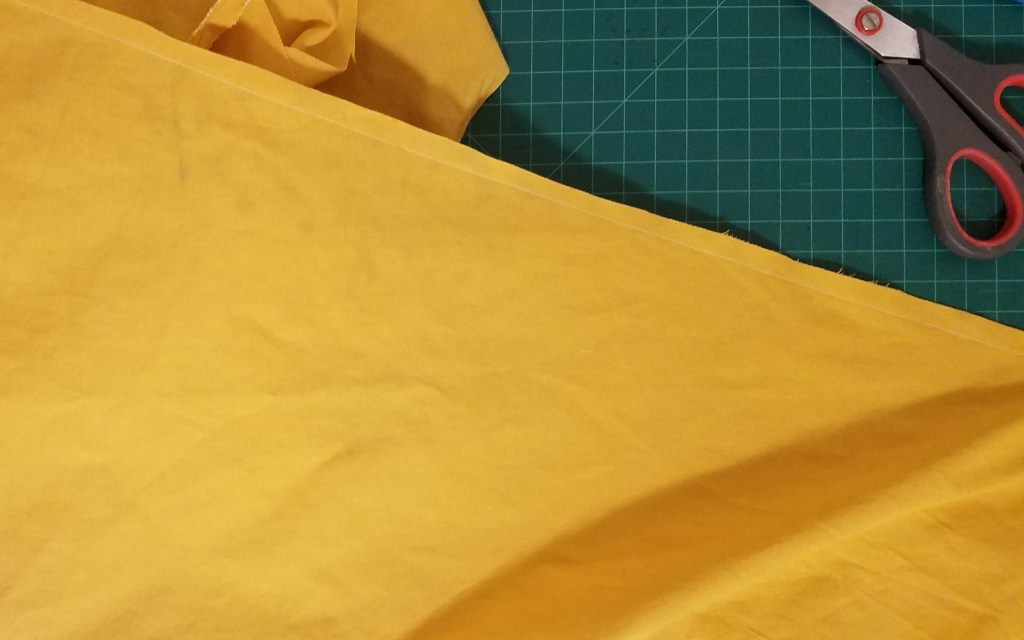
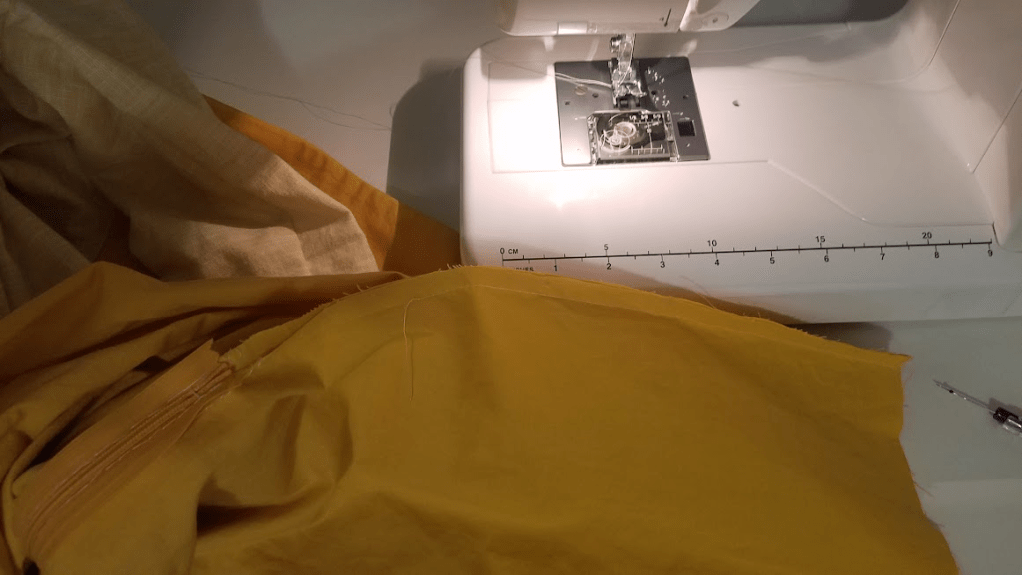
First I throw the duvet-cover in the washer and dryer; then it’s time to take it apart. If I didn’t have this much fabric, I’d be more cautious and unpick the seams a little at a time. In this case, that wouldn’t be worth the time and effort; instead, I cut off the seams. (Either way, the scraps will all go to textile-recycling at the end.)
I doodle on a notepad to figure out which parts of the dress need to be in which colours. The skirt, cuffs, and collar will be the golden yellow; the bodice and sleeves will be the lighter yellow-white mix. Then the skirt’s getting a stripe near the bottom in the lighter colour, and maybe also ribbons around the collar and/or cuffs unless that begins looking too cluttered.
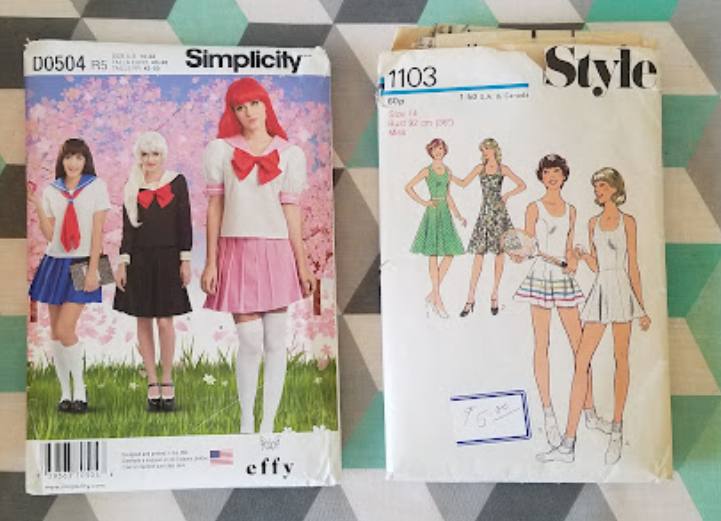
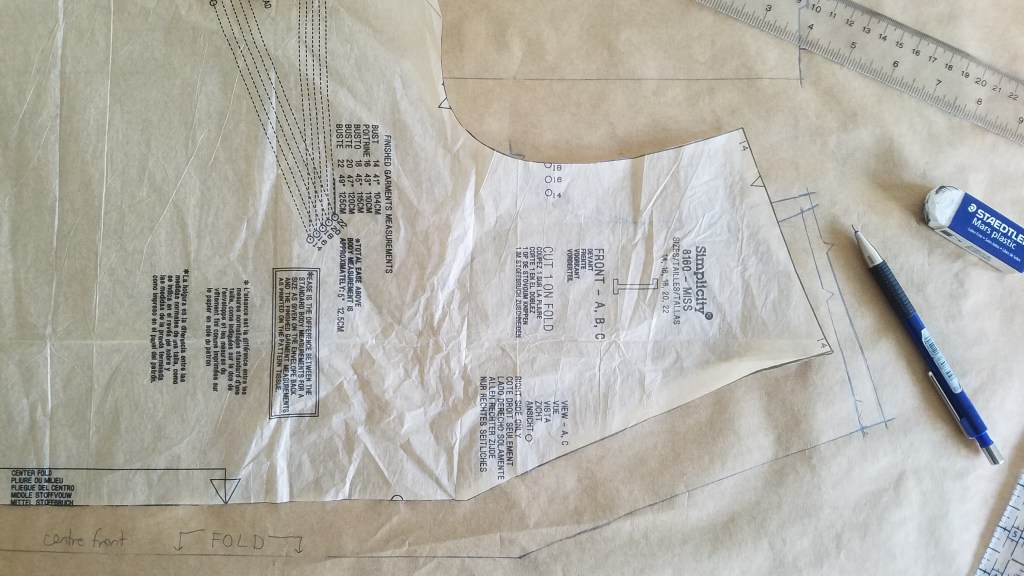
What does this mean for a pattern? I don’t own a copy of a specific sailor-dress pattern; I’ve looked at a few online, but none of them quite capture what I’m going for. I do own a pattern for cosplay-style sailor blouses with sleeves. I wouldn’t just attach a skirt to one of those blouses, though – they are quite loose and don’t have much waist shaping. What if I traced the pattern pieces for a dress pattern I already like that has princess seams, then fused that with the sailor collar from the blouse by lining up the centres and the shoulder seams?
Doing this would let me swap out the neckline of the original dress for the one I want with the sailor collar. The only tricky part here would be the need to draft a sleeve pattern, since the dress pattern as it is doesn’t have sleeves. It easily could, though. Anyway, I really like the sound of this. An interesting challenge!
I decide to make the collar in the final fabric, then draft a hybrid blouse pattern and make a toile of that and adjust it until it fits. This is half because I’m hybrising two patterns, and half because I might want to mess with the bodice a bit anyway (the dress pattern is wonderfully clear, but the one included size is a bit less rectangular than my body is).
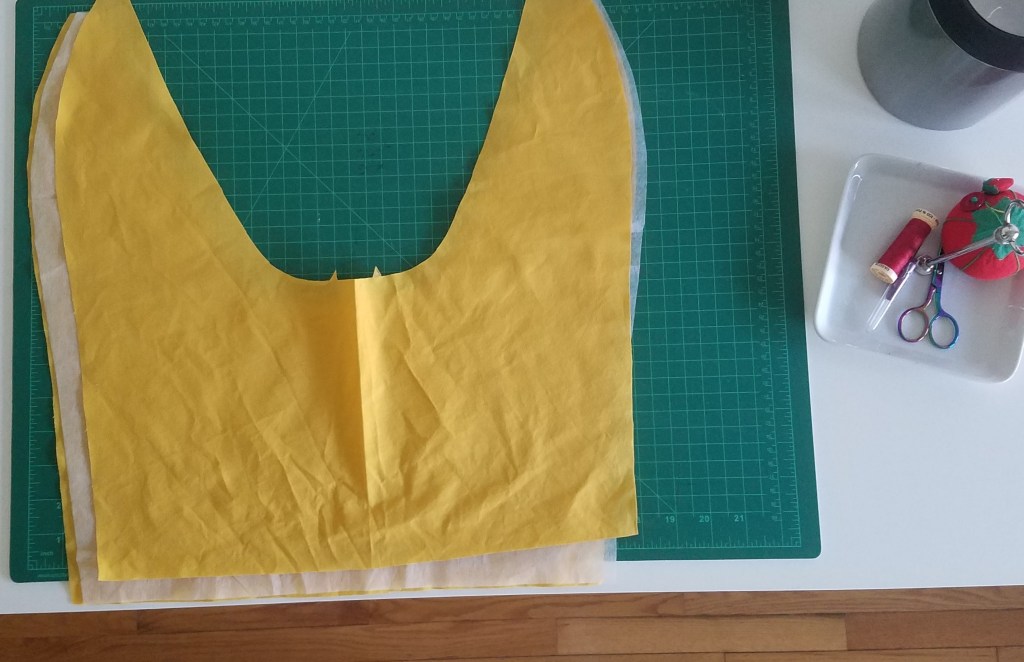
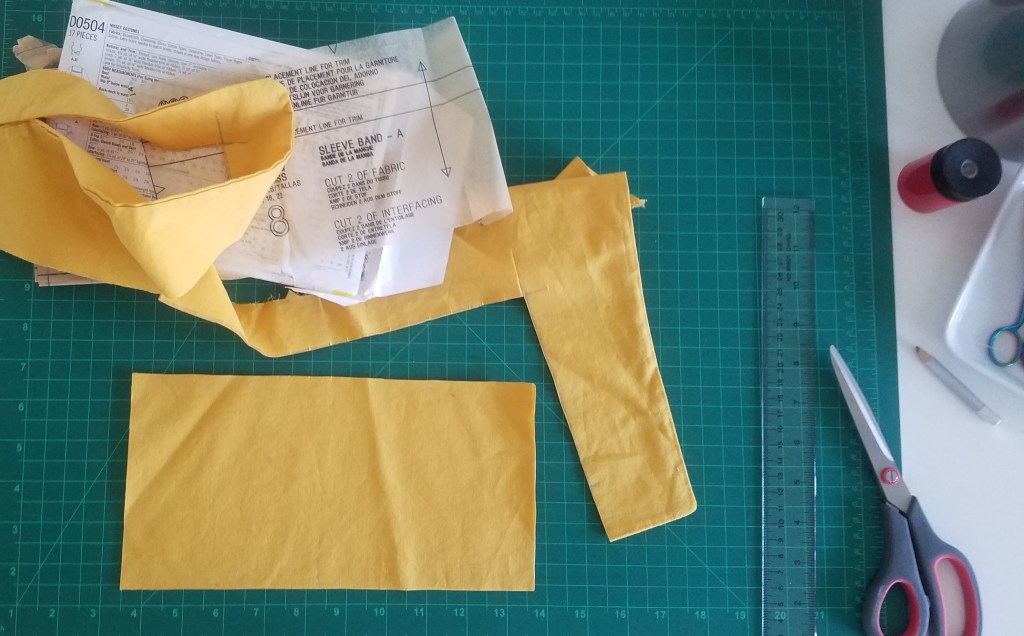
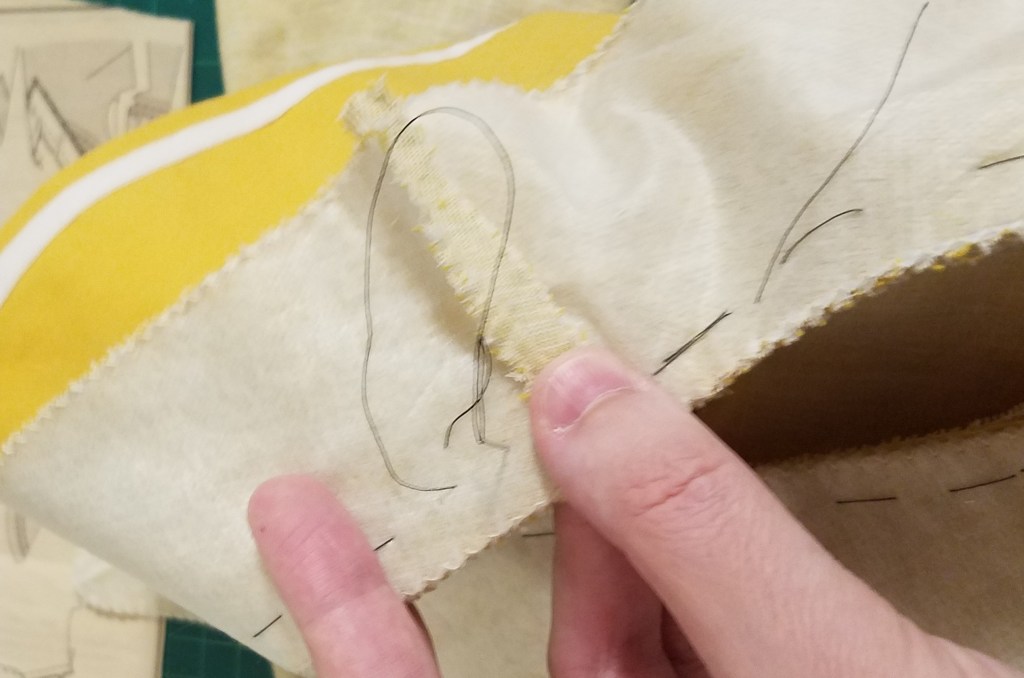
I cut out two collar pieces and some interfacing.
After I stitch those together (with the interfacing layer on top, unlike in the photo above) and turn it all inside out to hide the seams, I soon run into two problems. One is that I start out convinced that I want the edges topstitched all the way around – then quickly change my mind and thus unpick the stitches, which leaves the edges all looking a bit chewed-up. The other problem is that I don’t like either of the options I try for adding a stripe. At first, I stitch up a narrow loop of the lighter fabric- but there’s no way it’s going to sit flat enough, and plus I’d rather do the trim with a plain white ribbon. So for my second attempt I go to Michaels and buy some basic quarter-inch ribbon trim ($1.50), then coax it around the curve at the front of the collar, baste it down, and run it through the machine. That does not satisfy me either. It’s too obviously sticking out and lying uneven along the curve and otherwise getting on my nerves. I need some stretch ribbon.
Where can I get stretch ribbon? Oh, of course – Mokuba.
Once I have a chance, I take myself on a field trip out there to buy a couple of metres of a quarter-inch stretch trim (about $10) – this is adding to the cost, but I really want the stripes to look good (on the final collar, I also want to attach them earlier, rather than having to sew through the interfacing and layer underneath). I decide that given a decent amount of fabric, I can afford to recut the collar and do it better. Later.
For now, on to the task of fusing the patterns! I start by getting out a roll of craft-paper and tracing the bodice pieces from the dress pattern (lettered starting from A), except around the neckline.
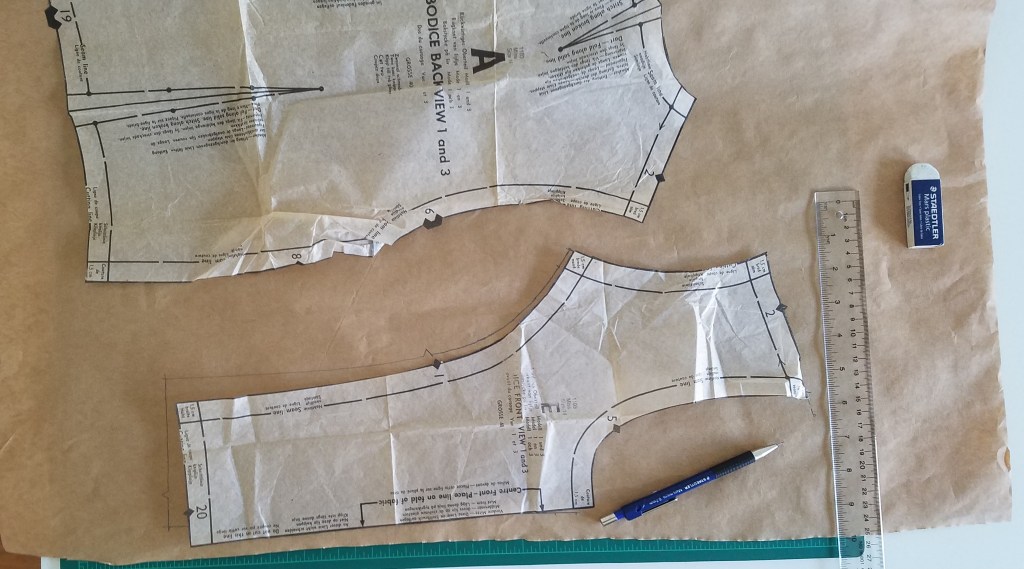
Then I put those away, take out the sailor-top pieces (numbered starting from 1), match the front-centre fold, and attempt to match the centre of the neckline opening and the shoulder-seams without compromising either too much.
This gives me a measurement of 4.75″ from the bottom of the sailor-top piece to the bottom of the hybrid piece – which I use to line up the back. Notice how much narrower the neck opening on the sailor-collar back is than the dress back.
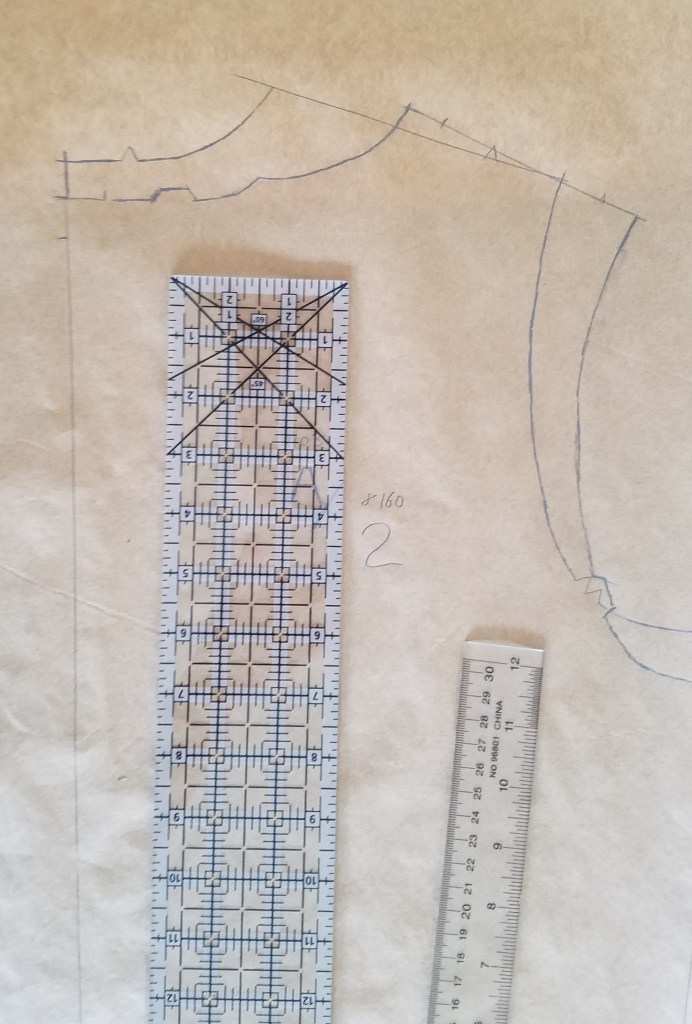
This is also the point where I finally realise that I’m dealing with one pattern that has a zipper at the centre-back (the dress) and one that has a side zipper (the sailor-top). The hybrid inherits the side-zipper, of course, because centre-back zippers are recessive a sailor-top can’t have a centre-back zipper unless the collar is somehow removable. So that reminds me to double-check that I didn’t accidentally retain the seam-allowance for the centre-back zipper that the dress has.
While I’m customising my pattern pieces, I double-check the alterations I made when I used the pattern more straightforwardly for a previous project, and adjust the side-seams in advance this time.
With the hybridisation and the adjustments (and not wanting to overlook the two facing pieces), I now have five custom pattern pieces.

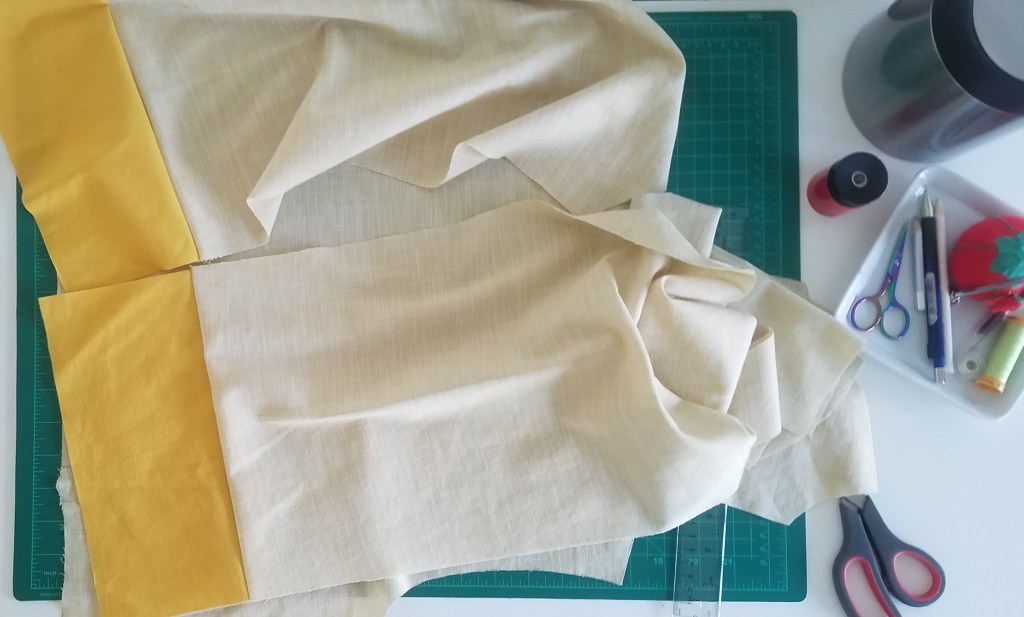
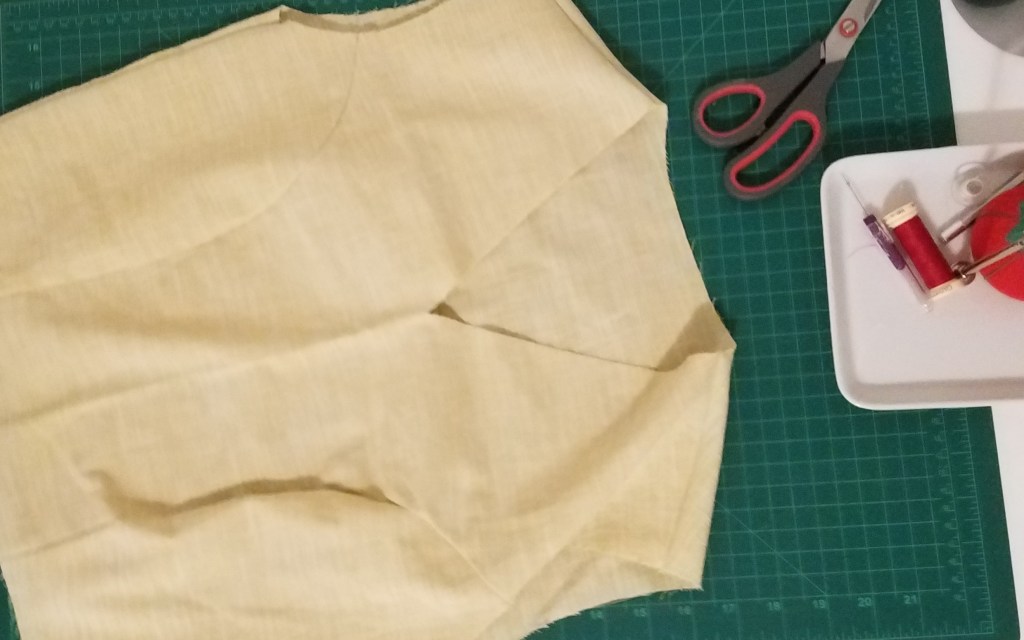
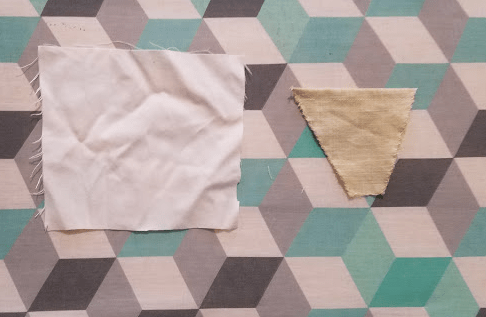
I find some cotton/polyester fabric (yet another thrift-store sheet) that unexpectedly did not really turn into anything last year. I iron it and start cutting out fabric for the mockup version.

No problems at all.
Then, time to baste and sew!
Mockup #1 results:
● Princess seams are too far from the centre. I’m going to cut 3/4″ from the centre piece to bring them in.
● Even taking that into account, there’s still too much fabric under the arms. Cutting another 1/2″ off each pattern piece at the top of the side-seam.
● Waist is good except that the back piece is 1/2″ longer than the front piece. I consider, then take 1/2″ off the back pattern piece.
● Shoulders and neck are fine, except that the connection point at the shoulder seam is a little wonky. I change the curve slightly.
Okay, time to disassemble (some of) the seams, recut the pieces, and do them again for Mockup #2.

Mockup #2 results: much better. Nearly there. Still a bit too much fabric along the princess seam – going to reduce the shape of the side panel a bit.
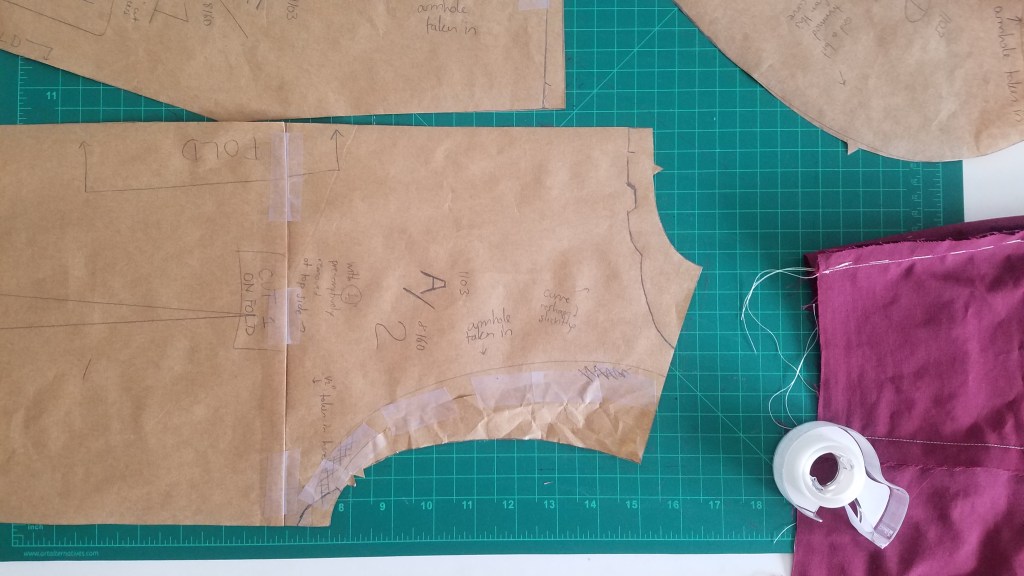
Mockup #3 results: very very close to what I need. Unfortunately, this is the point where I suddenly decide I dislike the shape of the armhole and hack away at it mercilessly on the mockup and pattern pieces alike. By the end, we have what would be a nice armhole shape if this weren’t for a dress with sleeves. I make two attempts at drafting sleeve patterns anyway and they are both pretty terrible. Okay, time to hit CTRL+Z a bunch of times. Which means retrieving the cut-off sections from the garbage and reassembling the earlier versions of the pieces.
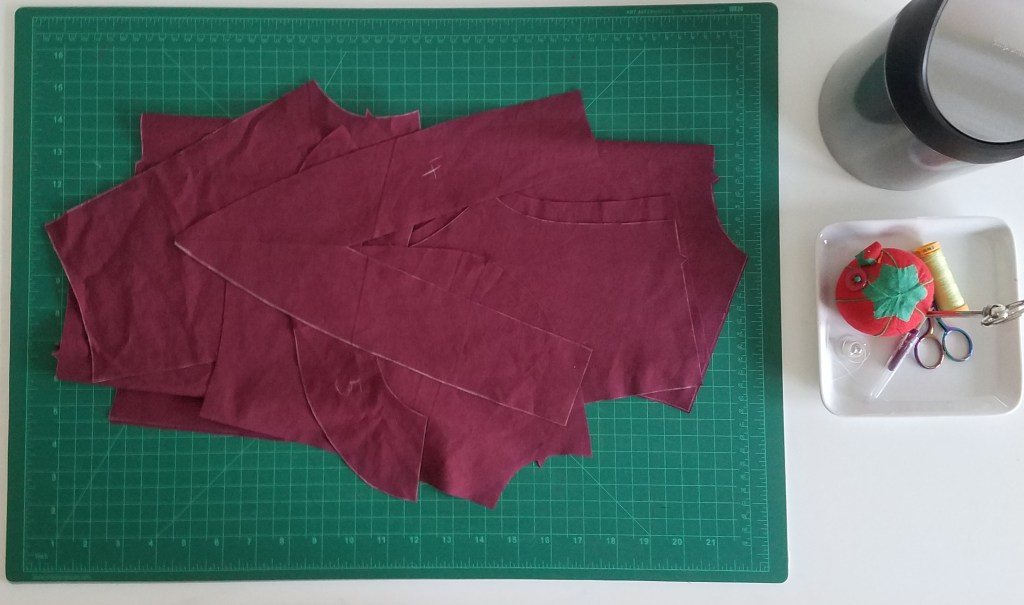
I draft another sleeve pattern – it’s very close! – and adjust it slightly, then decide I’m finished with the mockup. Time to cut out all the bodice and sleeve pieces on the real fabric!

In the process I discover that the original sheet has a bit of a stain on it (probably from me doing the laundry and unwisely throwing bright yellow in with the other colours) but fortunately that ends up in a part of the back piece that will be covered by the collar. No problem!
When it comes to assembly, I decide to start with the cuffs. I cut these out of the gold fabric…
…sew each one to the bottom of a sleeve…
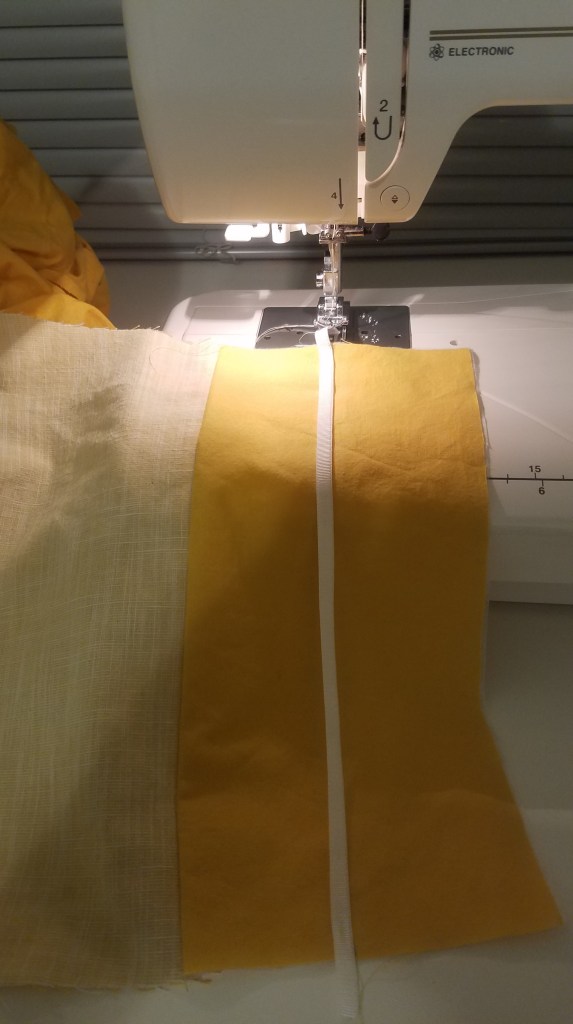
…add ribbon about 3/8″ above the fold line on the cuff piece…
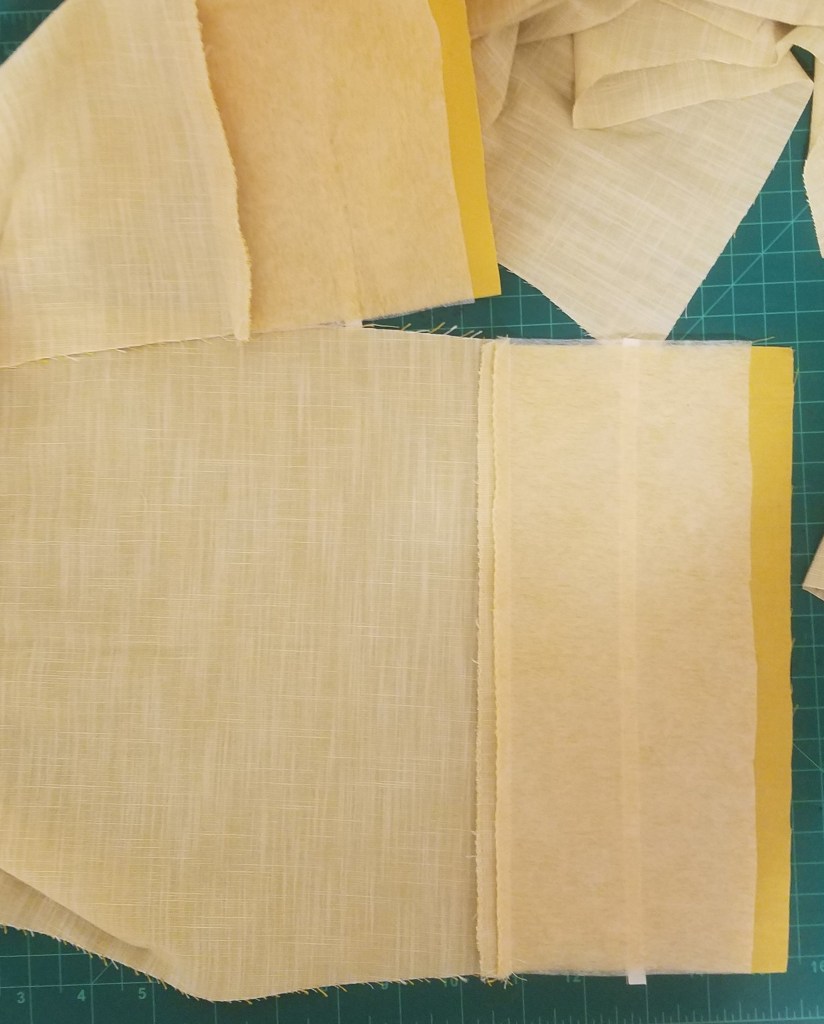
…add interfacing behind each cuff piece…
…fold each sleeve in half and stitch it closed on the wrong side…
…trim and zigzag over the seam edges, then fold the cuff inwards.
The insides of the cuffs will need to be finished by hand, which I decide to do later. For now, on to the bodice!
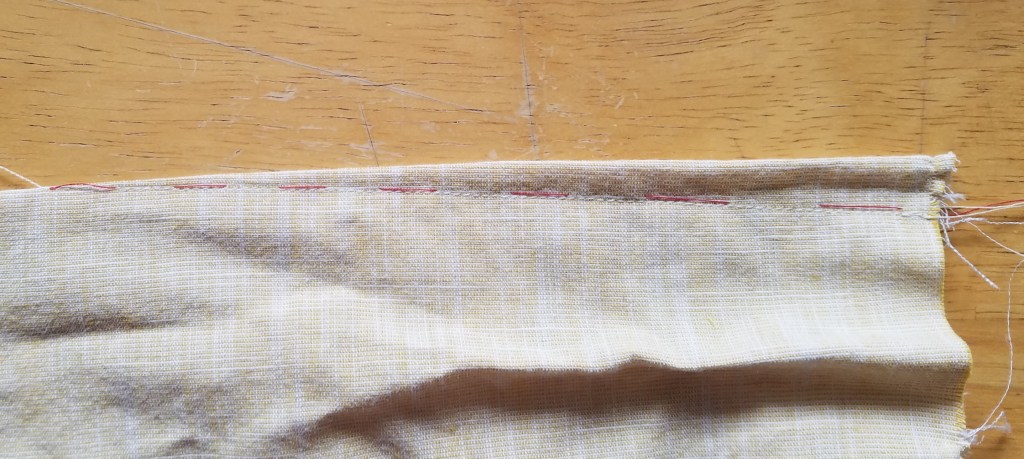
First I decide to deal with the back darts. I still dislike pins, but have gradually been making peace with darts. This is mainly because I either absorbed or invented this technique for basting them closed neatly: sew a sort of square-wave all the way up the dart, alternating sides (such that there is a ladder-like pattern on the wrong side)…
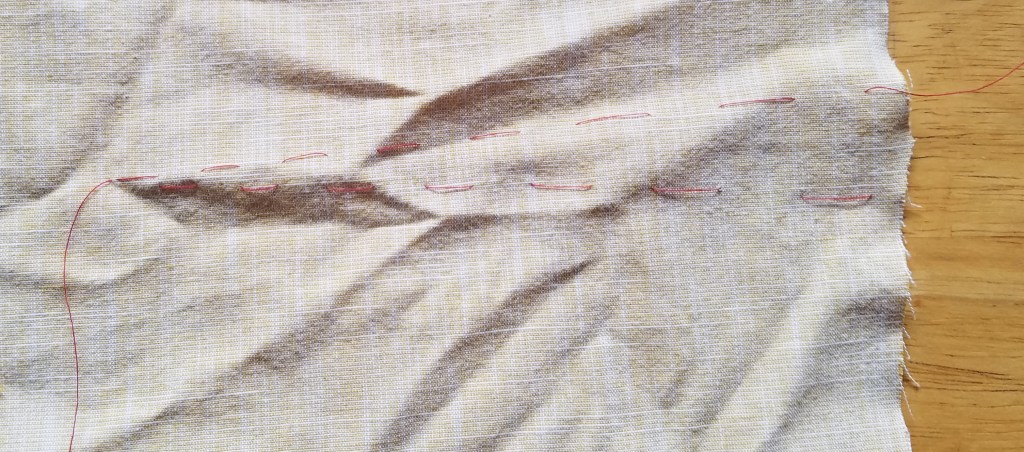
…then pull on both ends of the basting thread, which encourages the fabric to fold halfway down the dart!

Then that’s easy to sew over:
Back darts are done. Next, to assemble the front pieces. Basting along the princess seams…
…sewing the princess seams, tiding up the seams, sewing the shoulder seams, cleaning those up, sewing side seam for side without giant zipper, sewing a few inches down on the other side to leave room for giant zipper, turning inside out to check…
…turning inside-out again, basting in sleeves…
…sewing sleeves…
…trying on the top! Everything is great except that the sleeves are a little too long, and not uncomfortable but a bit tighter than I would have liked. Too much so for me to be able to shorten the sleeves from the top. But shortening the sleeves from the bottom would also be a bit of a pain given that I already put a lot of time and effort into finishing these cuffs and I really don’t want to have to undo even part of the seam along the sleeve. The best bet might be to telescope a bit of sleeve length under each cuff.
I decide to think about it, and in the meantime go onward to the skirt.
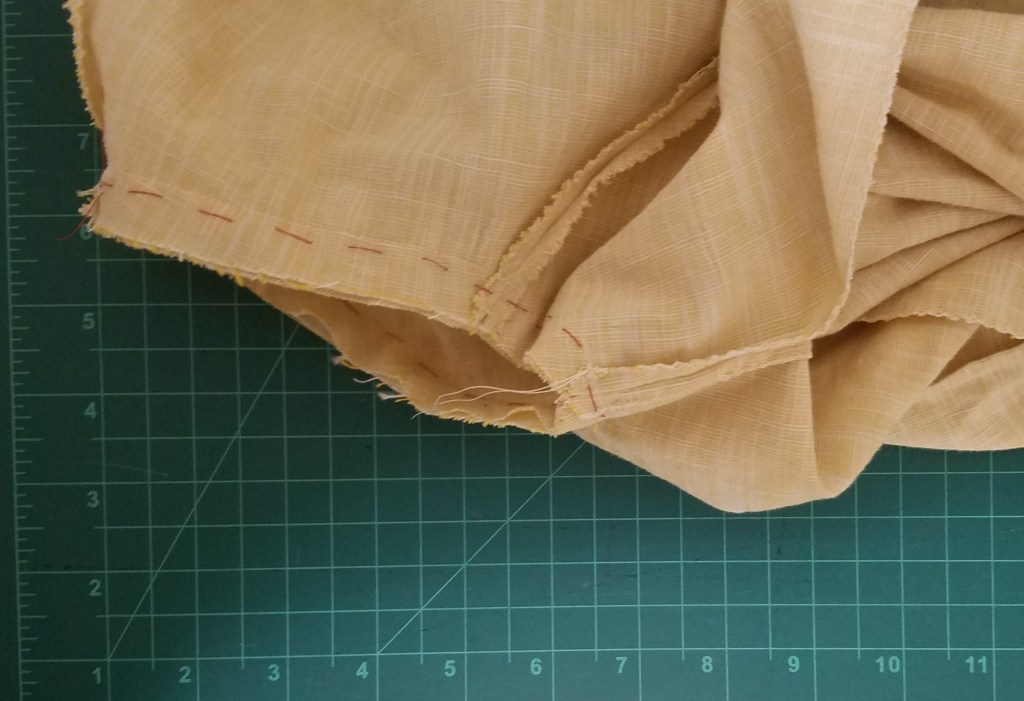
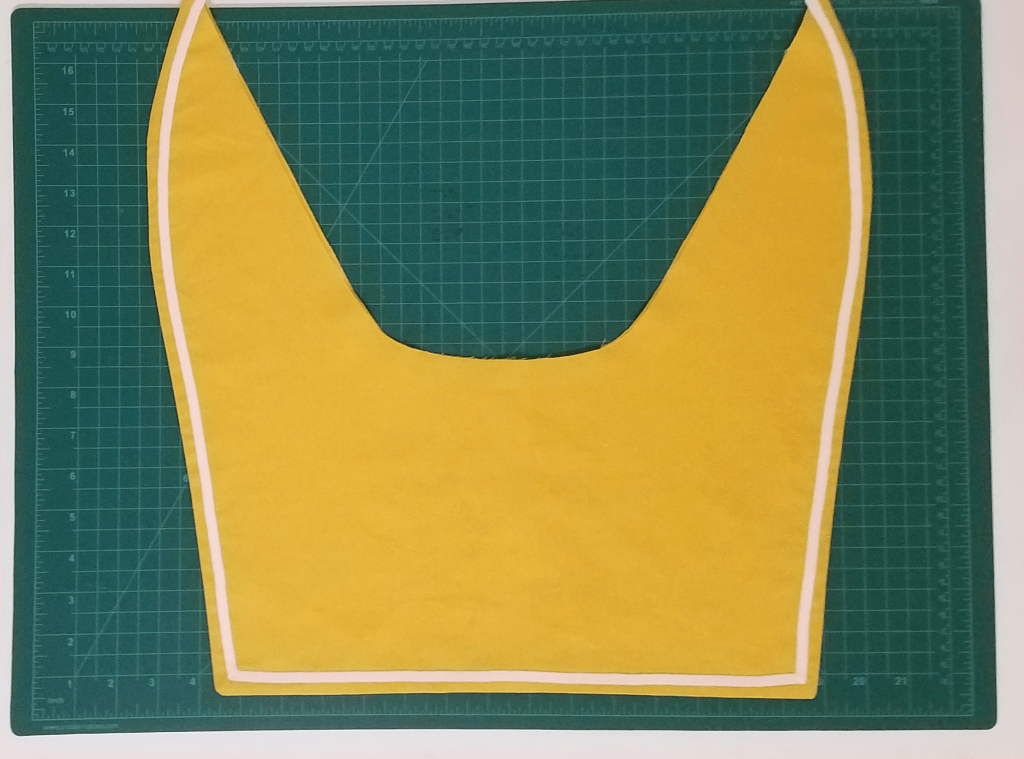
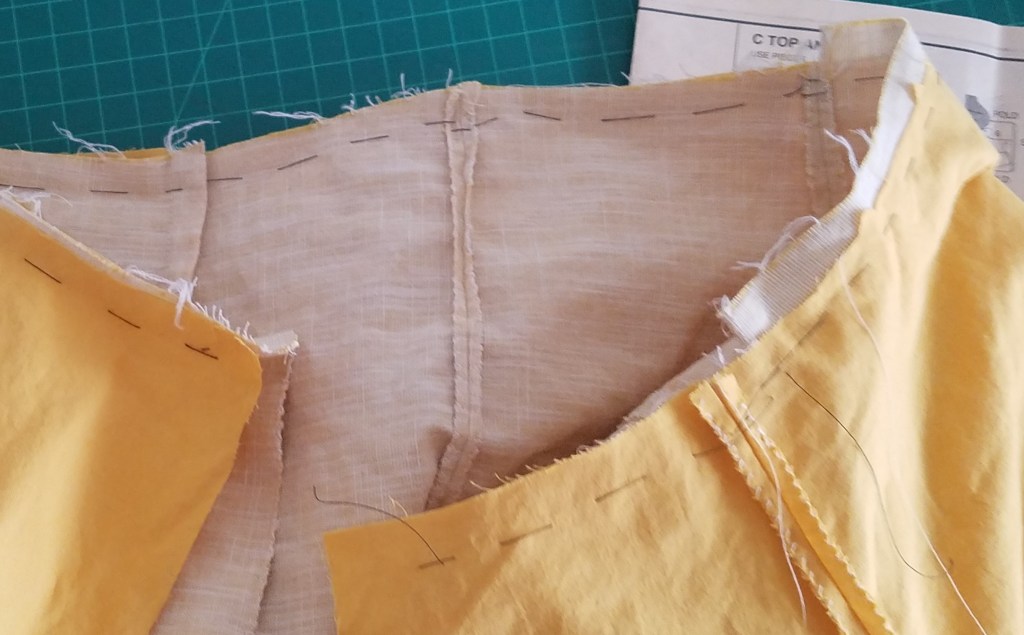
The skirt pattern needs minimal customisation relative to the pattern, so I cut out the skirt pieces directly onto the gold fabric. The only change I make is that I shorten all of them by 2″ since last time I made a dress from this pattern it was longer than I wanted. Then I begin assembling them, a bit at a time on my tiny little cutting table. (Somewhere in here I decide to skip the pale-yellow stripe for the bottom, though it leaves the skirt a bit overly plain.)
One of the side panels for the skirt has a weird mark on it from the iron. It’s subtle, but just noticeable enough to bother me. However, by this point I’d have to make a compound piece if I wanted to cut another one, and that would necessitate another compound piece to avoid an awkward asymmetry, and I can’t be bothered, so I just sew the piece in around the back and hope that the folds of the dress help disguise the iron mark. At least it means I’m not going to be terrified of getting stains on the finished dress, heh.
I realise only after the fact that since the hybrid dress pattern doesn’t have a centre-back zipper, there was really no reason at all for me to cut out two separate back panels for the skirt. Those could have been kept together. Then again, it does help distinguish the back from the front visually – if I’d thought it through, I might have decided on a (decorative) back-centre seam for the skirt regardless.
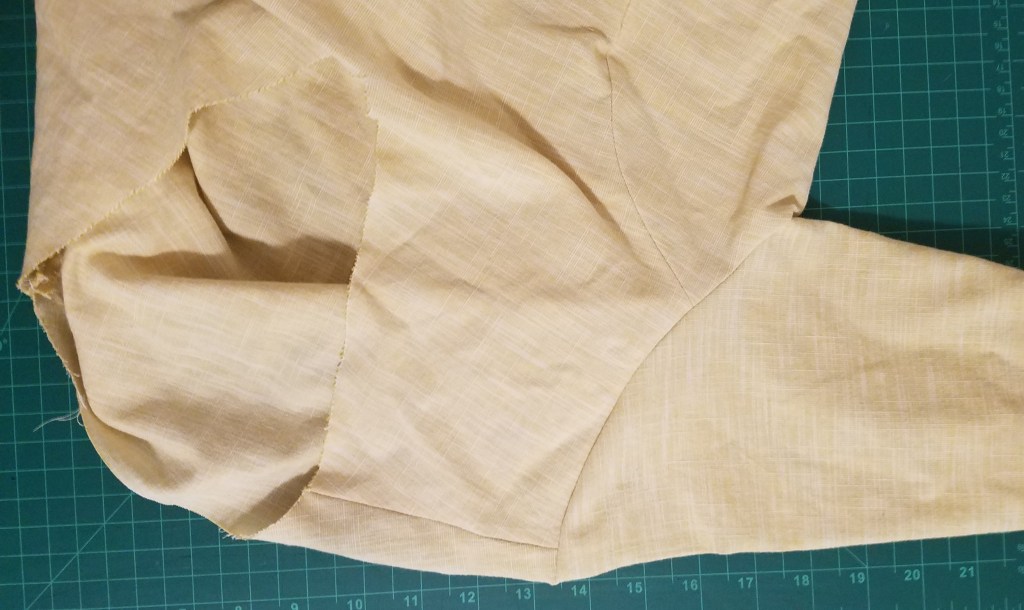
After sewing all the panels together, which is straightforward, I clean up the seams on the wrong side and leave the seam at the left hip open for the attachment of the giant zipper later on (and in case I have to make minor sizing adjustments at the waist).
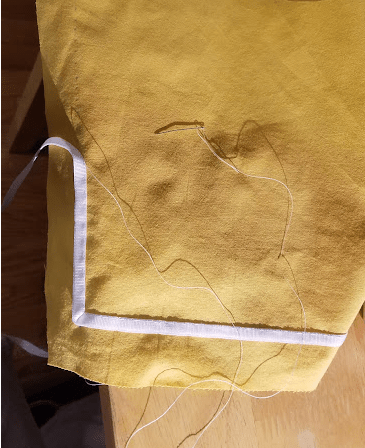
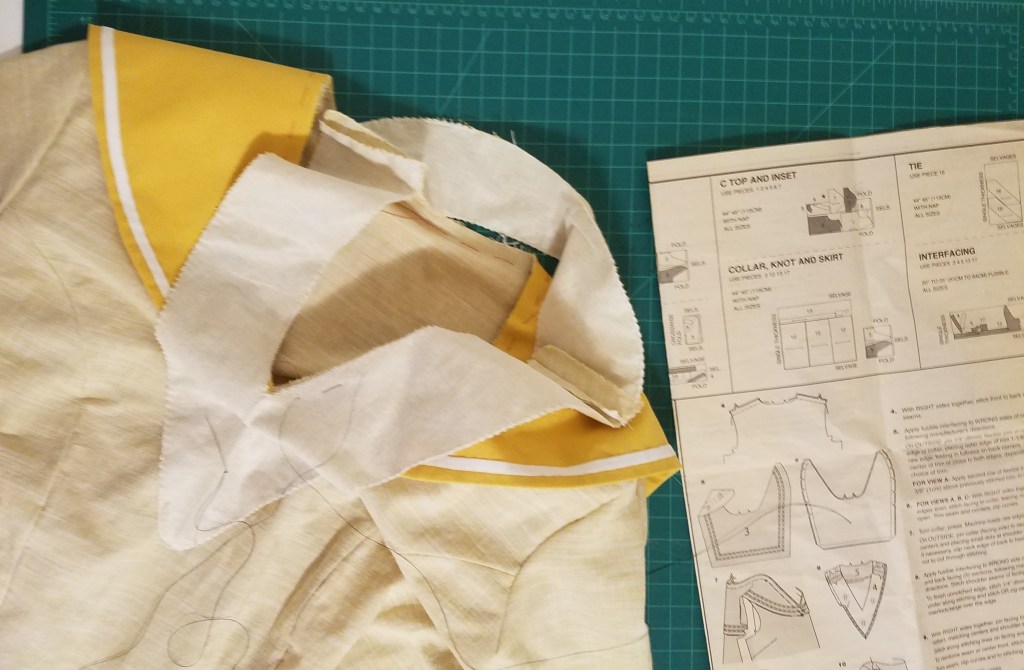
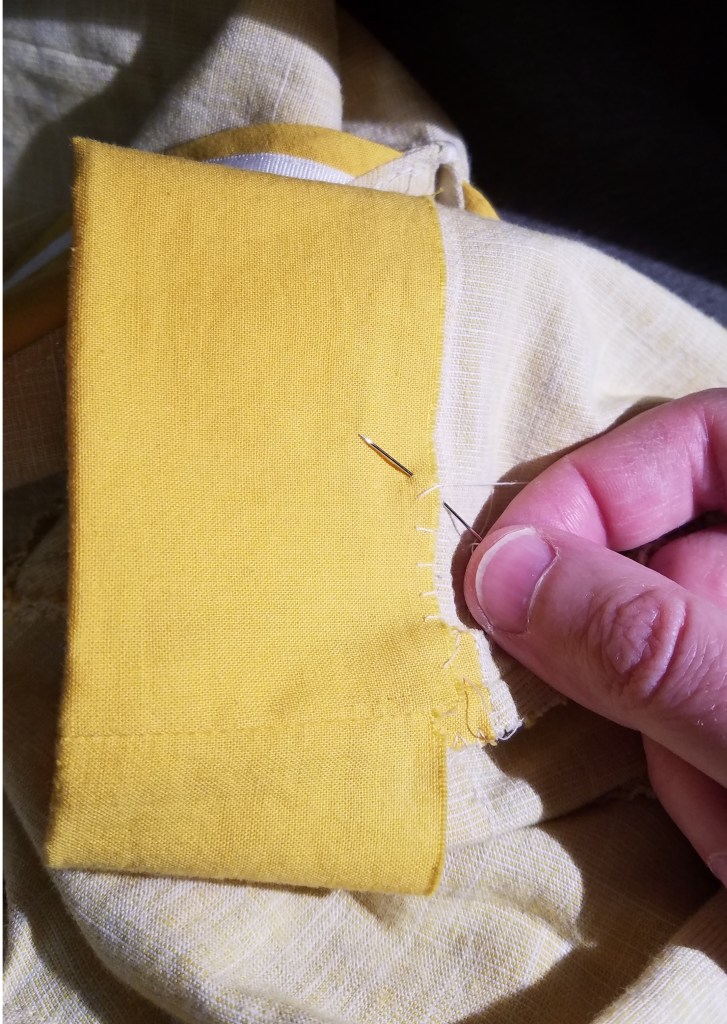
Okay, now back to that collar! I realise that I don’t quite have enough of the gold cotton to cut out two new full collar pieces, so I look for the old collar to salvage the interfacing and bottom layer for it. The old collar is nowhere to be found. This is bizarre, as I am a tidy person and not at all prone to losing things. At any rate, because I don’t have either the time or the space to go through every scrap of fabric in every box in my sewing corner to figure out this mystery, I settle for cutting a compound piece for the bottom layer of the new collar: I add seam allowance and a seam along the vertical axis of symmetry.

I even find some more of my favourite interfacing, which I thought I’d run out of. But before we make a(nother) interfacing-sandwich, time to deal with that stretchy ribbon – which I’m very excited about, because the collar is so visually prominent that it’s worth the extra care.
First I go around the border marking a line 1″ from the edges to help line up the ribbon. It’ll be 3/8″ from the edge once we subtract the seam allowance. Then I attach the ribbon, going around the top of it then the bottom of it by hand. It’s slightly uneven, but a lot tidier than what I’d get if I tried to do it on the machine.
Okay, now time to flip it around and sew its wrong side to some interfacing and the compound underside piece!
Working so far. Next, to baste the collar around the neckhole, and then baste the lining pieces on top.
I run into a problem, which is that the lining pieces aren’t large enough to fit around the neckhole. I undo the back piece and decide to cut it again out of the fabric and interfacing. At least it’s a small piece.
Let’s try this again.
Much better.
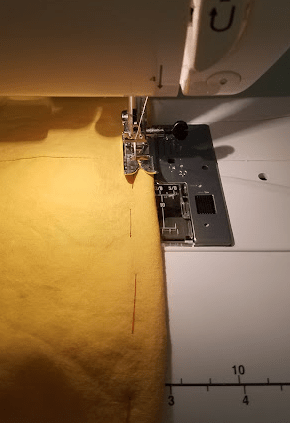
Time to run it under the machine!

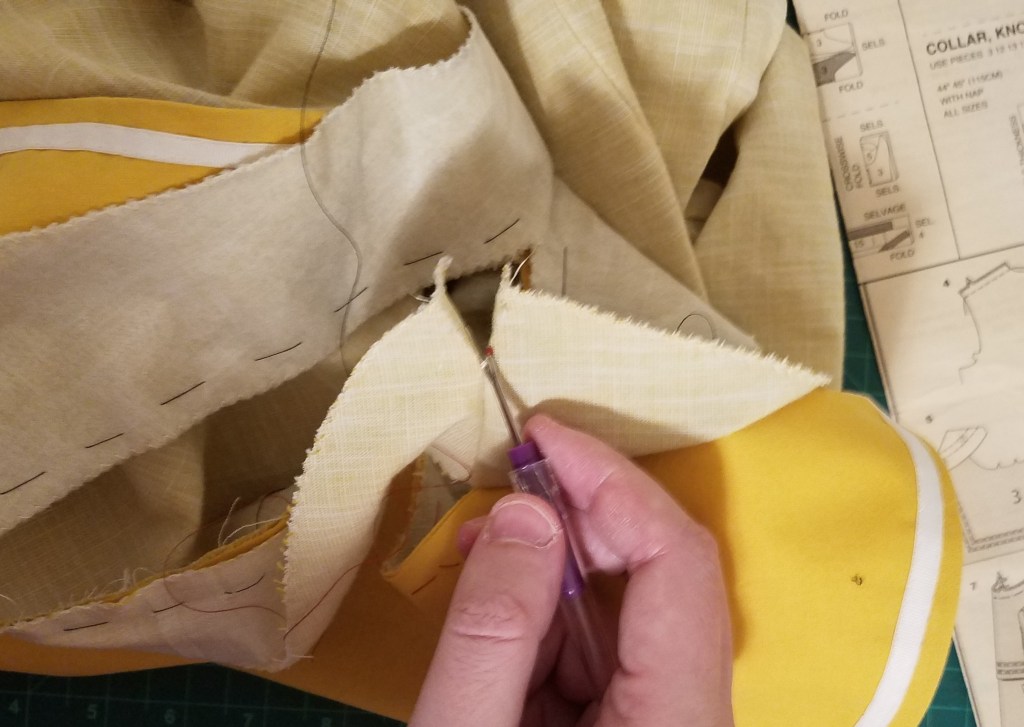
Flipping the lining to the inside doesn’t work until I study the instructions carefully and realise I need to make a vertical cut down from the V almost as far as the seam. Much better.
I don’t really trust the lining pieces to stay on the inside, though, so along with doing what the pattern recommends (sewing it to the seam-allowance for the shoulder seams on the inside), I topstitch all around under the collar at a small distance (mostly on the machine, but by hand in the middle). While I’m at it, I’m nervous about the point of the V, so I put a bunch of reinforcement stitches in there by hand. Then I go around the inside and zigzag the edges.
Results:
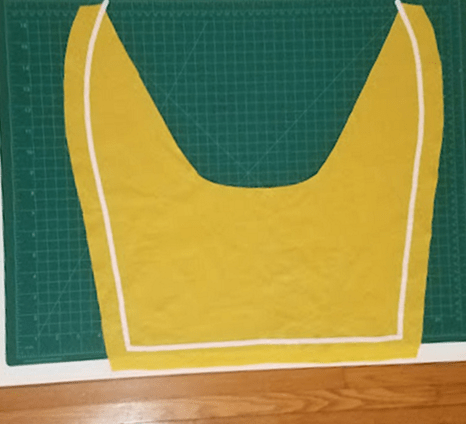
● The collar is fantastic and I love it to bits. Hopefully not literally, however, as it’s only newly finished.
● I’m going to have to be careful with installing the zipper – there’s only barely enough seam allowance for it!
● The sleeves are still a bit long and I’m going to have to figure out what to do about it. I’m also wondering whether they really need those cuffs, which are now actually looking a little more over-the-top than I expected. Is the reason that everything here is yellow? Not sure. Will consider.
● I unexpectedly want to add the pattern’s optional panel at the bottom of the V. Without, it looks like I forgot a layer in the assembly process.
Home-stretch of the assembly process. To begin, basting the skirt to the bodice.
Then sewing it together on the machine. The side-seam on the right side ends up absolutely perfect, which was an accident. The front is slightly offset but not noticeably, and I end up having to trim an awkwardly triangular piece from the bodice to get the open side-seam to line up for a zipper, which is not great, but it’s okay.
Next, the sleeve cuffs, which I didn’t quite finish earlier. I try the top on again and decide not to try to shorten the sleeves after all. They are a little long, but only by about an inch on each sleeve. They’re not actually as tight as I’d feared initially, and I mean, like being able to bend my elbows. As for whether the cuffs are overkill: nah, they can stay. With that, I finish the insides of the cuff seams manually.
Okay, time for the zipper. Such things are still my weak-point and I am particularly bad at installing these on the machine. As a result, I carefully put this one in by hand, first basting.
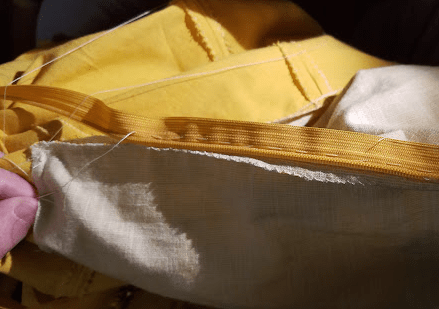
Then I manually imitate what an invisible-zipper foot does: I fold the line of teeth away on the wrong side and stitch super close to it. This takes a while and also gives me a temporary cramp in the hand holding the zipper open. However, it’s worth it. The results are way, waaaaay better than what I usually manage with an invisible zipper. I still haven’t mastered zipper-insertion by machine, but some skills are being built here regardless.
Because this dress is anime-adjacent, I really want to wear it to the 2023 Toronto Comicon, which by this point is tomorrow, so it’s time to wrap this up. I finish off the side-seam…
…then trim the bottom hem, zigzag the bottom of the dress, fold it up, baste it, and sew that down.
I try on the nearly-finished dress. Almost there! The zipper is fine and definitely not too tight after all. The only problem remaining is that the lining pieces of the collar still don’t want to lie flat on the inside – they keep flipping up and outwards. I’m kind of out of patience so I just go around the whole neckline about an inch away from the neckhole and baste all the lining pieces to the outside under the collar. That works, fortunately.
Everything’s done except for that unexpected final piece. I cut out the extra panel piece for the bottom of the V shape, and discover two problems:
● I’m not thrilled by the curve at the top.
● I also don’t like it matching either of the yellow fabrics. The only alternative that matches any other part of the dress well would be a white piece to match the ribbon on the collar and cuffs. Maybe?
To compensate, I cut it straight across the top instead. Then I dig around in my scrap-bin, find a piece of sturdy mostly-cotton-slightly-spandex, and move it to the ironing board to get the wrinkles out of it. (The first try at the extra piece, cut out of the pale yellow, also seems oddly asymmetrical – so I trace half of it and then cut it out on the fold instead.)
Sewing that in has to be done manually on the inside, but is at least quick. And I like it in white, so we’re good.
For wearing this in the future, lining the skirt will probably be worth doing (the cotton keeps bunching up easily), but for now, it’s 9:30 PM and I want to go to bed and this is absolutely fine for Comicon, so we’re done and I’m happy!
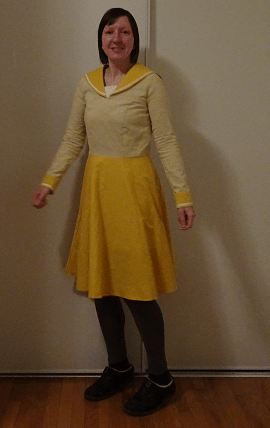
I am terrible at phone-selfies but I guess it’s worth a try. Let’s see if I can get the machine in with me here, too. Wait, hang on, is it taking the ph-