

This is a curtain – one of a pair of them that I found at the Bloor/Lansdowne Value Village in March 2017. I think I paid $10 for them together. They have the visible layer of soft patterned cotton, and a layer of slightly tougher white cotton on the back. I suspect they were designed for a child’s bedroom, but in general I have a hard time resisting polka dots, and this colour combination (white, pink, and green) has been a favourite of mine for many years. It’s not quite enough fabric for a dress, but there’s still plenty there. I go through my stack of commercial patterns looking for inspiration.
And there it is.
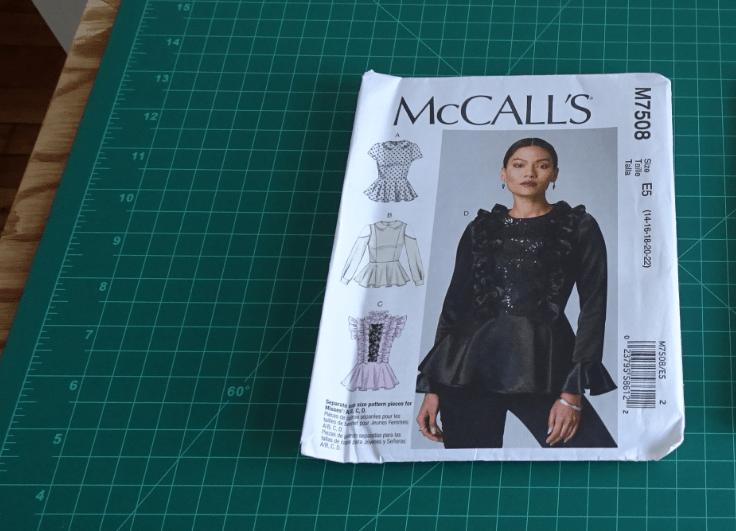
YES. THAT.

Time to take both curtains apart. They are held together with transparent plastic thread, which makes for an interesting seam-ripping experience. I end up using an older seam-ripper for most of it because I don’t want to risk eroding the sharpness of a newer one.
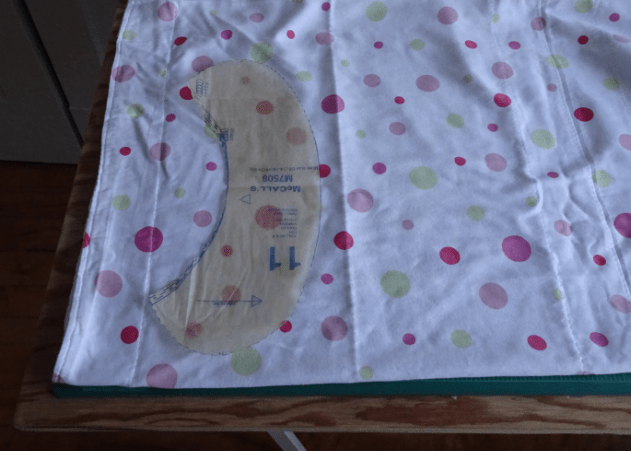
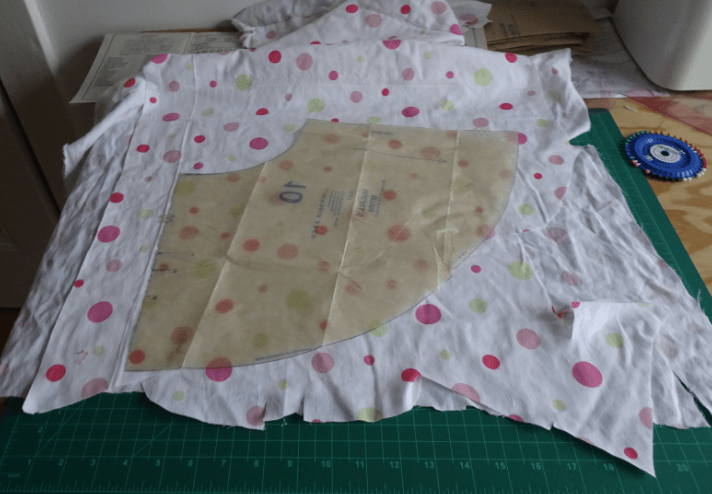
Even trying to be very cautious with the fabric, I end up barely having enough for all the pieces. There are several places where the lining pieces have old seams across them, or where the seams are going to need to hide a few notches.
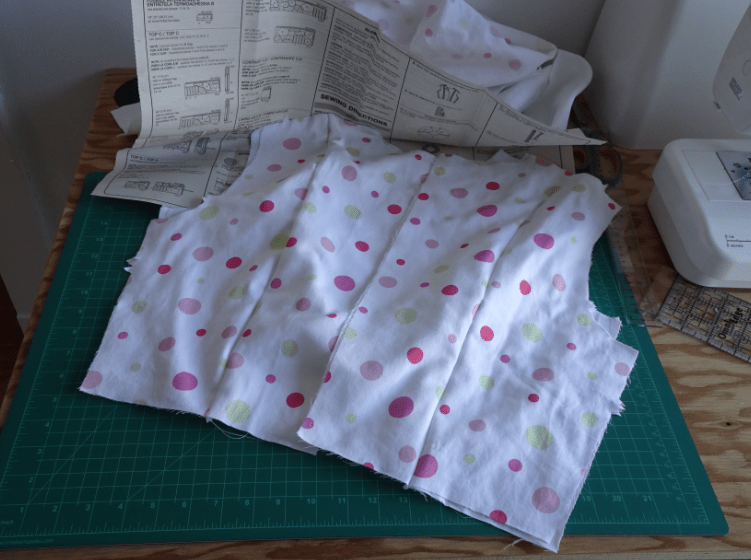
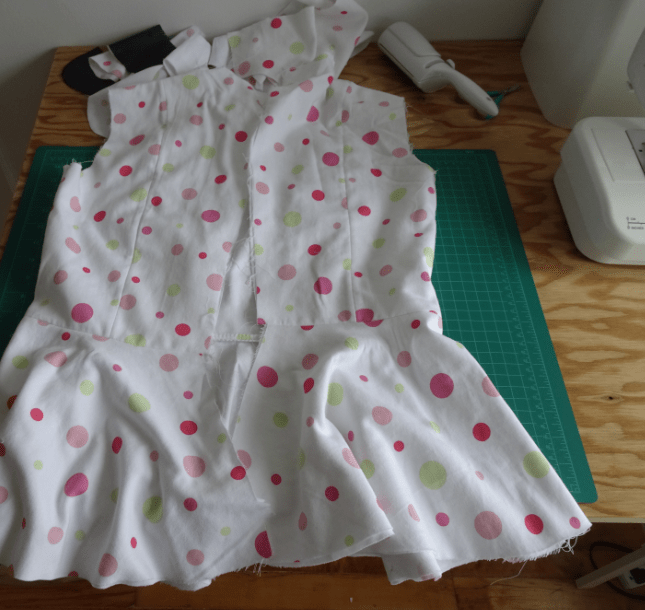
I preliminarily sew the main pieces together as per the instructions…
Somewhere around this point I misinterpreted and thought the lining pieces were supposed to be attached to the main pattern pieces immediately, which makes no sense geometrically because now all the seams are visible and I’m not sure how I’m going to attach the collar tidily either. Slight drag. But it’s looking okay from the outside and it’s not uncomfortable this way, so I continue. I safety-pin the back and try it on to test out the sizing. As usual, I end up having to make some adjustments because my dimensions are always a bit more rectangular in two places than commercial patterns anticipate. I also adjust the shoulders and recut the armholes and neckhole. Still, no harm done. So far so good. Onwards to the peplum!
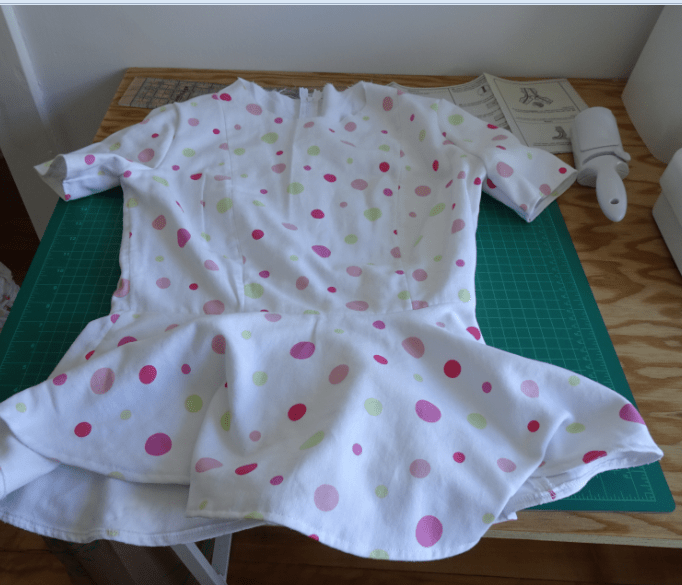
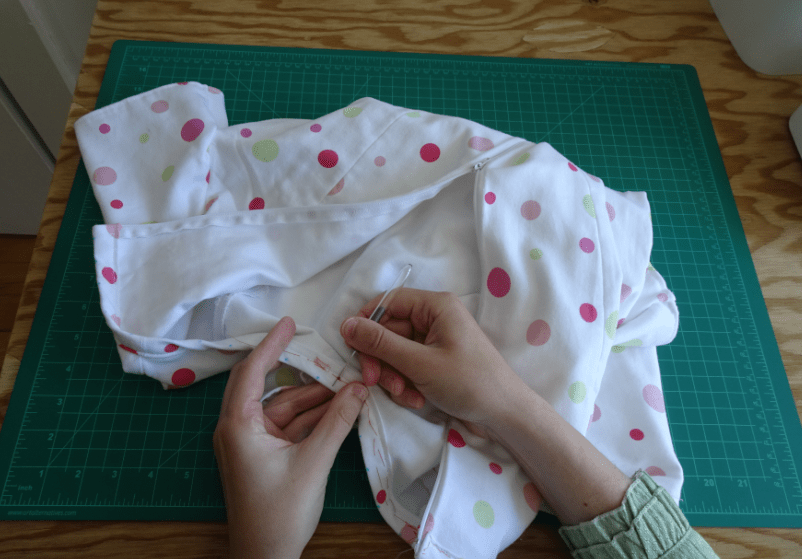
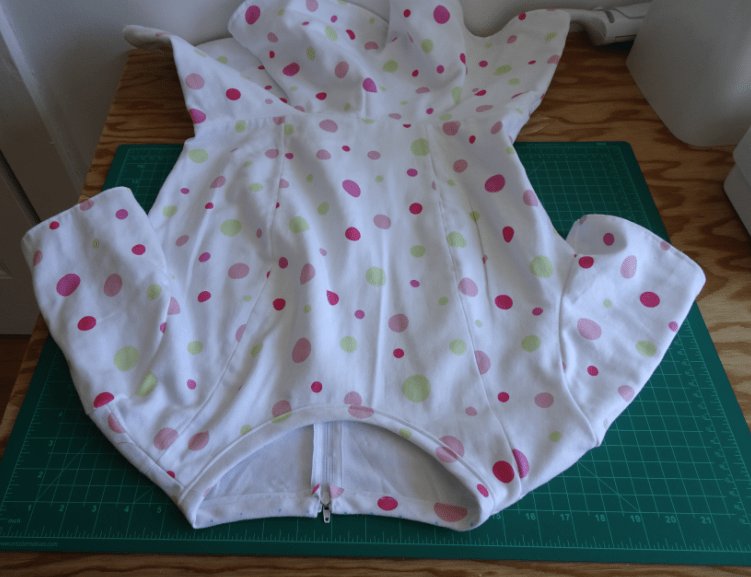
Inserting the zipper is completely uneventful (though next time I’m going to go for an invisible zipper). Time to finish the sleeves. These are now a little larger than the adjusted armholes, so I baste them in and then trim them. I serge the bottom edge and hem it, then clean up all the seams. There end up being two places I have to repair where a seam didn’t quite catch all the layers, and one place with a funny wrinkle in the back of the armhole, but really, it’s going pretty well overall.
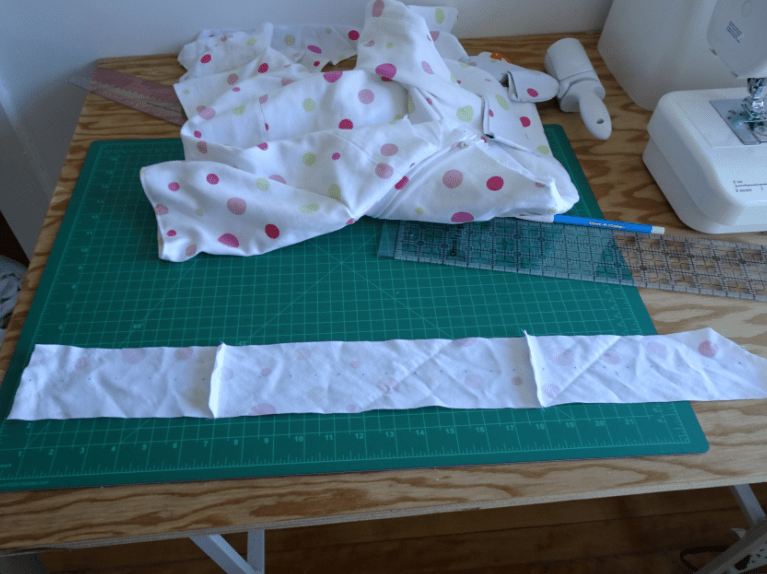
Finally everything else is done aside from the neckhole. I adjusted it enough that the shape and size look good but the collar pieces I cut out are never going to fit around it well. I love Peter Pan collars, but I don’t think I can quite make this one work. I consider drafting new collar pieces by tracing the neckhole – coolirpa’s tutorial is so straightforward that last time I needed a custom Peter Pan collar I did it in one go – but I don’t think I have quite enough fabric left for all the layers. Okay, fine. Bias tape for a compound binding strip instead.
Bit of ironing…

Bit of basting in front of the TV…
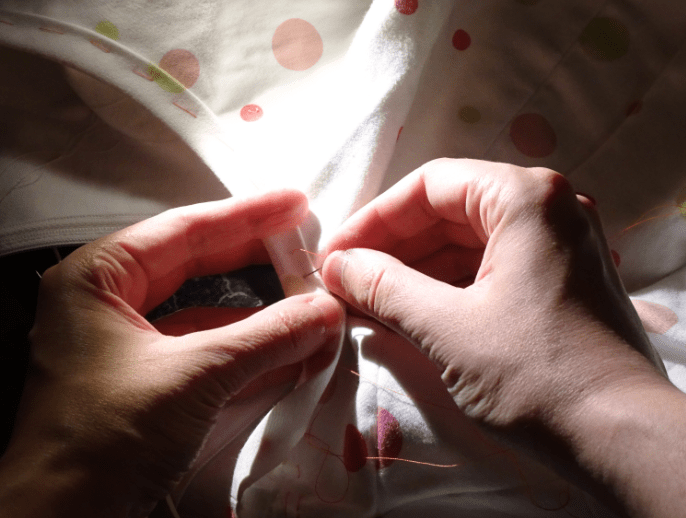
That’ll work. Now, just to sew it down and remove those basting stitches.
There.
It’s a nice sunny morning! Let’s go right ahead and take this outside.
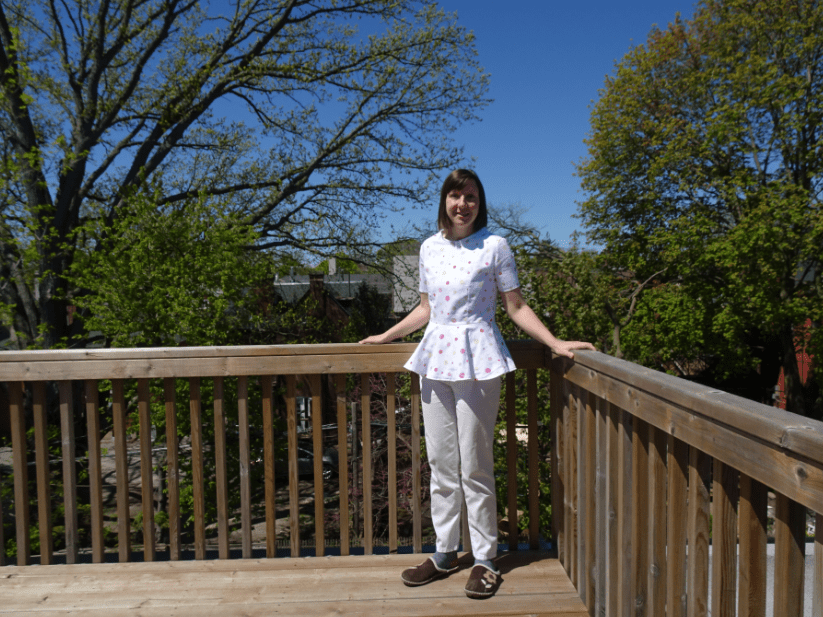
There are a few places where this top ended up slightly wonky, and next time I’m going to do a better job of understanding that the lining is constructed separately, so as to be able to hide all the seams. (How about that?) But I’m certainly happy enough with it to wear it. It’s comfortable and I love the polka dots. I keep looking at it and realising that from the outside, myself from 2015 wouldn’t be able to tell that this is homemade unless she were looking very closely, and even then she would be wondering. That tells me I’m making progress.
