

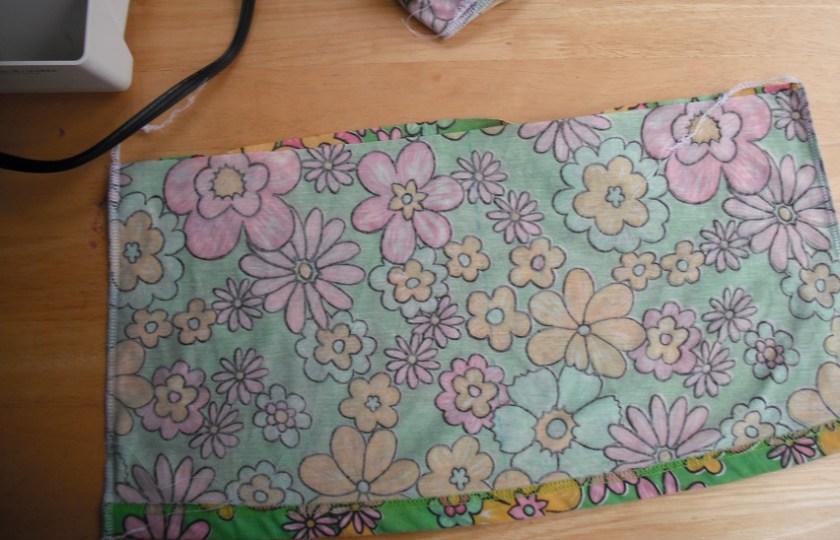
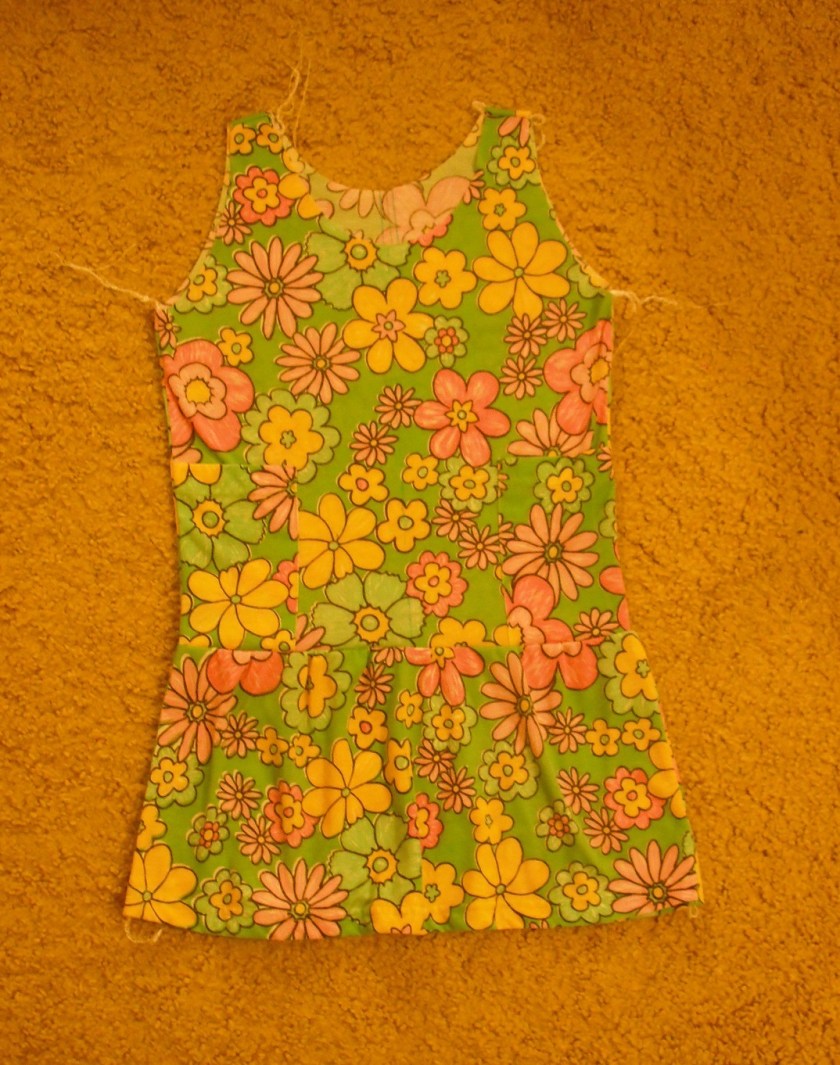
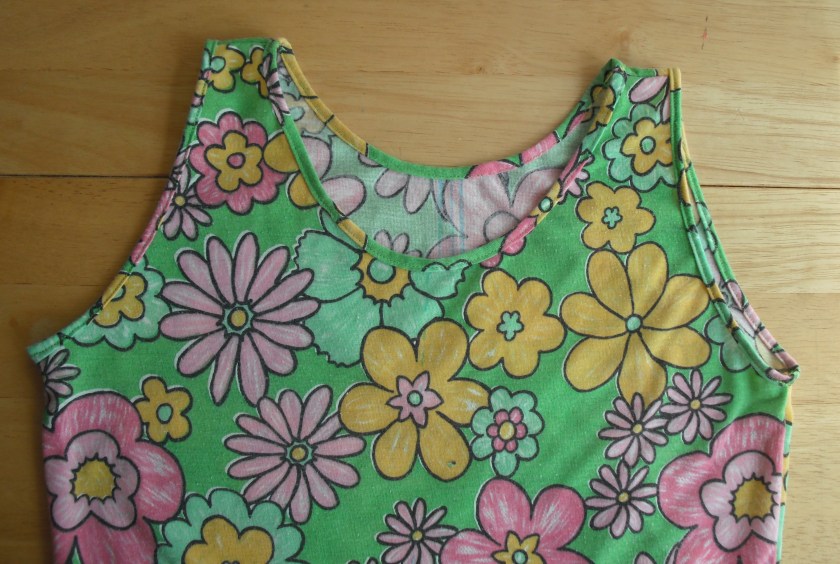
This is a dress I got in May 2018 at a Goodwill for $3.50. It’s a very soft cotton/viscose mix, and it could basically be a Halloween costume for a gardener (just add watering-can and yellow plastic hat). Or a kindergarten teacher. I love the print, but I do not love the neckline or the fit. Let’s see what we can do about that. Can I get a dress I like out of this?
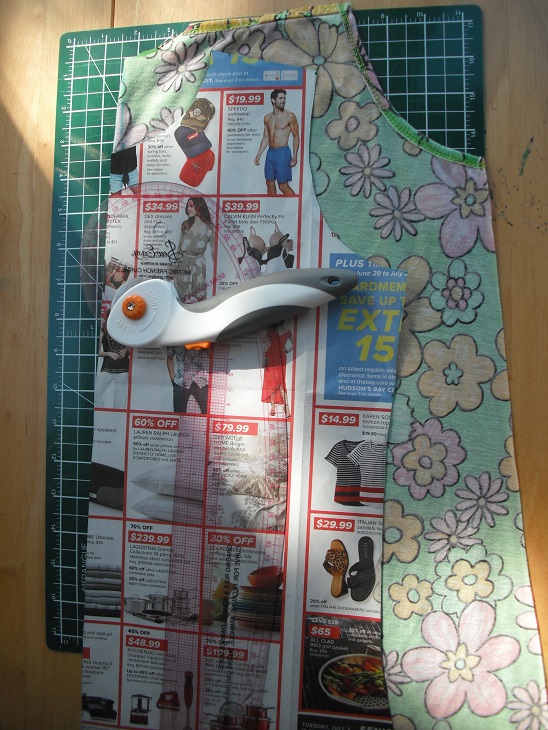
I decide to draw a pattern from a cotton A-line dress that fits me well. I tape together some pages of a flyer, fold the dress in half along its length, and trace it.

Then I measure and draw a line halfway down the flower-print dress between the pockets with my water-soluble ink pen. The sides are going to get considerably smaller – enough that the pockets will be in the side-seams at this rate. (I toy with the idea of just removing the pockets – I’m an unusual example of a woman who doesn’t rely much on such things – but I do like these ones, visually speaking. And when I experimentally turn the pockets inside out, I discover that the outer layers of the dress have sustained just enough wear for a colour difference to be discernible. Okay, those pockets are remaining in place.)
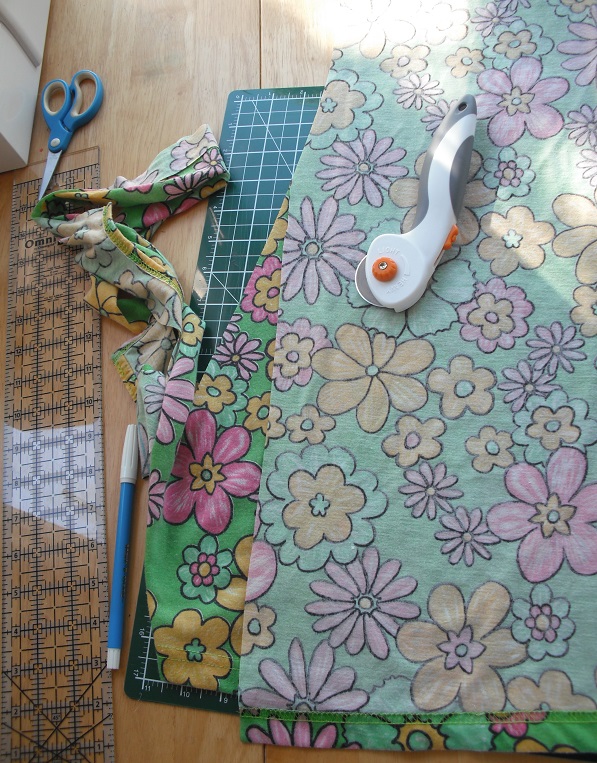
I cut off the sides and straps of the flower-print dress so that I can work on the front and back pieces separately. On the back, I keep having to remeasure and redraw the centre line on the back, until finally it’s where I want it. When I try to fold the dress, I discover something really annoying: this fabric really really wants to cling to itself. It’s powerfully self-adhesive. What it reminds me of is a child’s vertical felt board. Folding it involves putting a finger at either end along the line and letting it hang, then quickly putting the sides together. This is annoying. Finally I get a centre line in place and have the dress pattern set up.
I cut most of the way down- and then discover that I folded the fabric along the wrong line. I didn’t have it folded symmetrically at all; amid the utter finickiness of getting the thing folded at all, I lost track of the line I was aiming for. The way I had it set up (without realising it), the dress shape veered off the side of the fabric at the bottom, and so now there isn’t quite enough fabric for the back piece on one side.
Now what? I could transplant a piece from the opposite side, or make some weird godets or a kick-pleat or something, but all of these sound like awkward Band-Aid solutions. They’d leave the error too obvious for my liking. Disappointed, I decide to make a top and skirt set instead, and and see where it goes from there. I slice off the bottom of the back piece and cut the front piece accurately but only around the top of the pattern.
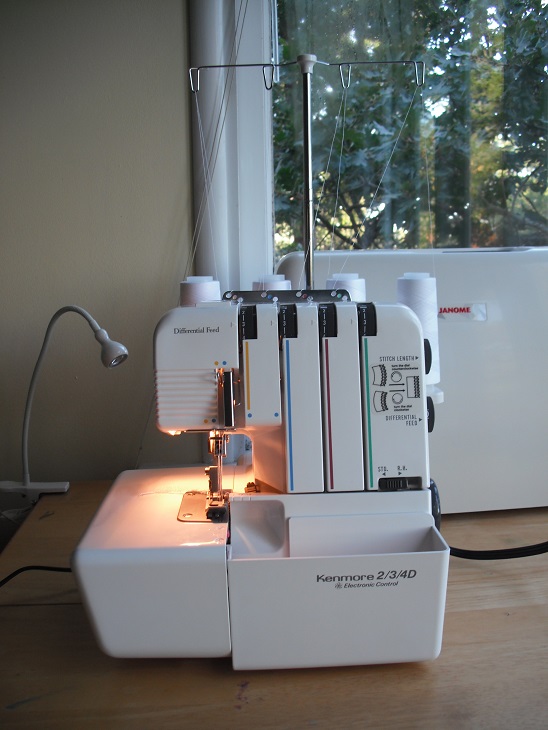
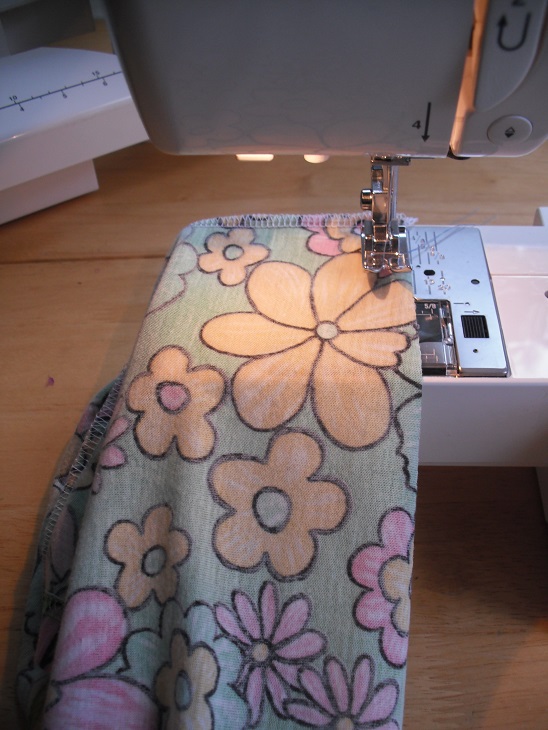
At least I now own a serger (a birthday present I bought for myself). I’m still learning how to use the thing, but for now, sewing the side seams is really freaking fast.
I try on the results. This top is comfortable enough. But it’s clear that with the cutting error there isn’t enough fabric for a matching skirt. I find myself feeling newly dismayed about the foolish mistake, and idly fiddle with two asymmetrical trapezoids of fabric in front of the mirror. There’s got to be something I can do to salvage this project that doesn’t involve buying e.g. metres and metres of yellow lace to hang all over it.
What about a peplum tunic? That might work. I layer the pieces on top of each other on the cutting-mat, aligning the bottoms (since I want to preserve the original hemline). Then I measure and draw the largest common trapezoid that has parallel horizontals and is symmetrical about the vertical axis.
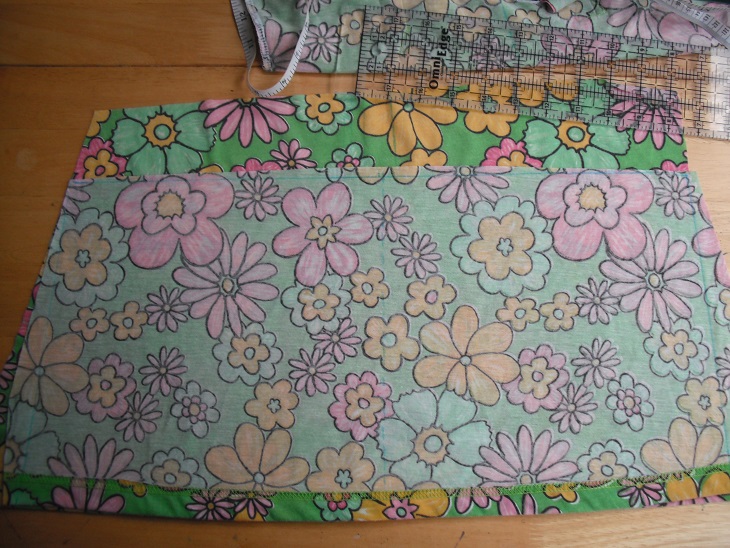
Generally I adore geometry (in case you hadn’t guessed), but I’m forced to admit that this isn’t a particularly exciting trapezoid. It’s only two inches wider at the base than at the top.
I try the top on again. It was supposed to be the upper section of a dress with pretty generously cut sides, so the bottom of it as-is is pretty flared. What if I took in the sides as much as possible and then attached the peplum with a ruffle at the top?
Yeah, okay. I measure my waist at desired-peplum-level, draw a new outline on the top with my French curve, and re-serge the sides. Now the top is basically skin-tight, but fortunately the fabric has just enough stretch that I can get the darn thing on. And now the difference in sizes between the bottom of the top piece and the top of the peplum is sufficient for making a ruffle. That’s acceptable. I serge the sides of the trapezoid (i.e. the peplum) and prepare to ruffle it a bit.
I generally like the look of ruffles – at least if used sparingly – but I don’t really enjoy making the ones where you pull on the bobbin-threads. I find it really finicky and imprecise. However, that’s what’s needed here; I’d rather do this than cut a sharper trapezoid for an unruffled peplum. So I grab the sewing-machine, turn the stitch-length way up, machine-baste about an inch from the top of the peplum, on the front and the back separately…
…start yanking on those bobbin-threads until the circumference is down to what I wanted…
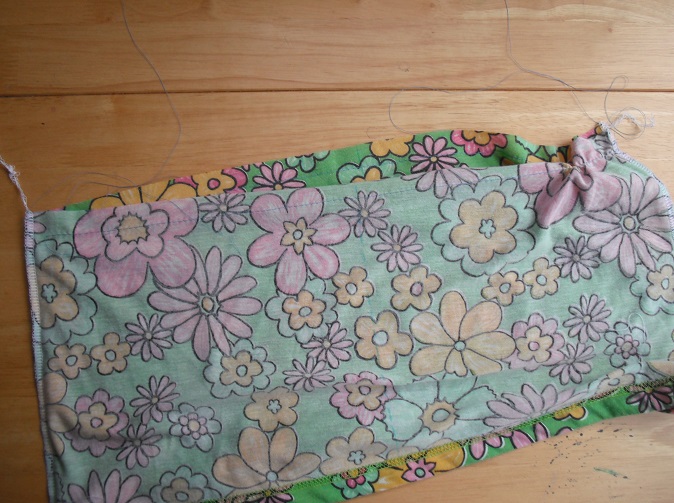
…and distribute the ruffling along the length of the front and back.

Then I hand-baste the peplum to the upper section, a bit at a time, trying to be careful to line up the side-seams neatly but also avoid the edge.
With that in place, I serge the two layers together…

…and pull out the basting stitches.
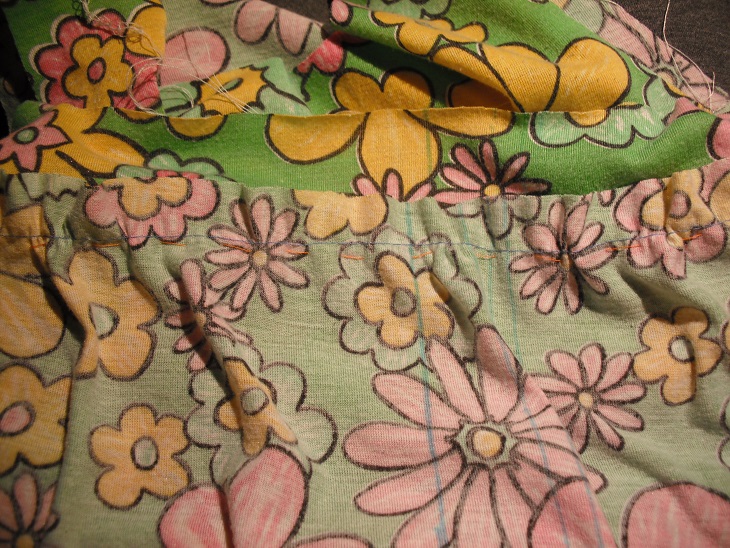
Now the bottoms of the pockets have disappeared into the peplum seam above the subtle ruffle. But that’s okay too!
I try it on. I was expecting to be feeling continued disappointment about the dress-that-wasn’t, but I surprise myself by being pretty satisfied with the emergency peplum tunic! The pockets are almost hilariously awkward in terms of their positioning, but that was always going to be the case given how I was going to cut the dress version; I saw that coming and don’t care. On a practical level, I’m not planning on using the pockets much, and they aren’t in the way. They’re really just there because removing them would look worse. And because I like symmetrical tripartite layouts in the fronts of garments.
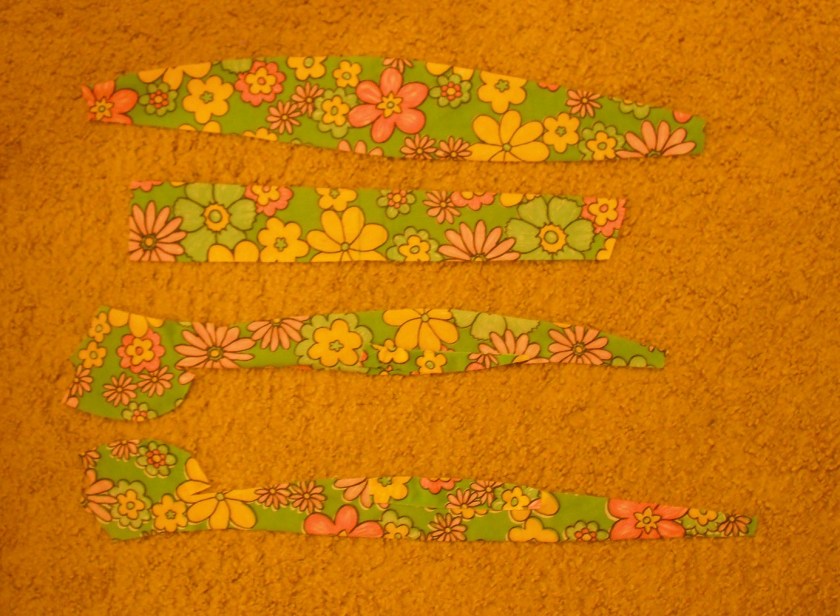
Everything else is done, so now I just need to figure out the binding of the neckhole and armholes. I only have four usable pieces left.
There isn’t enough fabric for true bias-tape here (i.e. cut on a 45º angle relative to the grain), but the fabric does stretch slightly – just enough that unbias-tape is probably doable. I cut five or six 1-inch-wide strips…
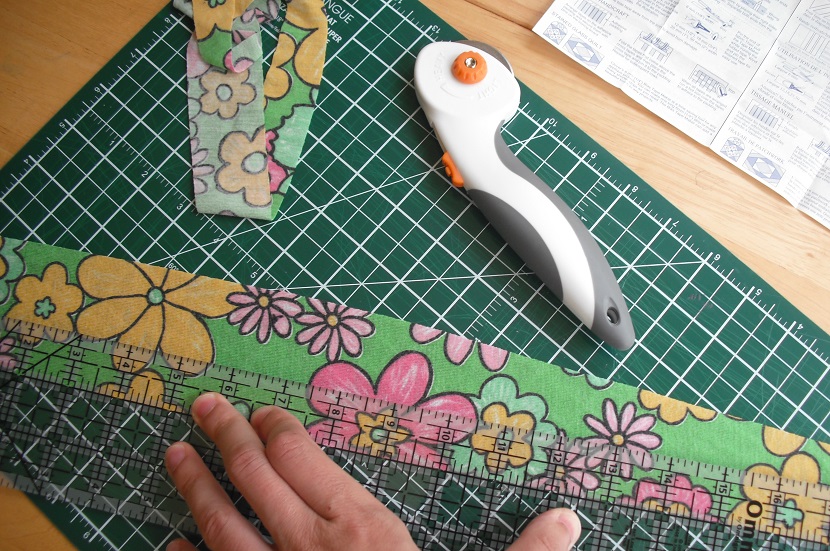
…then dig out the size-12 bias-tape-maker, iron, and ironing board.


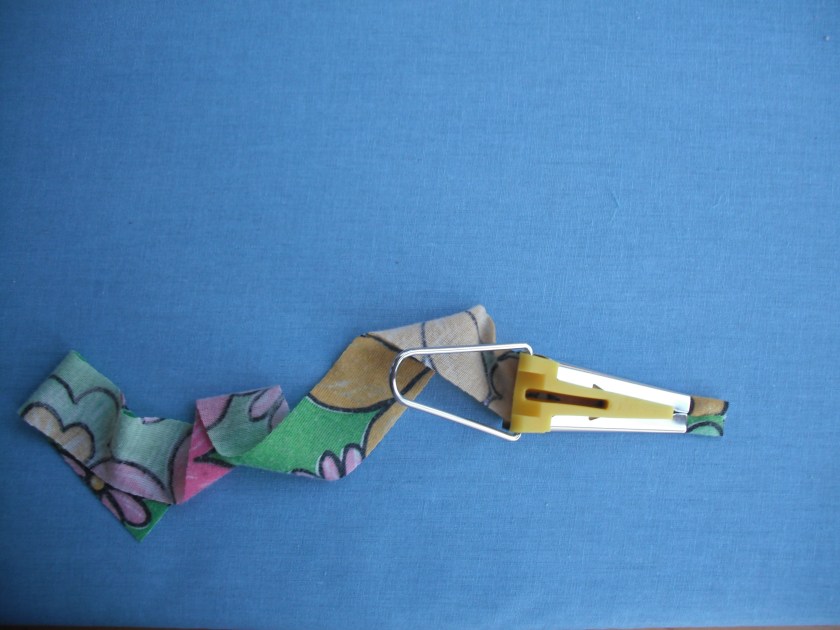
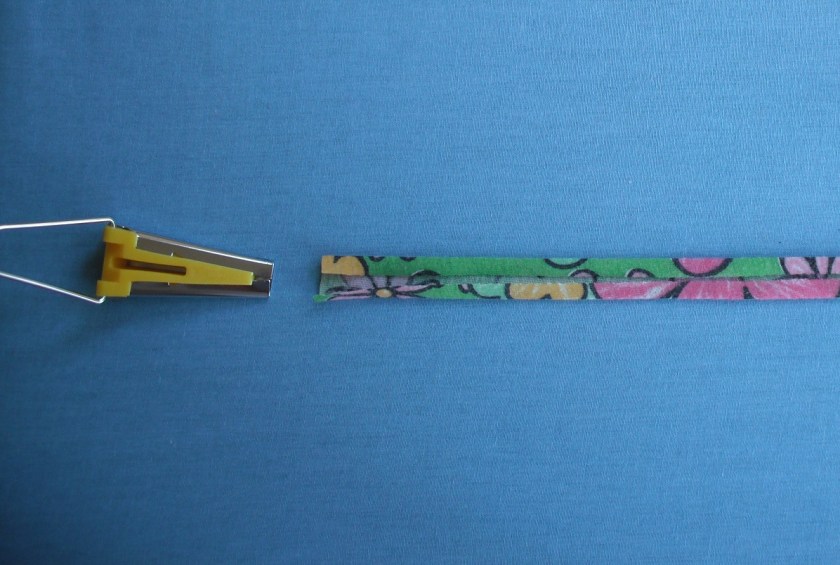
This only works for two of the strips; the other ones are cut perpendicular to the grain and are not willing to fold even under the influence of the iron. Argh. But okay. I’ll start by taking the two that worked and using them for the neckline edging.
I skip trying to iron the bias-tape in place to make it properly double-fold; instead, I jump right in and sew the two segments together right-sides together end-to-end.

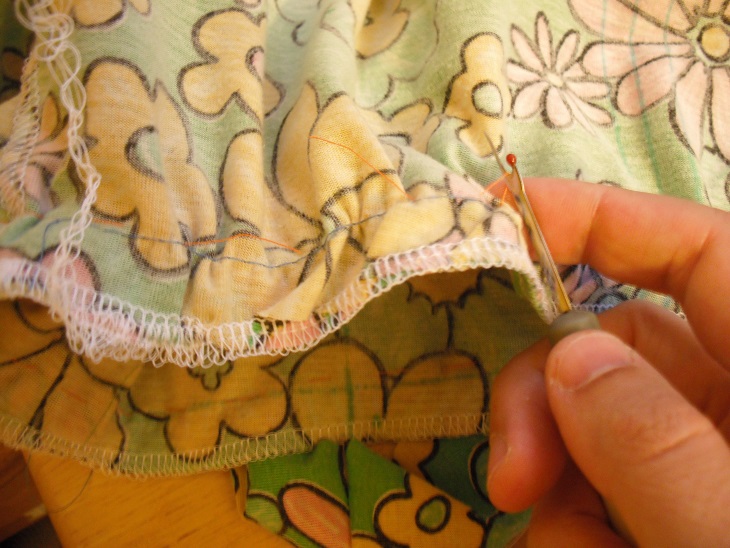
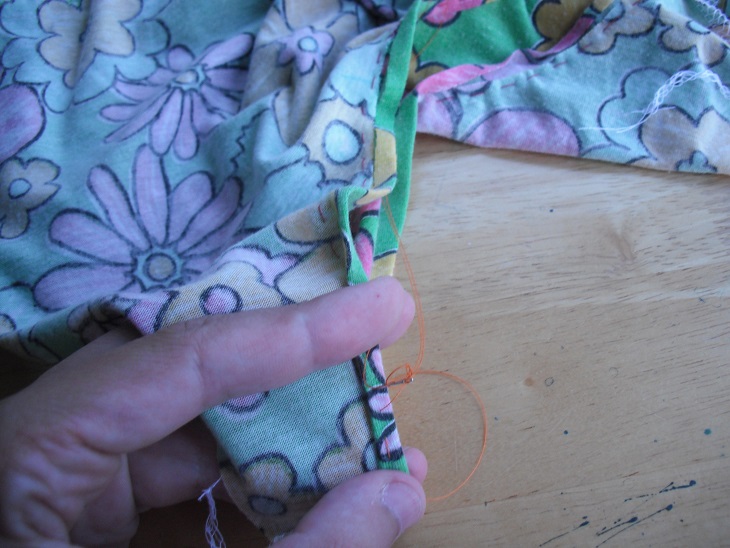
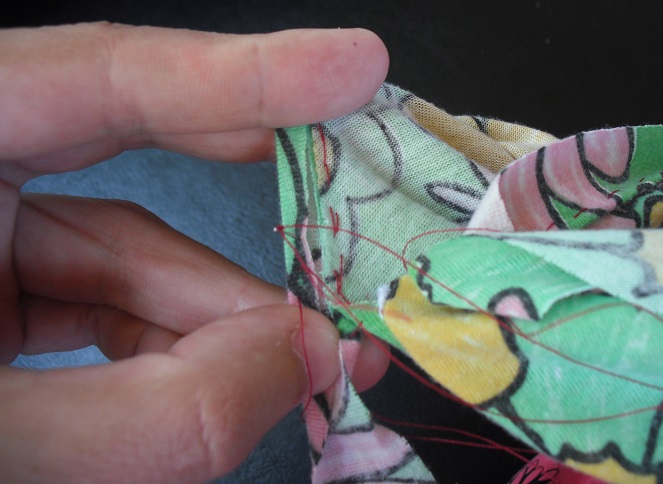
Then I align the join with one shoulder seam and begin basting it to the neckline, trying to get it to follow the centre line and also stretching the unbias-tape out a little bit to accommodate the curve.
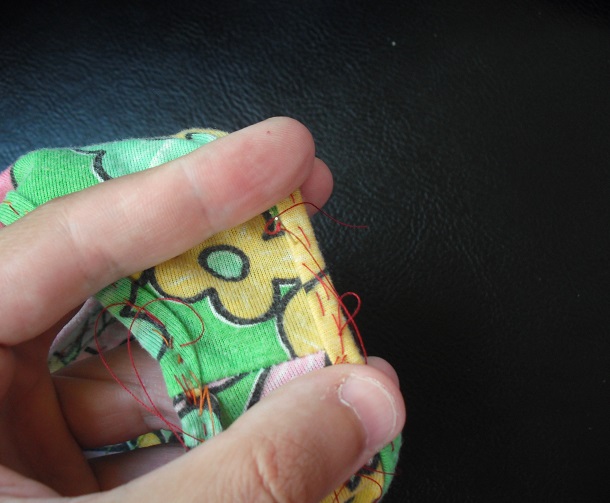
At the other shoulder, I join the pieces together likewise, then baste down the seam. After this, I flip the whole thing inside-out…
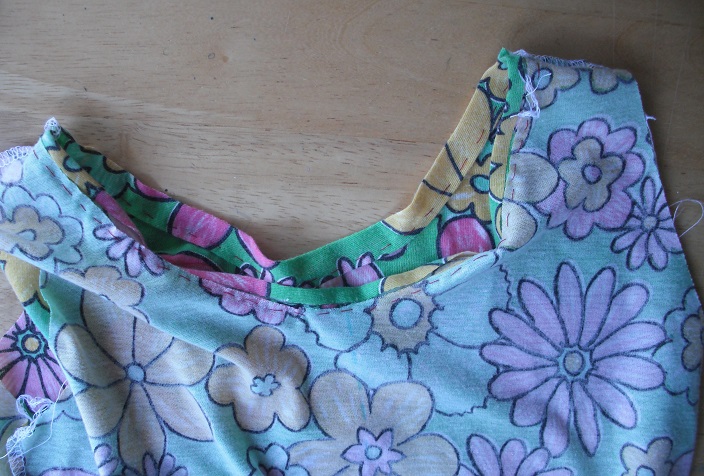
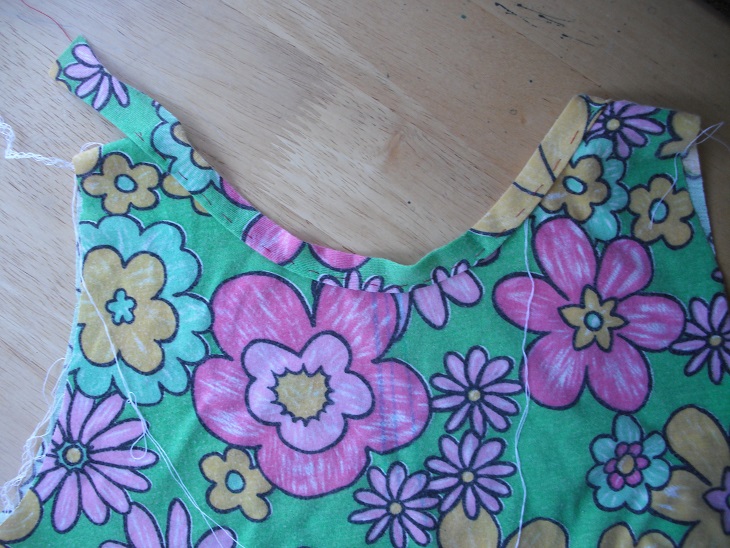
…and go around again, folding the unbias-tape and securing it down to the inside.
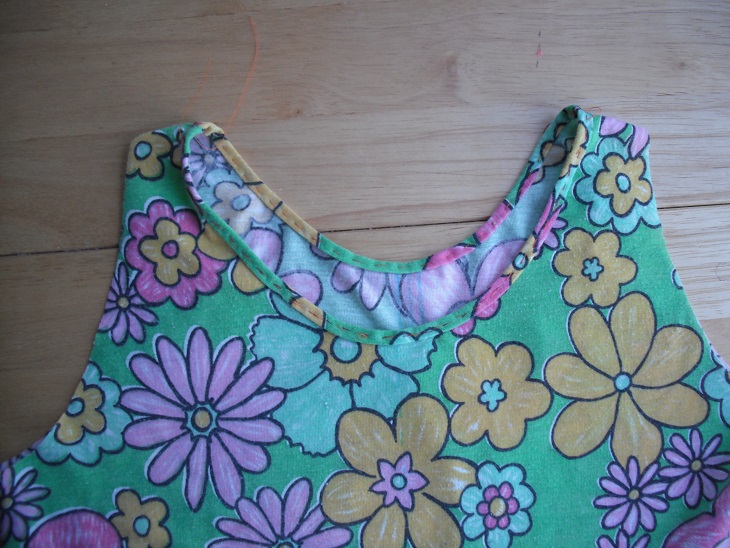
That ends up working absolutely fine.
Now, what about those armhole edges? I do have enough fabric to finish them in the same way I did the neckline; I even have the strips cut to the right width. The issue is that I don’t have any fold-lines ironed into these, because they’re the ones that were cut against the grain. Can I do edge binding without the ironed fold lines? And can I do it even considering that my tolerance for pins is low? Let’s find out.
One thing at a time. First, I baste the binding to the armhole right-sides-together, trying not to stray too far from the edge (simulating the first flap).
Then I fold it back outwards and sew that down as evenly as I can (simulating the first fold line).
After that I fold about half of the overhanging edging down and secure it to itself (simulating the second fold-line and the second flap).
And finally, I fold the manually-created-unbias-tape over the edge and baste it down.
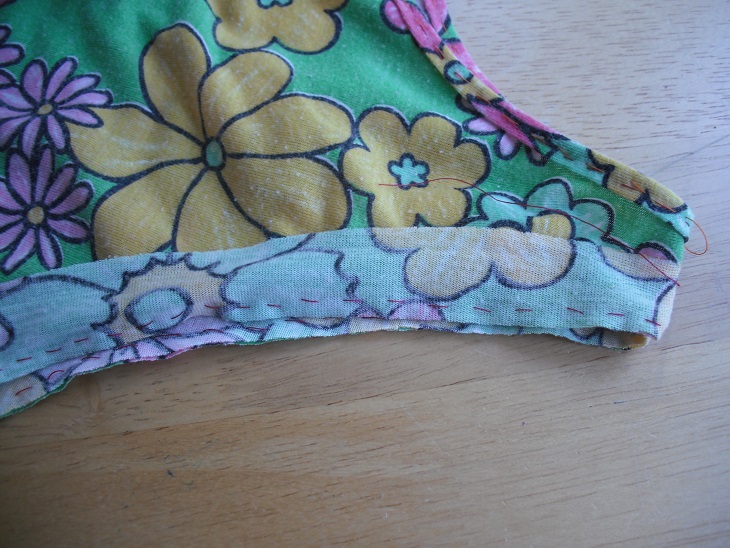
I’m not going to pretend this doesn’t take a while. Four times around the armhole, then four times around the other armhole in the same way. Fortunately, it works. If anything, it looks much tidier than I expected.
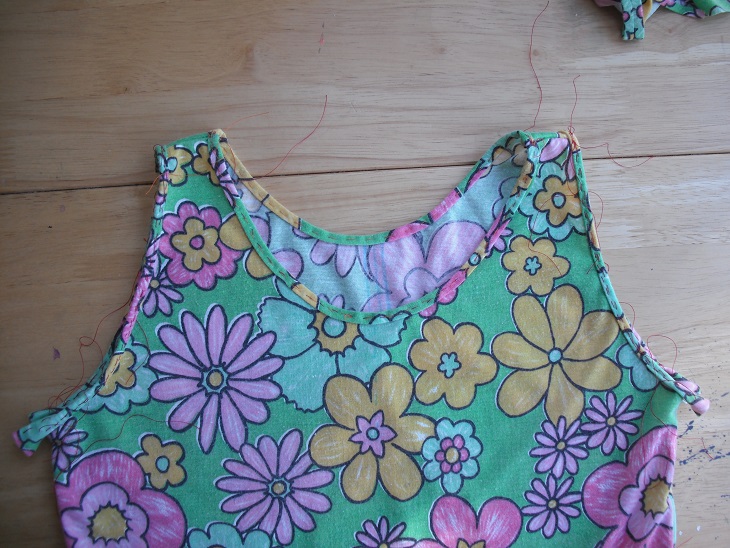
The armhole binding seems a little narrower than the neckline binding, but that’s only because the neckline binding has those two crisp ironing-lines, which makes it lie a bit flatter. And heck, this hasn’t compromised the symmetry; the armholes match one another.
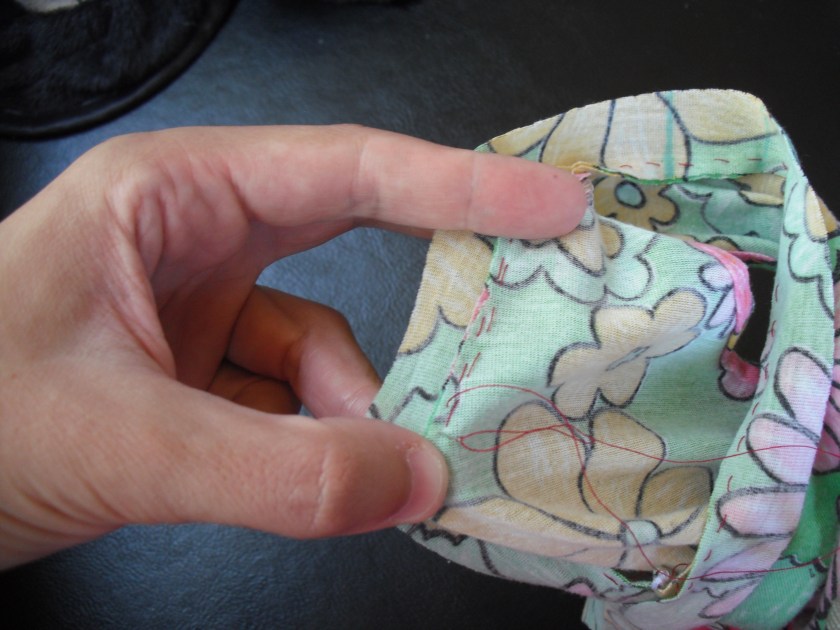
Now only two things remain to be done. I need to join the binding to itself at the bottom of each armhole, and then I need to run all these bindings through the machine (and yank out a very large number of basting stitches).
Finding matching thread requires a bit of extra effort this time around. Normally I’d just use white, or settle for the pastel green I have in the drawer from a skirt repair, but the issue is that both the original hem and the pockets retain some of the stitching from the original dress, which is a bold spring-green. I’d like to coordinate the binding with that, so I make a quick trip to the fabric store and get some thread ($2.50).
Now it’s time to sew!
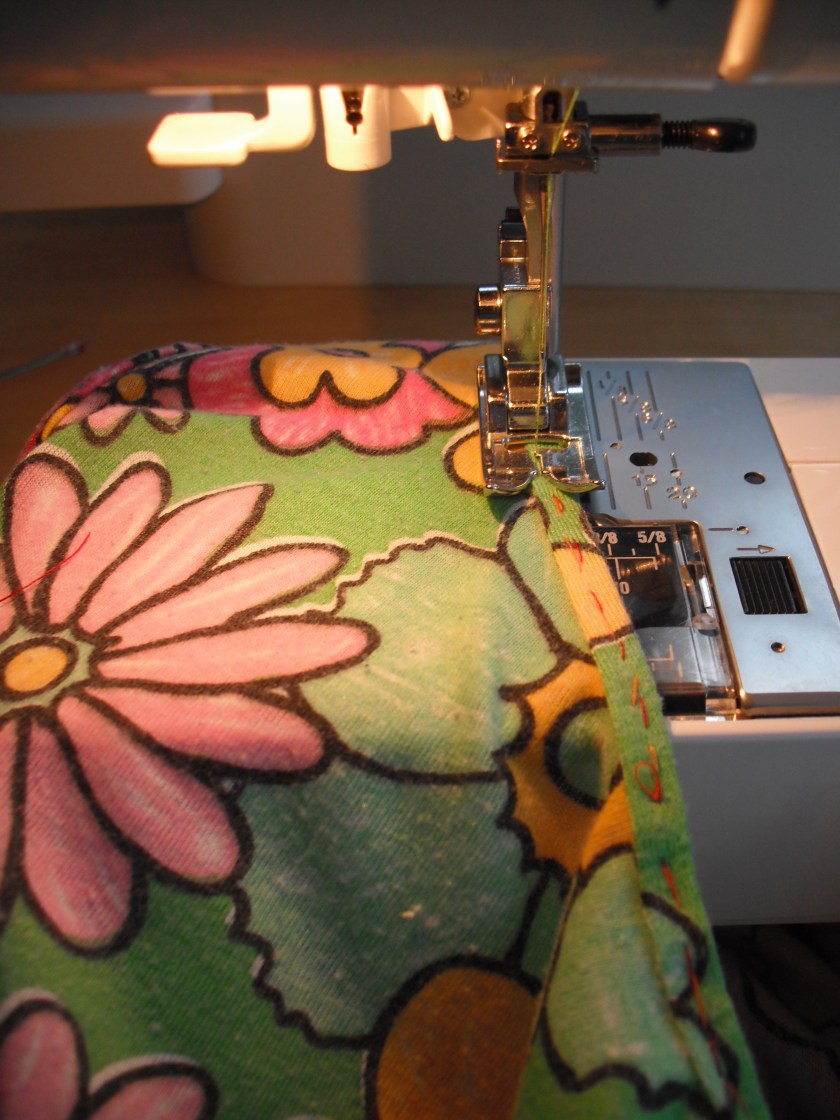
And then remove a lot of temporary stitches. A lot.

But they were worth it. It ends up a little tight under the arms, but the binding is way cleaner than I expected.
Now it’s ready for photos! Except I finish this right before I have to move again, and my camera gives out only shortly afterward, so I have to make time to buy a new one. Post-move, post-new-camera-purchase, we’re at the very end of the autumn but finally ready to show off the results properly.

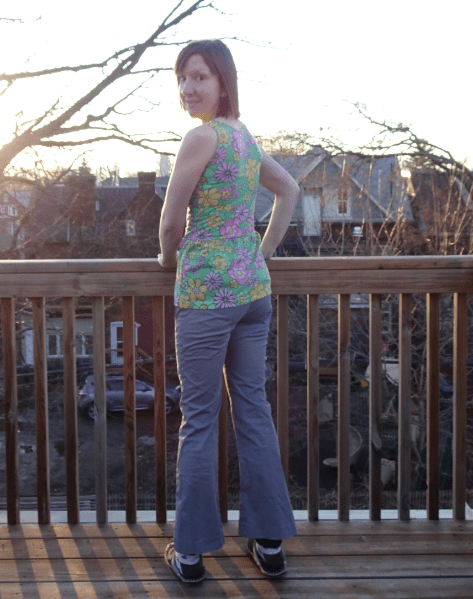
Slightly awkward? Yes. But totally wearable! And much better than I expected given that I had to improvise.

One thought on “When Plan A goes down the drain”