
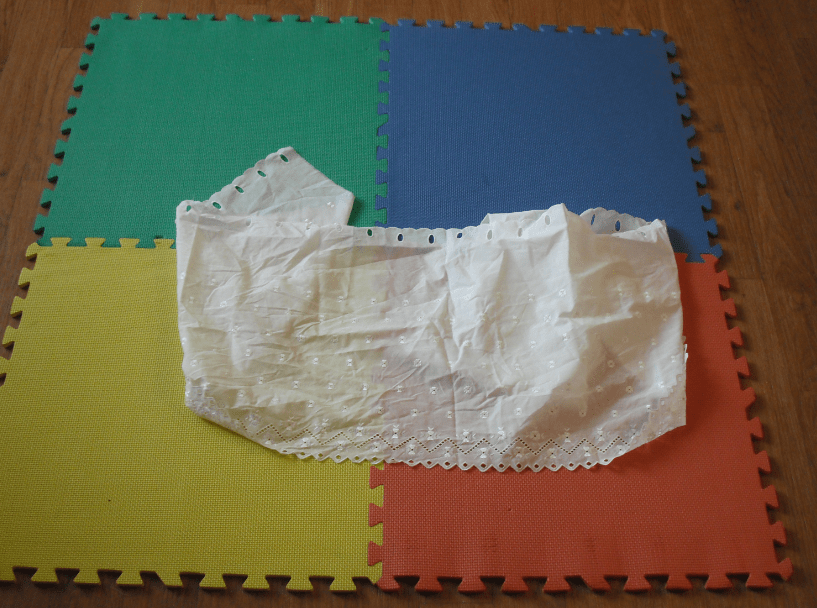
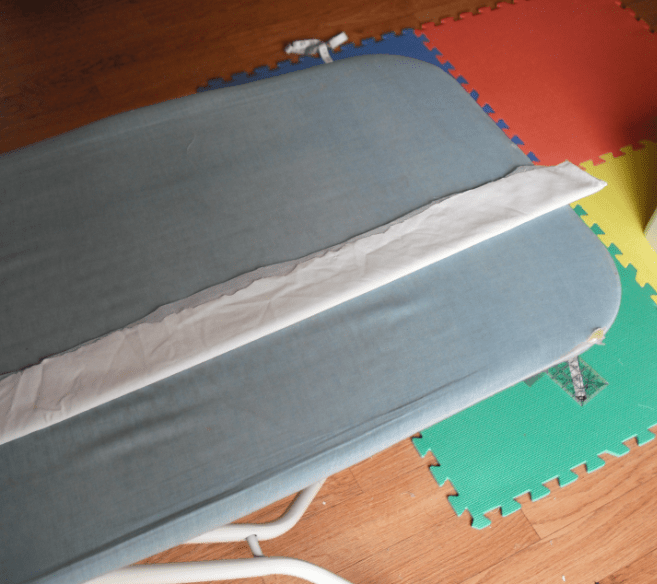
I bought this length of what looks like café-curtain fabric at a garage sale at the end of the summer of 2010 and it’s been hanging out among my craft supplies ever since. Not sure of the fibre content; at first I thought it was a thin cotton, but under the iron it kind of smells like polyester, so I’m guessing a blend. I haven’t measured it, but it’s about 9 or 10 metres long and the ends are unfinished. Both sides of the fabric have embroidered flowers with four heart-shaped petals each. I especially love the bottom, which features a diamond-y edging. I’ve been idly thinking for a while of making a skirt out of it, so that’s what I’m doing.
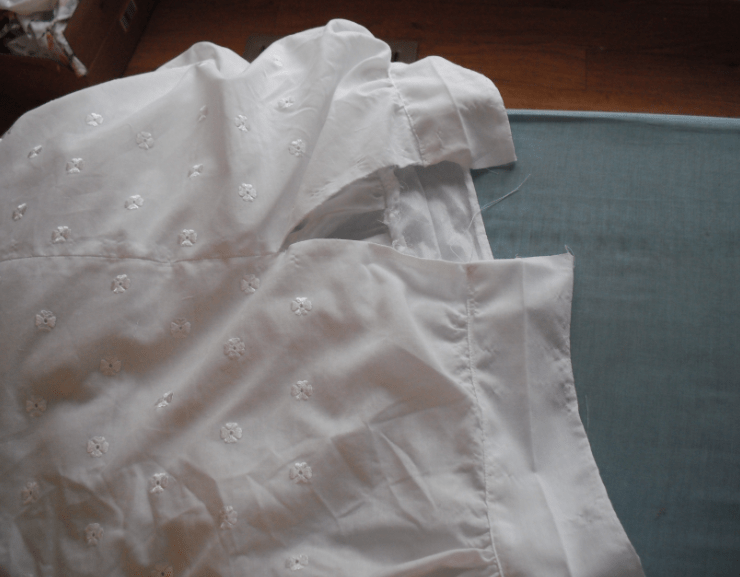
The fabric is diaphanous enough that if it’s going to be clothing, it needs a lining. As I consider this, I realise that I do have an extra skirt-lining in my scrap box – formerly attached to a dress that I disassembled in order to reuse the fabric. It’s a silvery-white gathered lining (with the gather intact in a row of stitching at the top) with a flounce and some tulle on the ends.
I wasn’t planning to reuse this lining at all, ever, but it’s actually a nice match for the café-curtain material, tulle and all. The length is a little short but not awful. Why not? Let’s do it!
First I double-check that the lining fits around my waist. It does – just barely! The nice thing, though, is that I can just adjust the gathers on the actual skirt to fit the size of the lining left as is. Not much tweaking to be done there.
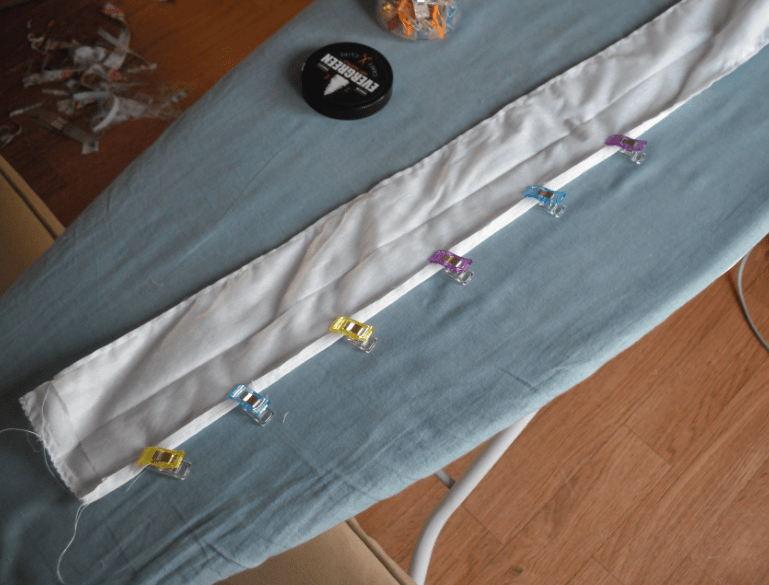
I grab about five feet of skirt fabric so that I can experiment with the gathers in front of the mirror, cut it from the rest of the length, and remove the top strip (the part with the holes).
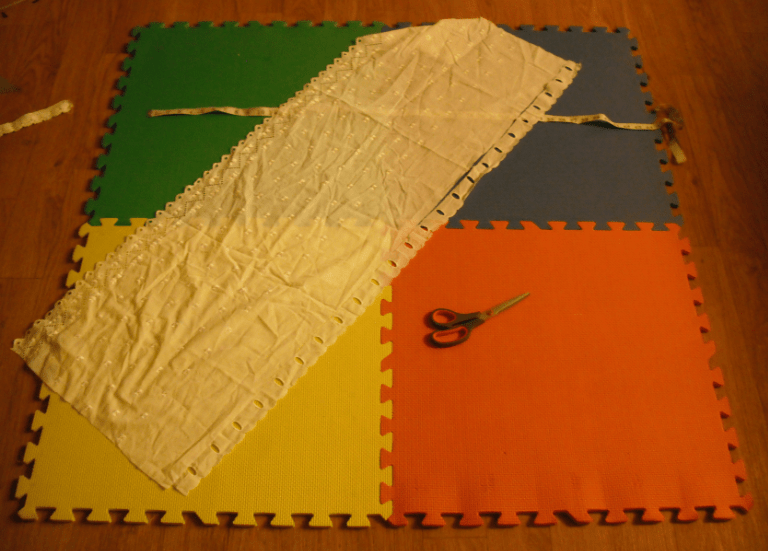
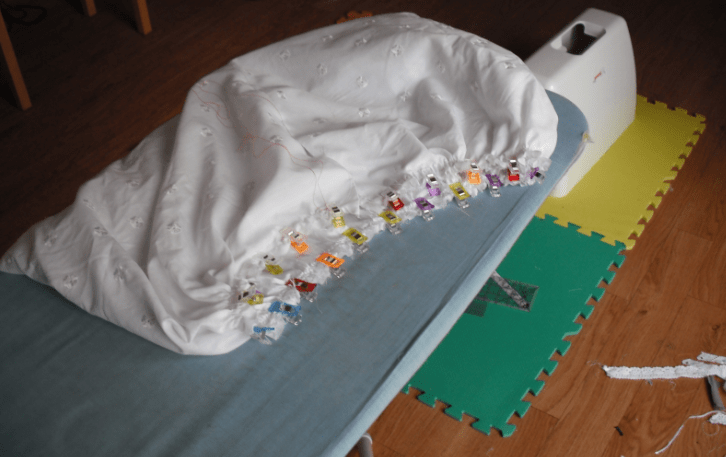
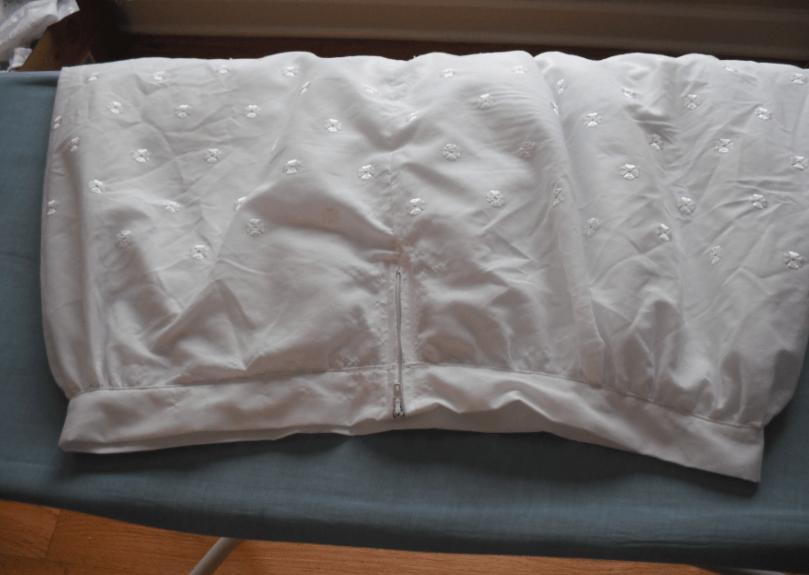
The amount of fabric at the bottom is actually looking about right, so I line up the diamonds at the bottom and sew a back seam, then press it and tidy it up with a zig-zag stitch on either side. Then I unpick it down to the length of a zipper, which it will eventually receive. After that, it’s time to do the gathers. Giant stitches in two rows, pulling on the bobbin threads. Then I turn the skirt right-side-out, slip the lining inside, line them up, and clip them together. Time to sew!
Now this thing needs a waistband. I cut a big strip off the rest of the café-curtain fabric, then some (non-fusible) interfacing. I was originally going to measure the heck out of it and cut a nice clean rectangle, but I but I decide I’m just going to fold it in half and iron it like that, then use the fold-line as a guide to measuring the rest. Warning: slightly lazy.
Of course, partway in here I manage to glue part of the interfacing to the iron. Fail. Fortunately the strip is still more than long enough, so I cut the end off and toss it. The iron I’ll scrub at later. (I hear dryer sheets and/or baking soda can help). We have a waistband!
Time to attach it to the skirt. I clip the bottom of the waistband to the top of the skirt, right-sides-together, and sew it in place. Or so I thought. Three or four times I try this and three or four times I manage to just miss a piece of the skirt lining, leaving an awkward hole that I can’t quite grab with a little line of hand stitches. After making my seam-ripper completely sick of me, I give up on the idea of sewing the waistband to the skirt right-sides-together from underneath, and instead just topstitch the darn thing together.
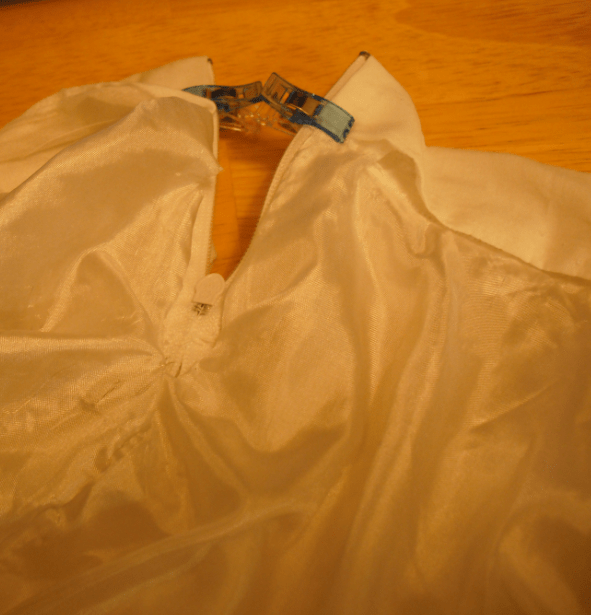
The zipper doesn’t go much better. First time I put the zipper in the stitching is really lopsided and awkward, and at the top the waistband ends are really not lining up with each other across the zipper. I decide I can live with it, and then my perfectionistic instincts veto the decision and I take the zipper out and do it again. Much better.
Now the lining needs to be attached to the inside of the zipper. I fiddle with the skirt until I figure out how to understitch them together by hand. In the process I accidentally cut a hole into one side of the lining, but I can hide that later. Aside from that, the results are looking encouraging.
The next step is to figure out how best to sew the inside of the waistband into place. Topstitching doesn’t go well; it’s too uneven on the inside, so I pick it back out. Finally, next to the basting, I just do a running stitch all the way around the inside by hand, catching most of the layers but not going all the way to the outside of the waistband. Takes a while, but works.
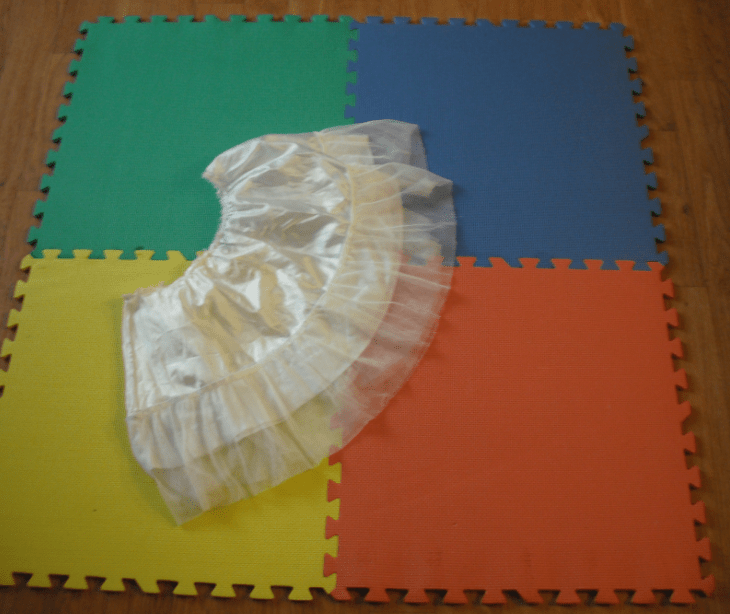
Now I consider the tulle. I was originally just going to detach it from the top of the lining’s flounce and reattach it to the bottom so that more of it would be visible, but after I cut it off I realise I don’t really want to bother. It’s less about having to gather tulle and more about not wanting to put in time and effort to make a skirt scratchier. It would look pretty cool behind the row of diamonds, but eh, not worth it. I’ve already redone a lot of steps here in the process of making this skirt. So, after fixing the aforementioned hole in the lining and removing the basting stitches, we’re done!
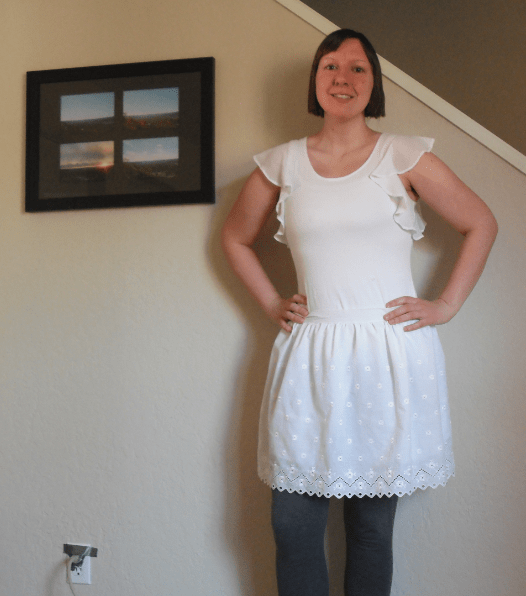
The waistband sits a bit lower than I wanted it to. And even in combination, the curtain fabric and the lining are a little on the transparent side. Also worth mentioning that this is likely to be the last gathered skirt on this blog, because gathers are so fiddly that I’d rather avoid them in the future. The more experience I get with making waistbands and putting in zippers, the more eager I am to experiment with a range of skirt construction techniques. I have a feeling that this is going to end up one of my least favourites. But for now, awesome!
