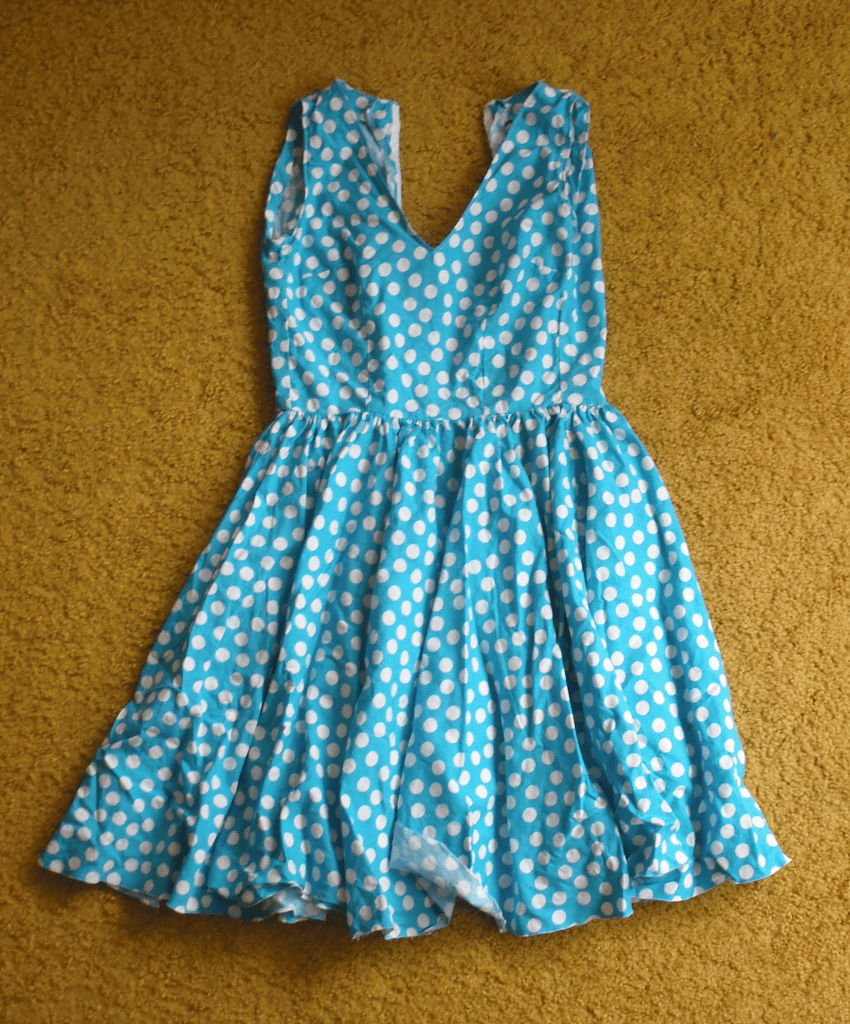
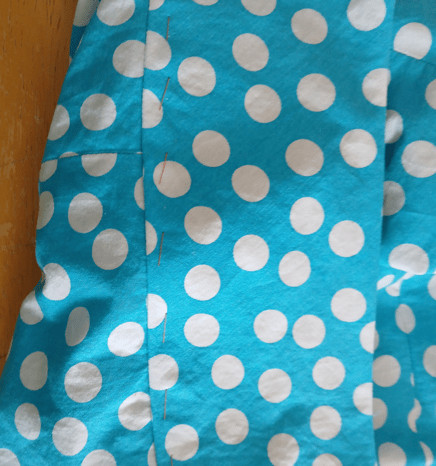
Until recently, Goldsmith Vintage in London had a shop at the corner of Charing Cross Road and Manette Street (it’s now a sushi place). On a visit in the summer of 2018, I was digging through the bargain bin in their basement and pulled out the above cotton dress, sky-blue with white polka dots, which I bought for £5. It had clearly been made by hand and by this point had seen better days. The zipper was broken beyond repair and I wasn’t sure how the hem was feeling. However, I loved the fabric itself, which was still bright and lively. Back in my hotel room I tried on the dress and discovered it wasn’t going to fit – the circumference of the bodice was definitely too small, and also too short for my torso. But there would clearly be a lot of fabric to play with in the process of reinvigorating this thing.
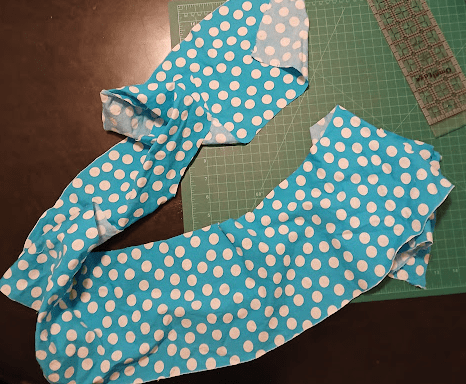
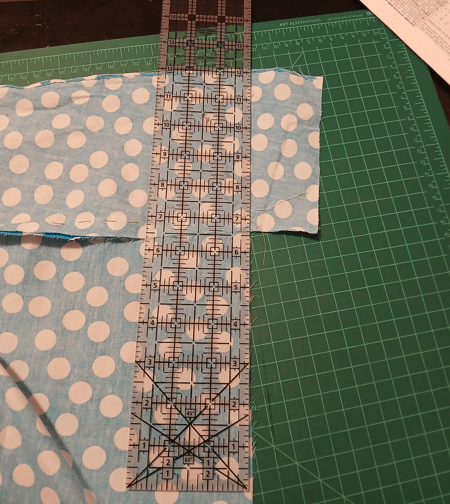
I detach the skirt from the bodice, remove the broken zipper and toss it, and then begin undoing seams. This is, in fact, a full circle skirt! An offbeat choice for something that hangs above the knees, but I’m not complaining.
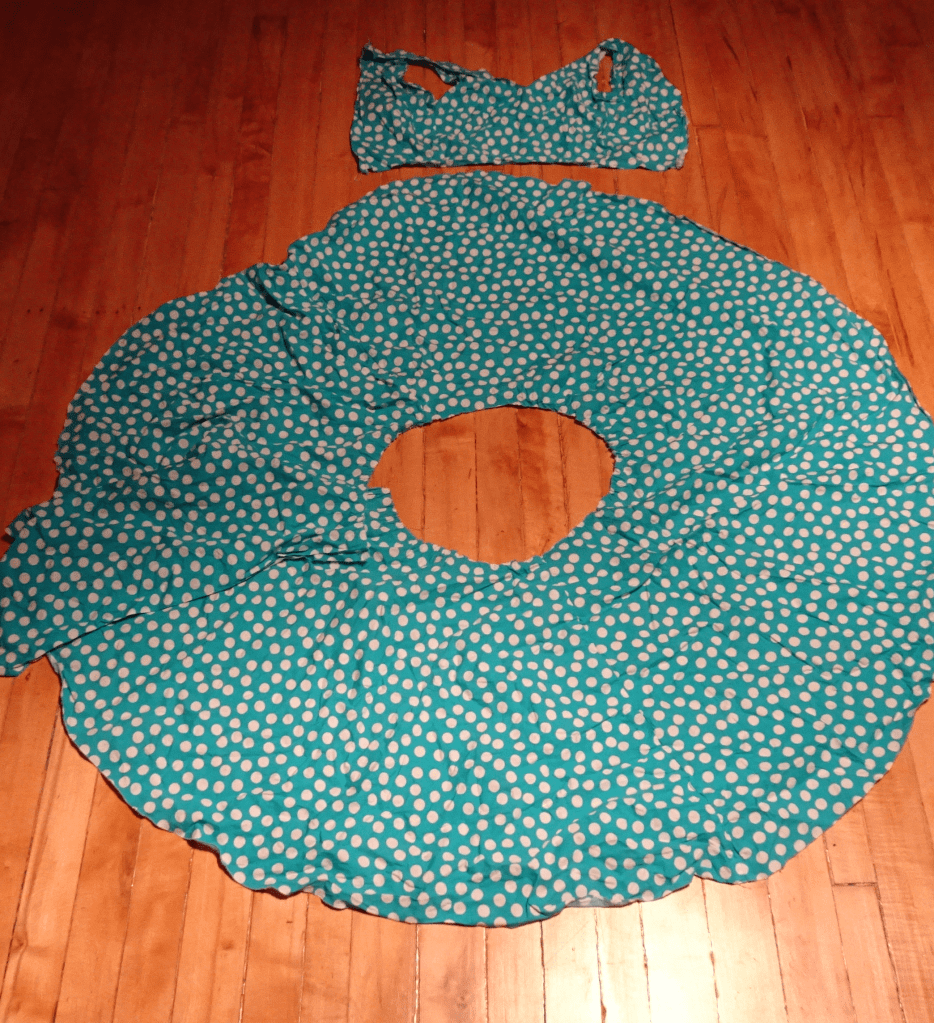
The skirt divides into three pieces (one half-circle and two quarter-circles), and even the half-circle alone would be enough for a new skirt. But it would be a little short on me. I doodle a bunch of ideas for how to elaborate on that, but none of them really grab me. Some I end up reassigning to a different polka-dot project coming along in the background, and quite a bit of time goes by while I consider. Finally, I decide I do want a skirt, but would like to show off the print in an A-line sort of way, ideally with a flounce at the bottom. I go digging through my stash of patterns.
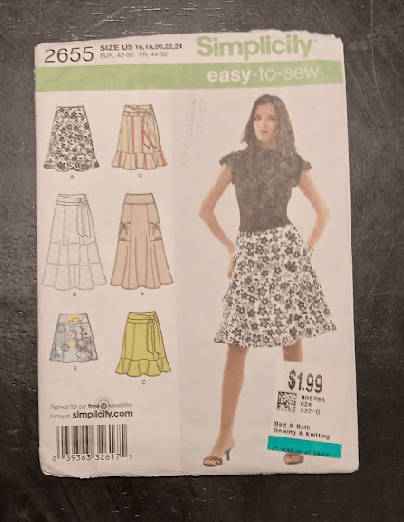
That’ll work!
The only problem is that there isn’t going to be enough fabric to accommodate the recommended flounce.
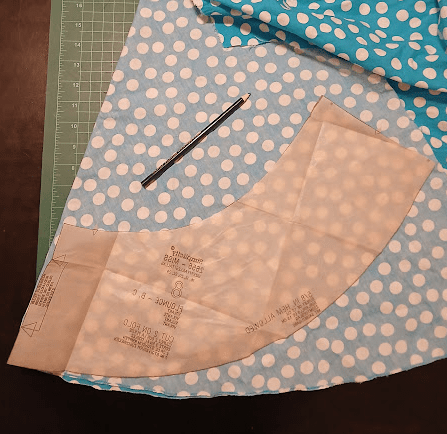
So I cut out all the other pieces and save the bottom of the half-circle piece to use as a flounce instead.
I would love to add a layer around the top of the flounce – a bit of white lace, maybe. As a result: I spent an entire evening as follows: digging through my scrap bin to no avail, deciding to knit a lace layer, trying about 8 options, finding exactly zero of them at all satisfactory, and just deciding to move along without.
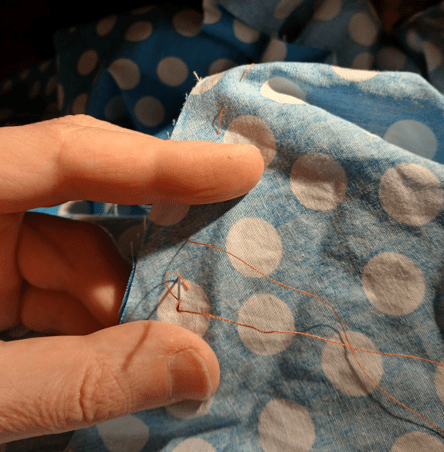
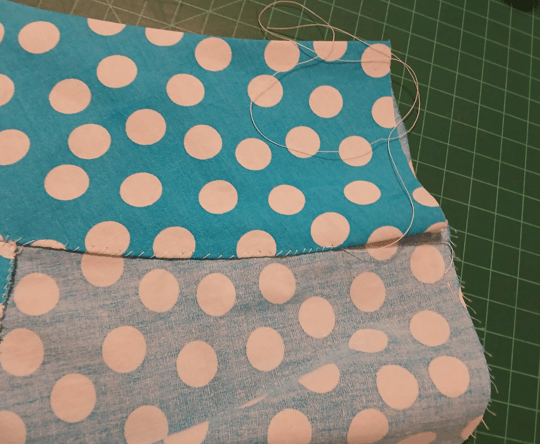
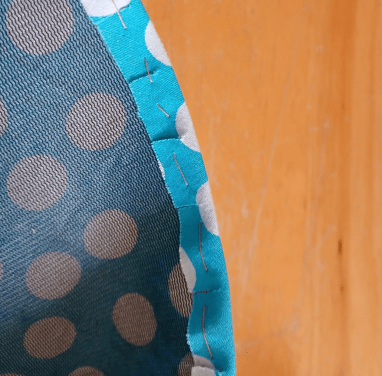
Okay, here we go. Basting pieces together…
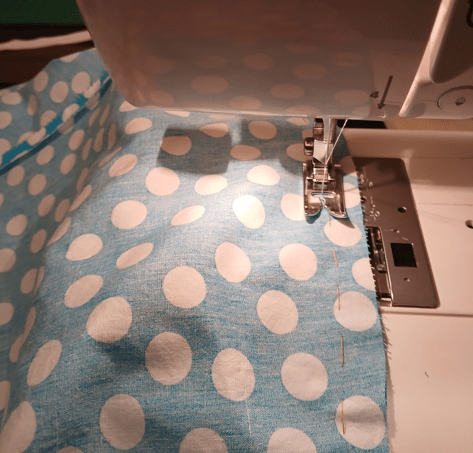
Machine-ing…
Attaching and trimming the flounce…
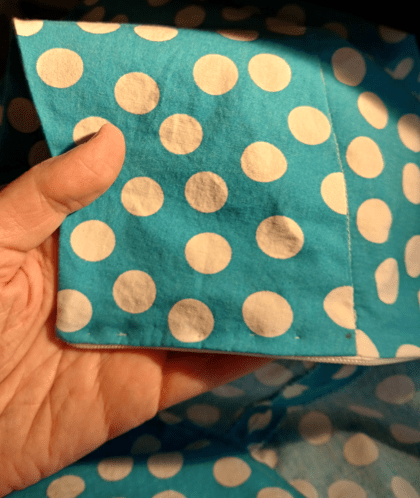
Hand-whipstitching the bottom of the waistband lining…
Things are looking pretty good here.
Before trying to insert the zipper, I machine-baste the left hip closed and try on the skirt to check the size. There are all kinds of problems with it. Okay, two problems:
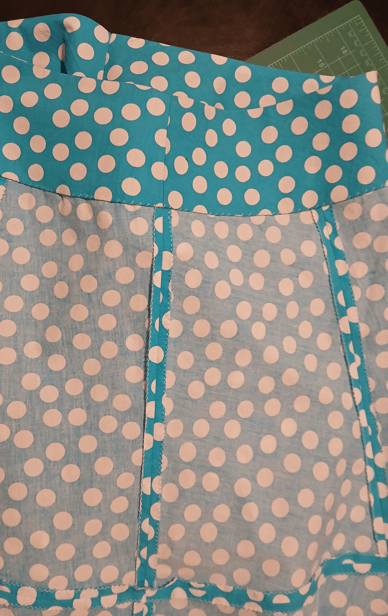
1. It’s too big. I simply cut out the size corresponding to my waist measurements, but it’s about two inches too wide. This is after taking into account that the skirt is supposed to sit a little below the waist. Which is not awesome. My body is semi-rectangular – my hips aren’t much larger than my waist – so right now this skirt really wants to fall off.
2. The front is great. The back is…not. It isn’t hanging well; the fabric at the top just under the waistband has a big awkward horizontal wrinkle.
I stare at the wrinkle in frustration and consider installing the zipper at the centre-back to help disguise the problem, but decide it wouldn’t actually help.

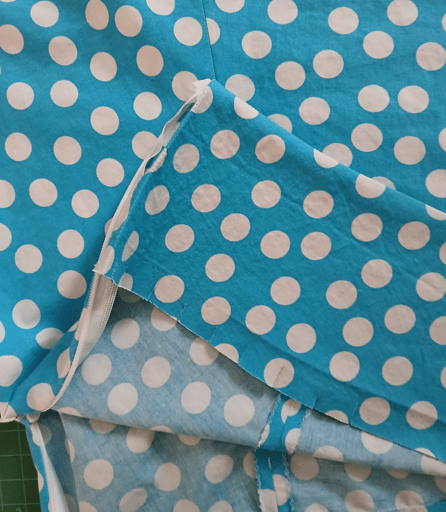
Fine, we’re hacking away at the whole darn thing, detaching part of the waistband, and doing some reconfiguring. To the seam-ripper!
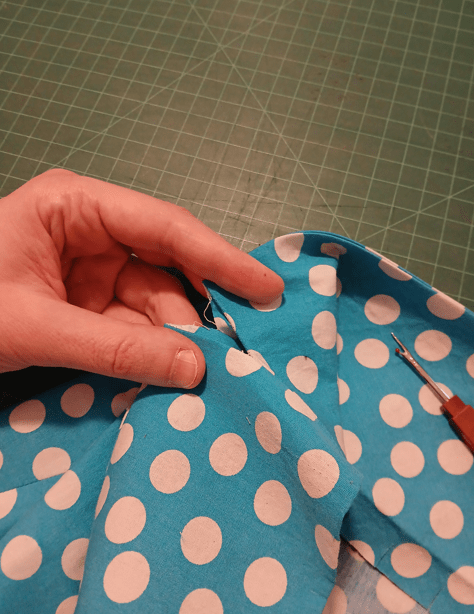
To deal with the sizing problem, I cut most of an inch off each side and then resew. In an attempt to get rid of the wrinkle, I experiment a bit with reshaping the attachment of the waistband to the back, and end up with a curve that reaches higher onto the waistband. It’s odd, but the results are a lot better.
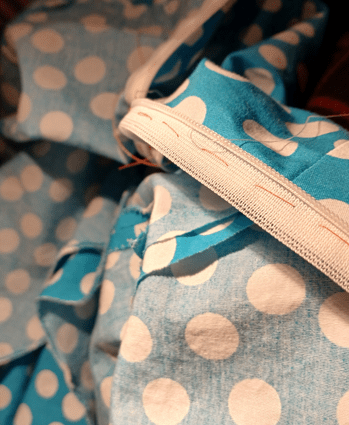
At least I hadn’t tried to insert the zipper earlier, when I would have had to remove it. I do that now, by hand (I still haven’t figured out the invisible-zipper-foot yet, but have at least become pretty good at putting these things in manually).
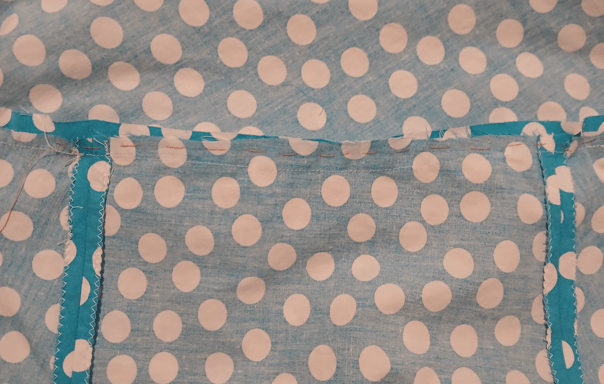
Now I’m trying to figure out how best to finish the inside of the waistband.
Fold edges under, hand-baste, fold lining down, hand-baste again, stitch-in-the-ditch from the right side?
I don’t have any better ideas than that. And it should work, though after reshaping the back to compensate for the wrinkle, things will be uneven around the back.
I folded the edge up trying to leave some overhang, but I still end up having to hope that the stitch-in-the-ditch does catch the inside of the waistband.

Result: it’s pretty good! There are a couple of small holes around the back where it didn’t quite catch, but those I can secure manually without too much trouble. Now just to remove the basting and figure out how to finish attaching the top of the invisible zipper to the sides of the waistband. How about manually stitching through all those layers but trying to catch as little of the right-side as possible, like a blind-hem?
It worked! Actually, it worked better on this side than the other side, which has a few odd stitches showing on the right side…but still a lot better than giving in and topstitching the darn thing.
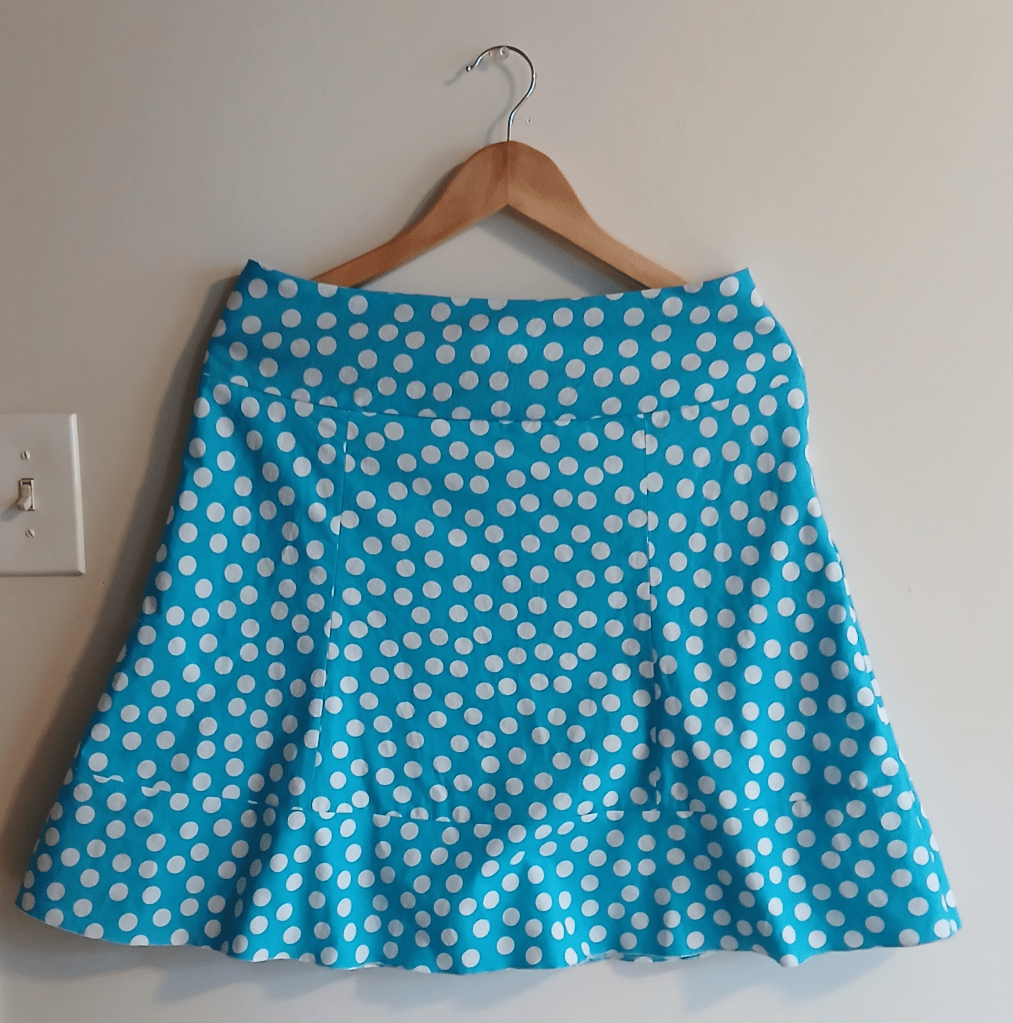
Anyway, we’re done! I have salvaged some nice blue cotton and continued improving my skirt-making skills. Which is just as well, because I never manage to persuade myself that I have enough skirts.